1drive
2
4. Follow the procedures in Before You Begin.
CAUTION: Your computer is heavy (it has an approximate minimum weight of 55 lbs) and can be difficult to maneuver. Seek assistance before attempting to lift, move, or tilt it; this computer requires a
CAUTION: The computer stand should be installed at all times to ensure maximum system stability. Failure to install the stand could result in the computer tipping over, potentially resulting in bodily injury or damage to the computer.
5.Remove the computer cover (see Removing the Computer Cover).
6.Verify that the
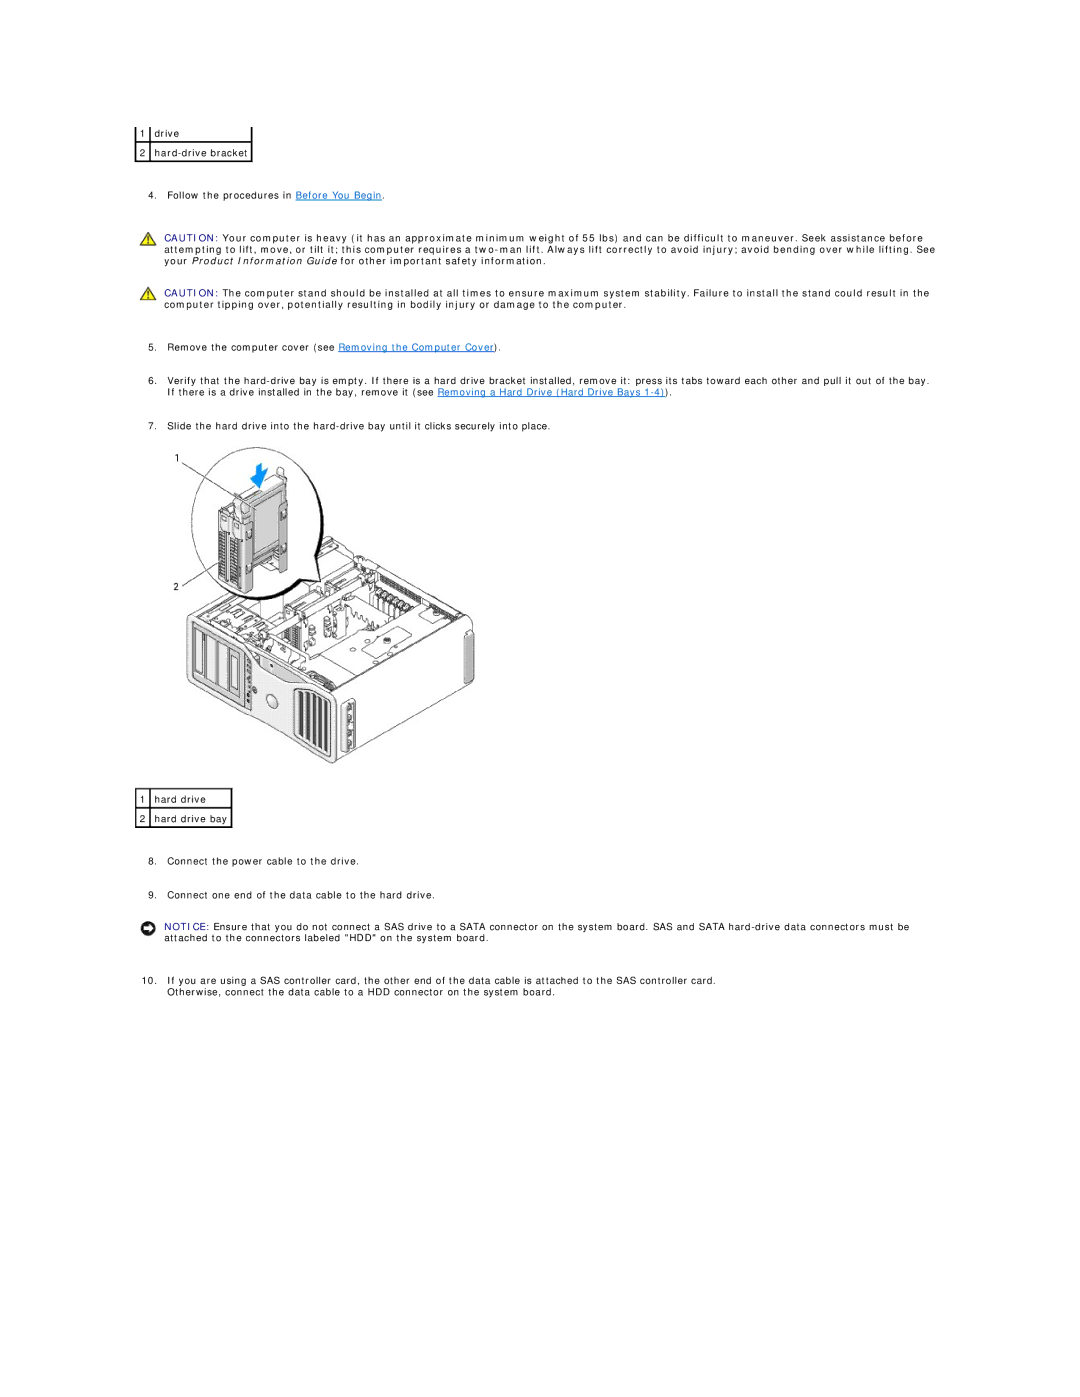
7.Slide the hard drive into the
1hard drive
2hard drive bay
8.Connect the power cable to the drive.
9.Connect one end of the data cable to the hard drive.
NOTICE: Ensure that you do not connect a SAS drive to a SATA connector on the system board. SAS and SATA
10.If you are using a SAS controller card, the other end of the data cable is attached to the SAS controller card. Otherwise, connect the data cable to a HDD connector on the system board.