Custom Menus
Type | Command Syntax | Example: Connection to Port 3 |
|
|
|
|
|
| telnet | telnet 192.168.15.7 7003 |
|
| where |
| |
Telnet | (7000 is the default socket port for both |
| |
and |
| ||
| Telnet and SSH) |
| |
| port |
| |
|
|
| |
|
|
|
|
| ssh | ssh admin@ 192.168.15.7 |
|
| where |
| |
| (7000 is the default socket port for both |
| |
|
| ||
SSH | Telnet and SSH) |
| |
| ssh | ssh sunadmin:”p=25”@Digi12 |
|
| or | ssh |
|
| ssh |
| |
|
|
| |
|
|
|
|
|
|
| |
|
|
| |
| number | http://digicm.digi.com/ |
|
| where |
| |
WEB | connect.asp?t=CISCO.Router.port3 |
| |
IP address or NDS name, |
| ||
| (the port name is case sensitive) |
| |
| number of the serial port and port title is the |
| |
|
|
| |
| name of the port as assigned in serial port, |
|
|
| port title. |
|
|
|
|
|
|
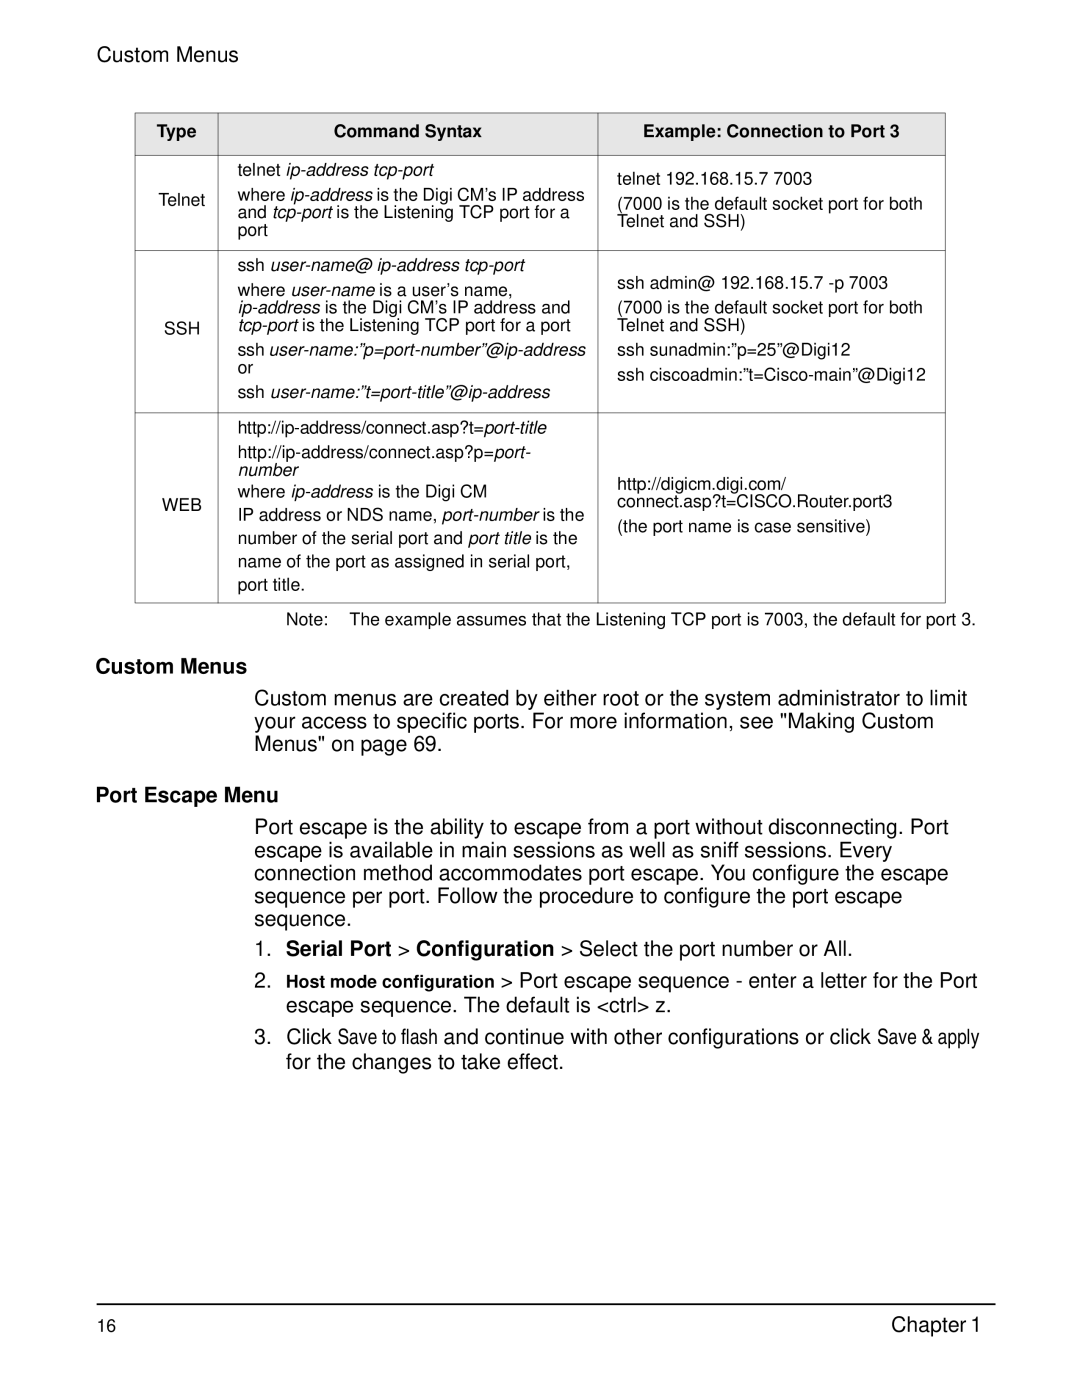
| Note: The example assumes that the Listening TCP port is 7003, the default for port 3. | ||
Custom Menus
Custom menus are created by either root or the system administrator to limit your access to specific ports. For more information, see "Making Custom Menus" on page 69.
Port Escape Menu
Port escape is the ability to escape from a port without disconnecting. Port escape is available in main sessions as well as sniff sessions. Every connection method accommodates port escape. You configure the escape sequence per port. Follow the procedure to configure the port escape sequence.
1.Serial Port > Configuration > Select the port number or All.
2.Host mode configuration > Port escape sequence - enter a letter for the Port escape sequence. The default is <ctrl> z.
3.Click Save to flash and continue with other configurations or click Save & apply for the changes to take effect.
16 | Chapter 1 |
