Maintaining the FastIron GS Hardware
Installing or Replacing a 2-port 10-GbE Module
The
NOTE: The
This section provides the steps for installing, removing, and replacing the
•#2
•Electrostatic Discharge (ESD) kit
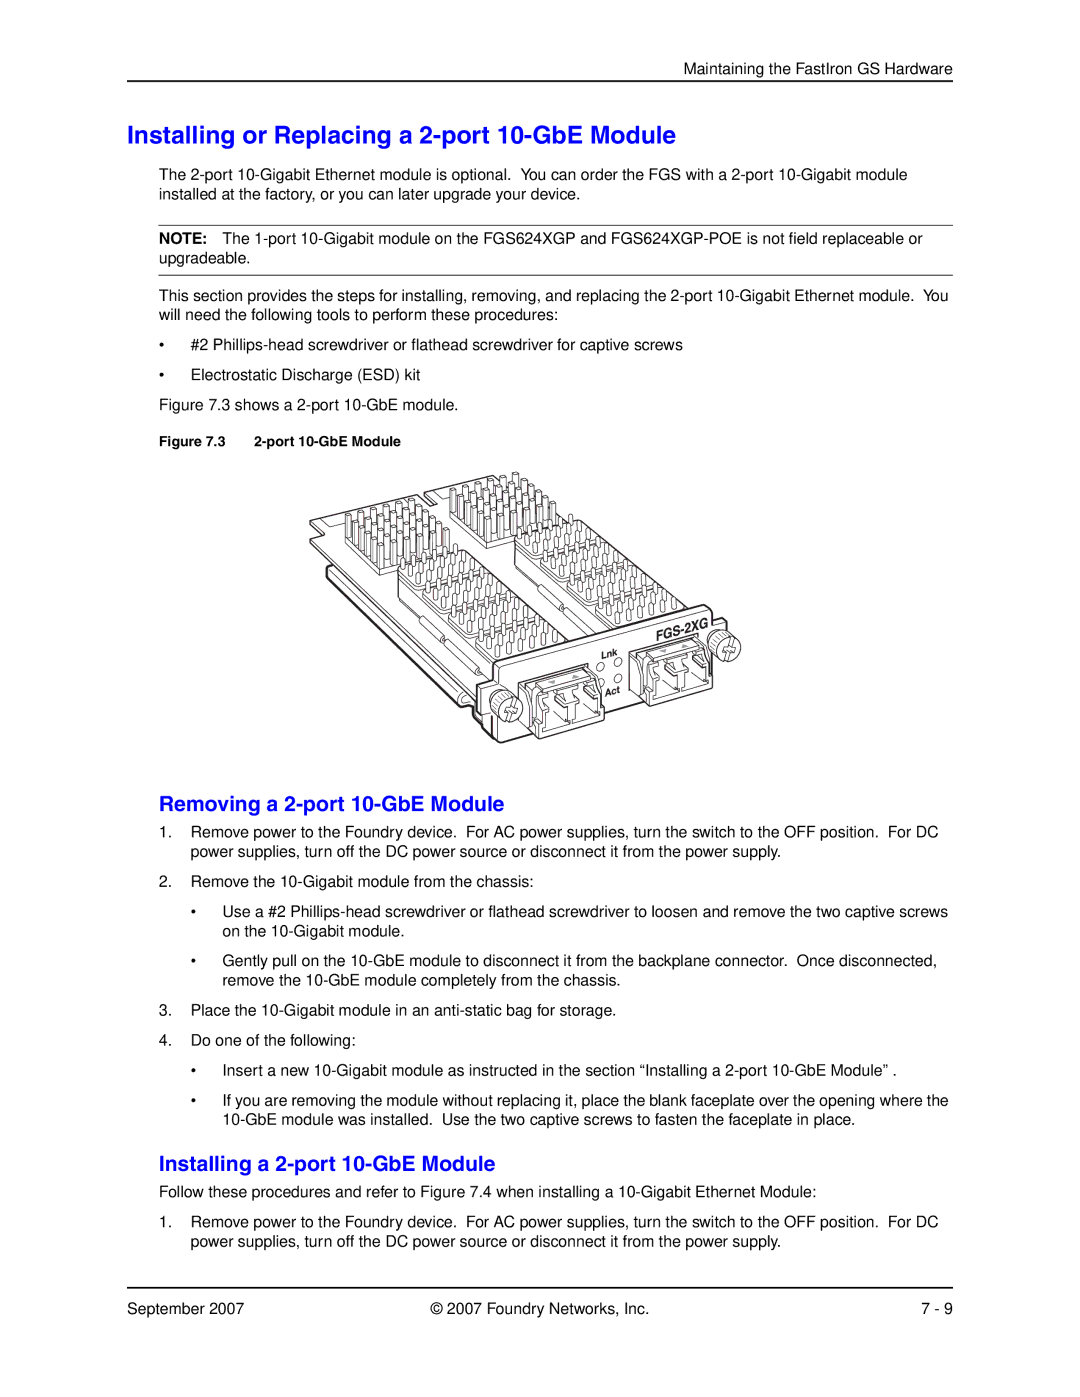
Figure 7.3 shows a 2-port 10-GbE module.
Figure 7.3 2-port 10-GbE Module
Removing a 2-port 10-GbE Module
1.Remove power to the Foundry device. For AC power supplies, turn the switch to the OFF position. For DC power supplies, turn off the DC power source or disconnect it from the power supply.
2.Remove the
•Use a #2
•Gently pull on the
3.Place the
4.Do one of the following:
•Insert a new
•If you are removing the module without replacing it, place the blank faceplate over the opening where the
Installing a 2-port 10-GbE Module
Follow these procedures and refer to Figure 7.4 when installing a
1.Remove power to the Foundry device. For AC power supplies, turn the switch to the OFF position. For DC power supplies, turn off the DC power source or disconnect it from the power supply.
September 2007 | © 2007 Foundry Networks, Inc. | 7 - 9 |