Configuration
Note You can set up motion zones one block at a time in groups of 8 or 16 individual block groups (9- and
7.Press ![]()
![]() to display the menu screen. The menu on the setup screen has the following functions:
to display the menu screen. The menu on the setup screen has the following functions:
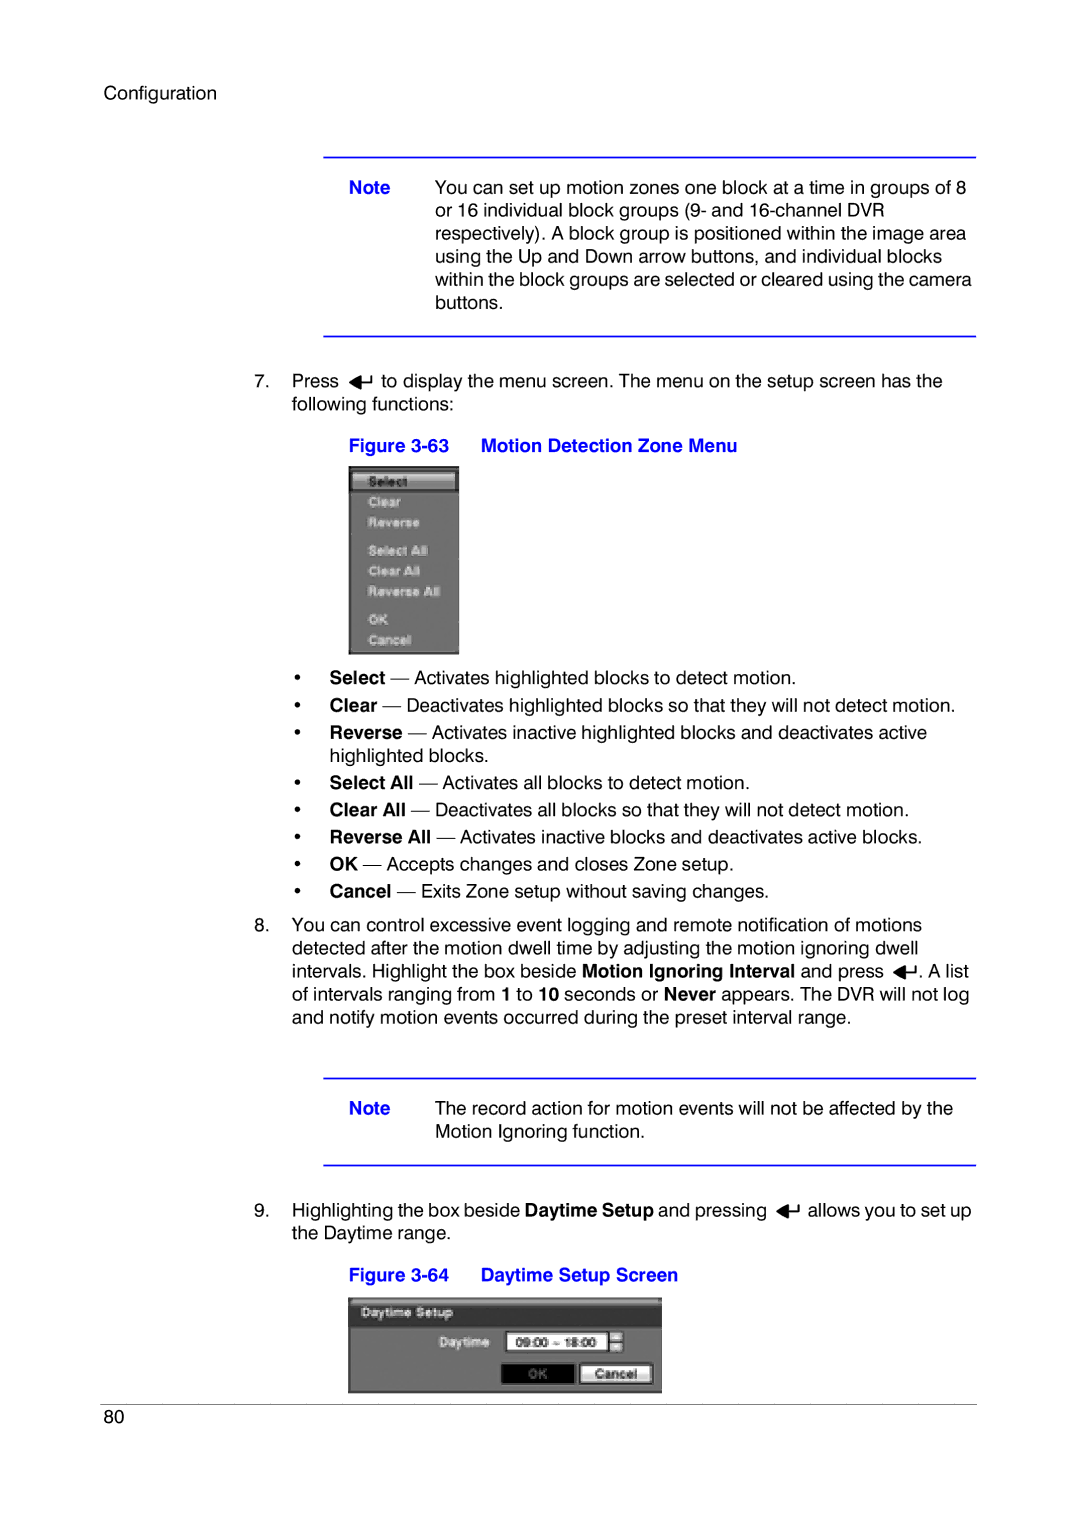
Figure 3-63 Motion Detection Zone Menu
•Select — Activates highlighted blocks to detect motion.
•Clear — Deactivates highlighted blocks so that they will not detect motion.
•Reverse — Activates inactive highlighted blocks and deactivates active highlighted blocks.
•Select All — Activates all blocks to detect motion.
•Clear All — Deactivates all blocks so that they will not detect motion.
•Reverse All — Activates inactive blocks and deactivates active blocks.
•OK — Accepts changes and closes Zone setup.
•Cancel — Exits Zone setup without saving changes.
8.You can control excessive event logging and remote notification of motions detected after the motion dwell time by adjusting the motion ignoring dwell intervals. Highlight the box beside Motion Ignoring Interval and press ![]()
![]() . A list of intervals ranging from 1 to 10 seconds or Never appears. The DVR will not log and notify motion events occurred during the preset interval range.
. A list of intervals ranging from 1 to 10 seconds or Never appears. The DVR will not log and notify motion events occurred during the preset interval range.
Note The record action for motion events will not be affected by the
Motion Ignoring function.
9.Highlighting the box beside Daytime Setup and pressing ![]()
![]() allows you to set up the Daytime range.
allows you to set up the Daytime range.
Figure 3-64 Daytime Setup Screen
80