Correcting a Paper Jam
Example
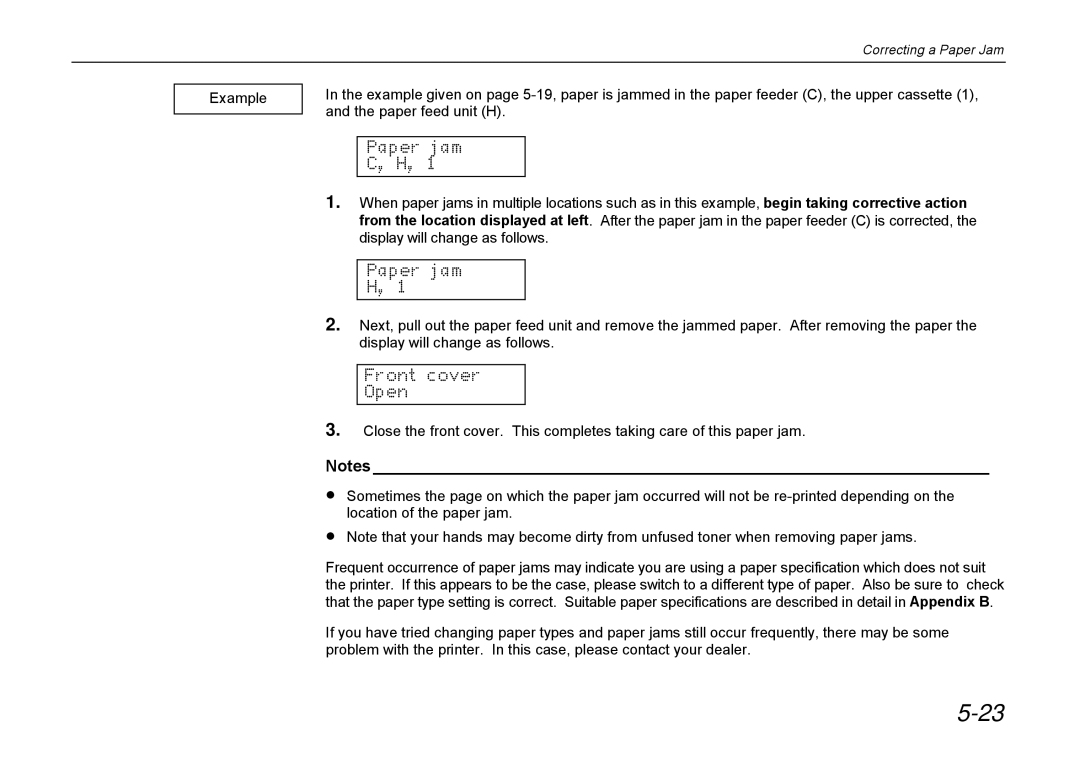
In the example given on page
Paper jam
C, H, 1
1.When paper jams in multiple locations such as in this example, begin taking corrective action from the location displayed at left. After the paper jam in the paper feeder (C) is corrected, the display will change as follows.
Paper jam
H, 1
2.Next, pull out the paper feed unit and remove the jammed paper. After removing the paper the display will change as follows.
Front cover
Open
3.Close the front cover. This completes taking care of this paper jam.
Notes ____________________________________________________________________
·Sometimes the page on which the paper jam occurred will not be
·Note that your hands may become dirty from unfused toner when removing paper jams.
Frequent occurrence of paper jams may indicate you are using a paper specification which does not suit the printer. If this appears to be the case, please switch to a different type of paper. Also be sure to check that the paper type setting is correct. Suitable paper specifications are described in detail in Appendix B.
If you have tried changing paper types and paper jams still occur frequently, there may be some problem with the printer. In this case, please contact your dealer.
