IP Telephony System
External Calls
For external calls, make sure you have an active Internet connection. Then configure the settings for your Internet phone service account on the System.
1.Launch the web browser on the administration computer.
2.Enter <IP address of the System>/admin/voice/advanced in the Address field (use the static IP address you previously assigned to the System). Then press the Enter key.
3.The Voice - Info screen will appear. Click the Line 1 tab.
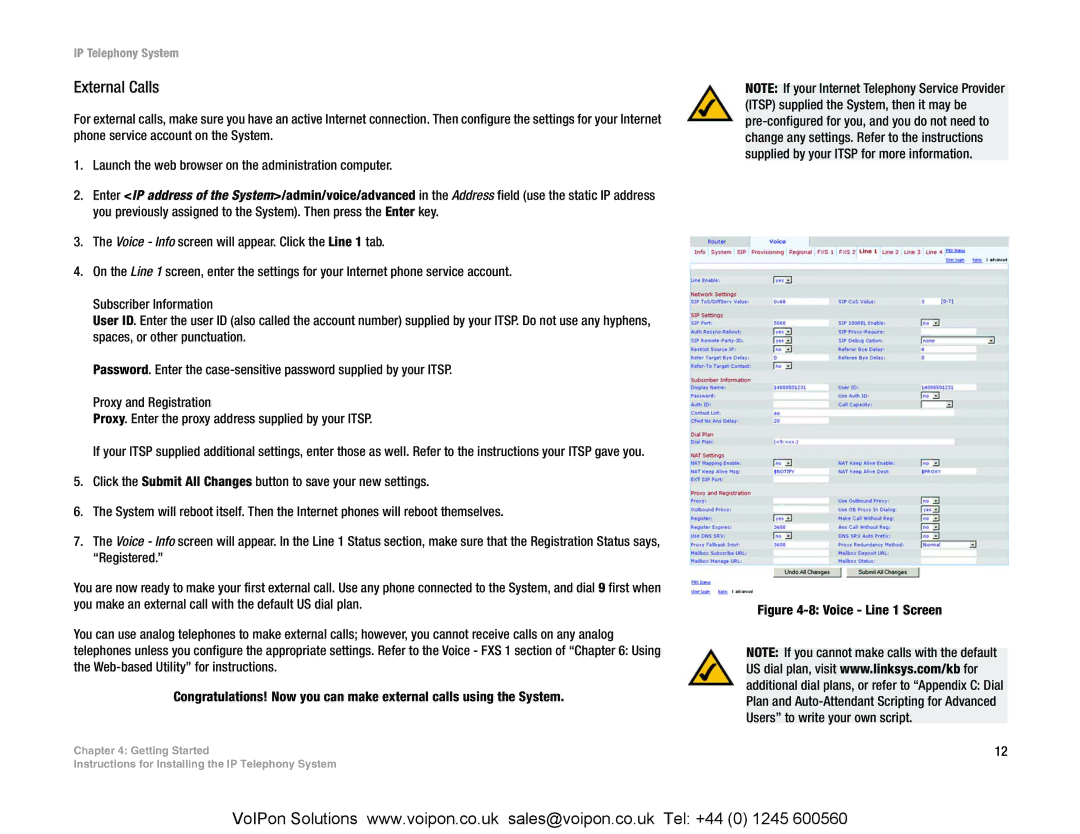
4.On the Line 1 screen, enter the settings for your Internet phone service account.
Subscriber Information
User ID. Enter the user ID (also called the account number) supplied by your ITSP. Do not use any hyphens, spaces, or other punctuation.
Password. Enter the
Proxy and Registration
Proxy. Enter the proxy address supplied by your ITSP.
If your ITSP supplied additional settings, enter those as well. Refer to the instructions your ITSP gave you.
5.Click the Submit All Changes button to save your new settings.
6.The System will reboot itself. Then the Internet phones will reboot themselves.
7.The Voice - Info screen will appear. In the Line 1 Status section, make sure that the Registration Status says, “Registered.”
You are now ready to make your first external call. Use any phone connected to the System, and dial 9 first when you make an external call with the default US dial plan.
You can use analog telephones to make external calls; however, you cannot receive calls on any analog telephones unless you configure the appropriate settings. Refer to the Voice - FXS 1 section of “Chapter 6: Using the
Congratulations! Now you can make external calls using the System.
Chapter 4: Getting Started
Instructions for Installing the IP Telephony System
NOTE: If your Internet Telephony Service Provider (ITSP) supplied the System, then it may be
Figure 4-8: Voice - Line 1 Screen
NOTE: If you cannot make calls with the default US dial plan, visit www.linksys.com/kb for additional dial plans, or refer to “Appendix C: Dial Plan and
12
VoIPon Solutions www.voipon.co.uk sales@voipon.co.uk Tel: +44 (0) 1245 600560
