IP Telephony System
Configuring the Auto-Attendant Settings
To configure the nighttime
1.Launch Internet Explorer or Netscape Navigator on the administration computer.
2.Enter <IP address of the System>/admin/voice/advanced in the web browser’s Address field. (Enter the IP address you assigned to the System when you installed it.)
Then press the Enter key.
3.The Voice - Info screen will appear. Click the SIP tab.
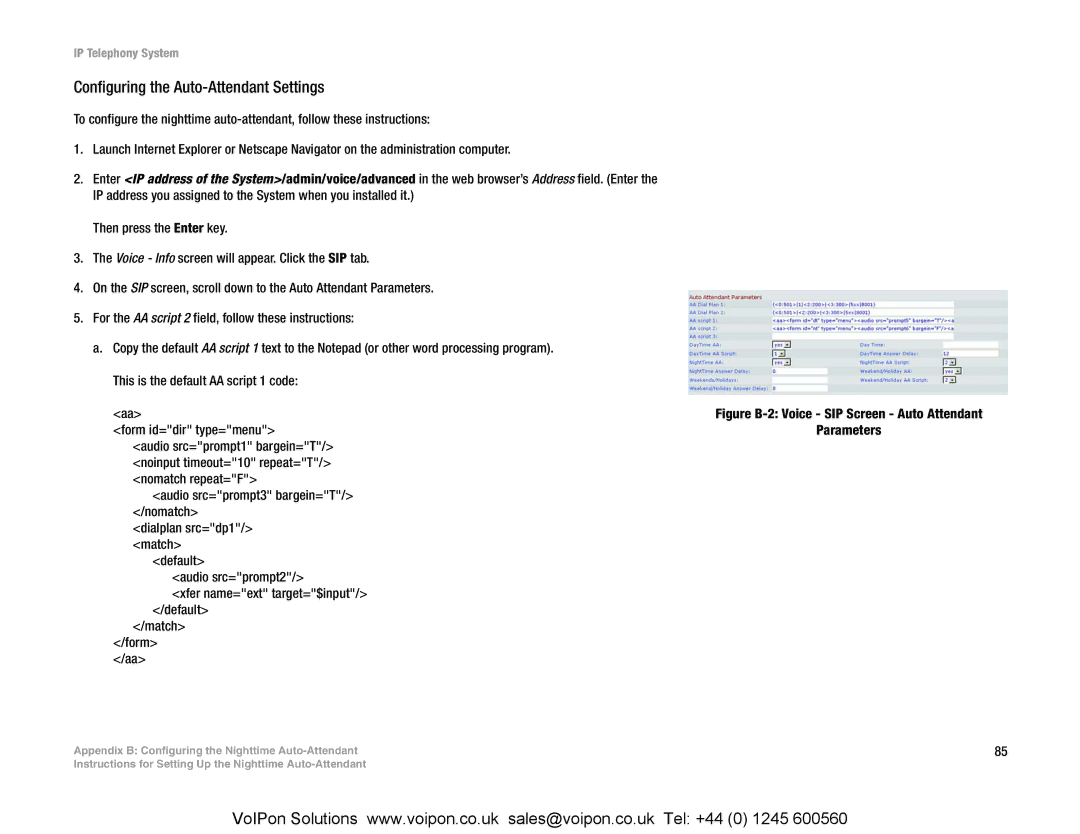
4.On the SIP screen, scroll down to the Auto Attendant Parameters.
5.For the AA script 2 field, follow these instructions:
a.Copy the default AA script 1 text to the Notepad (or other word processing program). This is the default AA script 1 code:
<aa> | Figure |
<form id="dir" type="menu"> | Parameters |
<audio src="prompt1" bargein="T"/> |
|
<noinput timeout="10" repeat="T"/> |
|
<nomatch repeat="F"> |
|
<audio src="prompt3" bargein="T"/> |
|
</nomatch> |
|
<dialplan src="dp1"/> |
|
<match> |
|
<default> |
|
<audio src="prompt2"/> |
|
<xfer name="ext" target="$input"/> |
|
</default> |
|
</match> |
|
</form> |
|
</aa> |
|
Appendix B: Configuring the Nighttime | 85 |
Instructions for Setting Up the Nighttime |
|
VoIPon Solutions www.voipon.co.uk sales@voipon.co.uk Tel: +44 (0) 1245 600560
