7. Setting the functions
1
1 fi
2fi
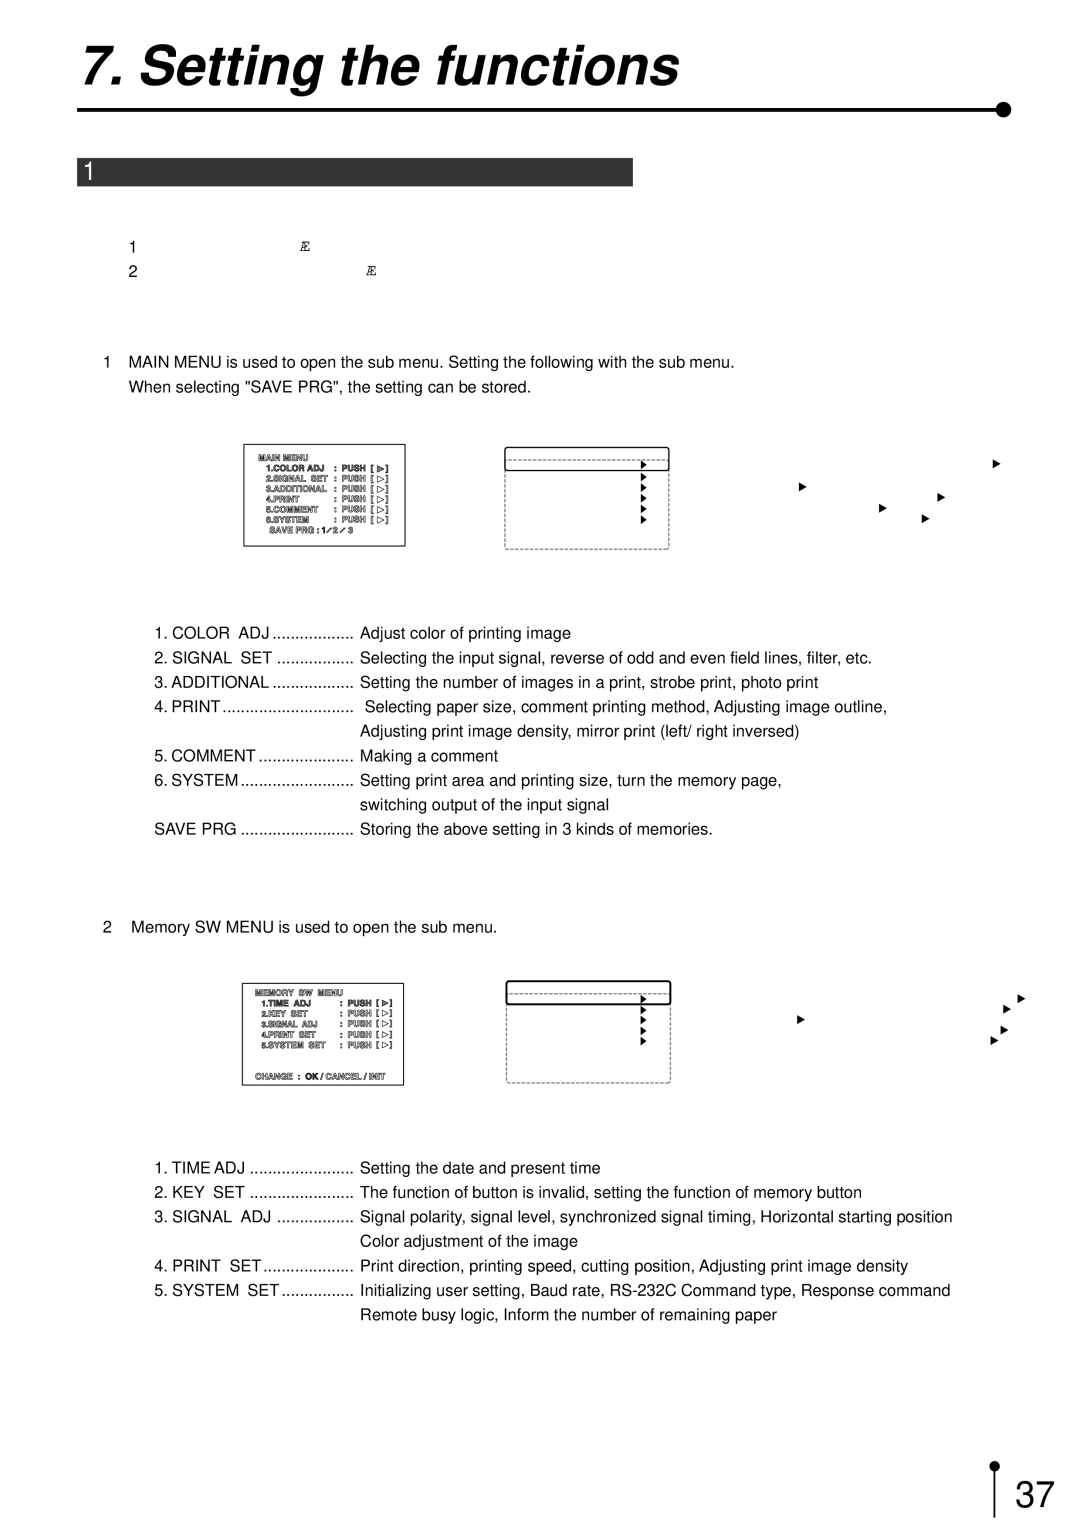
1MAIN MENU is used to open the sub menu. Setting the following with the sub menu. When selecting "SAVE PRG", the setting can be stored.
Main Menu PRG. |
|
|
1.COLOR ADJ | : PUSH [ | ] |
2.SIGNAL SET : PUSH [ | ] | |
3.ADDITIONAL | : PUSH [ | ] |
4.PRINT | : PUSH [ | ] |
5.COMMENT | : PUSH [ | ] |
6.SYSTEM | : PUSH [ | ] |
SAVE PRG | : 1 / 2 / 3 |
|
1. | COLOR ADJ | Adjust color of printing image |
2. | SIGNAL SET | Selecting the input signal, reverse of odd and even field lines, filter, etc. |
3. ADDITIONAL | Setting the number of images in a print, strobe print, photo print | |
4. PRINT | Selecting paper size, comment printing method, Adjusting image outline, | |
|
| Adjusting print image density, mirror print (left/ right inversed) |
5. COMMENT | Making a comment | |
6. SYSTEM | Setting print area and printing size, turn the memory page, | |
|
| switching output of the input signal |
SAVE PRG | Storing the above setting in 3 kinds of memories. | |
2Memory SW MENU is used to open the sub menu.
Memory SW Main Menu |
| |
1.TIME ADJ | : PUSH [ | ] |
2.KEY SET | : PUSH [ | ] |
3.SIGNAL ADJ | : PUSH [ | ] |
4.PRINT SET | : PUSH [ | ] |
5.SYSTEM SET | : PUSH [ | ] |
CHANGE : OK | CANCEL | INIT |
1. TIME ADJ | Setting the date and present time | |
2. | KEY SET | The function of button is invalid, setting the function of memory button |
3. | SIGNAL ADJ | Signal polarity, signal level, synchronized signal timing, Horizontal starting position |
|
| Color adjustment of the image |
4. | PRINT SET | Print direction, printing speed, cutting position, Adjusting print image density |
5. SYSTEM SET | Initializing user setting, Baud rate, | |
|
| Remote busy logic, Inform the number of remaining paper |
37
