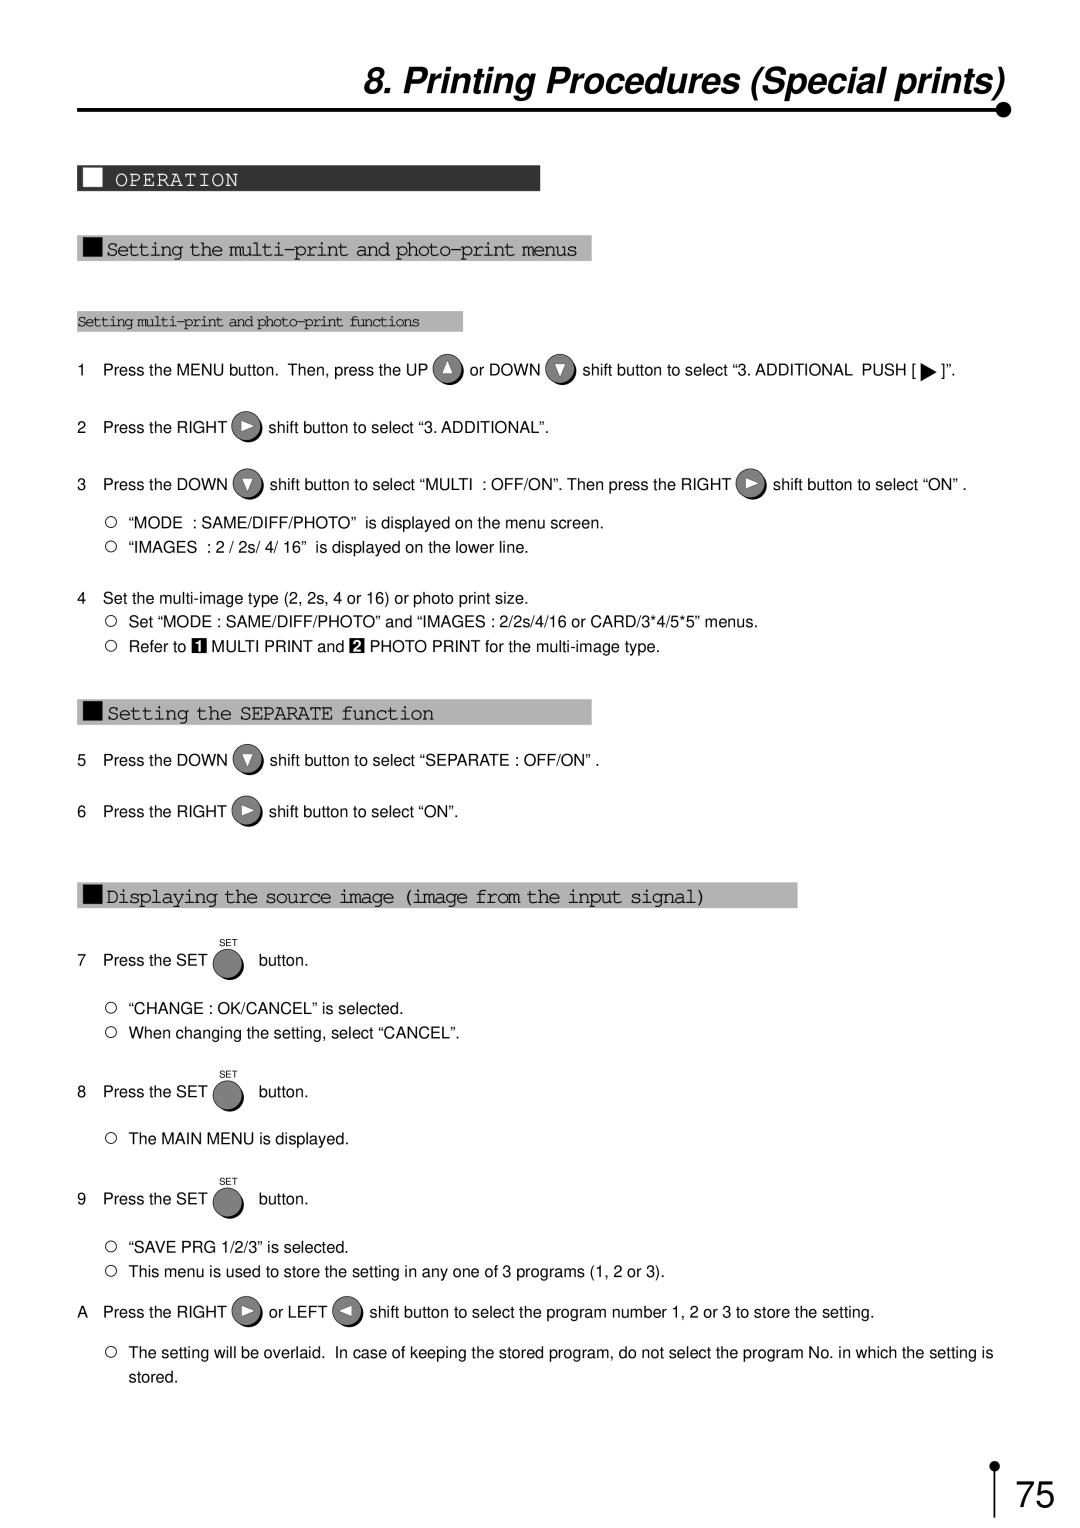
8. Printing Procedures (Special prints)
1OPERATION
1Setting the multi-print and photo-print menus
Setting
1Press the MENU button. Then, press the UP ![]() or DOWN
or DOWN ![]() shift button to select “3. ADDITIONAL PUSH [
shift button to select “3. ADDITIONAL PUSH [ ![]() ]”.
]”.
2Press the RIGHT ![]() shift button to select “3. ADDITIONAL”.
shift button to select “3. ADDITIONAL”.
3Press the DOWN ![]() shift button to select “MULTI : OFF/ON”. Then press the RIGHT
shift button to select “MULTI : OFF/ON”. Then press the RIGHT ![]() shift button to select “ON” .
shift button to select “ON” .
,“MODE : SAME/DIFF/PHOTO” is displayed on the menu screen.
,“IMAGES : 2 / 2s/ 4/ 16” is displayed on the lower line.
4 Set the
, Set “MODE : SAME/DIFF/PHOTO” and “IMAGES : 2/2s/4/16 or CARD/3*4/5*5” menus. , Refer to 1 MULTI PRINT and 2 PHOTO PRINT for the
1Setting the SEPARATE function
5Press the DOWN ![]() shift button to select “SEPARATE : OFF/ON” .
shift button to select “SEPARATE : OFF/ON” .
6 Press the RIGHT ![]() shift button to select “ON”.
shift button to select “ON”.
1Displaying the source image (image from the input signal)
SET
7Press the SET ![]() button.
button.
,“CHANGE : OK/CANCEL” is selected.
,When changing the setting, select “CANCEL”.
SET
8Press the SET  button.
, The MAIN MENU is displayed.
SET
9Press the SET ![]() button.
button.
,“SAVE PRG 1/2/3” is selected.
,This menu is used to store the setting in any one of 3 programs (1, 2 or 3).
APress the RIGHT ![]() or LEFT
or LEFT ![]() shift button to select the program number 1, 2 or 3 to store the setting.
shift button to select the program number 1, 2 or 3 to store the setting.
,The setting will be overlaid. In case of keeping the stored program, do not select the program No. in which the setting is stored.
75
