PRINTING TRANSPARENCIES
•Create the information you need printed on the transparencies within your application. Try printing on a plain sheet of paper first for proper placement.
•Print transparencies from Paper Tray 1 only.
•Load up to 50 sheets in Paper Tray 1.
•Keep the paper path clean. Transparencies are especially sensitive to dirt. If shadows appear on either the top or bottom of the sheets, refer to Chapter 8, “Maintaining Your Printer,” for instructions on how to clean the printer.
•If the manufacturer put a removable strip at the edge of the transparencies, load the transparencies with the strip toward the front of the printer (even if they recommend that the striped edge faces the back of the printer).
•The printer will automatically detect transparencies in Paper Tray 1.
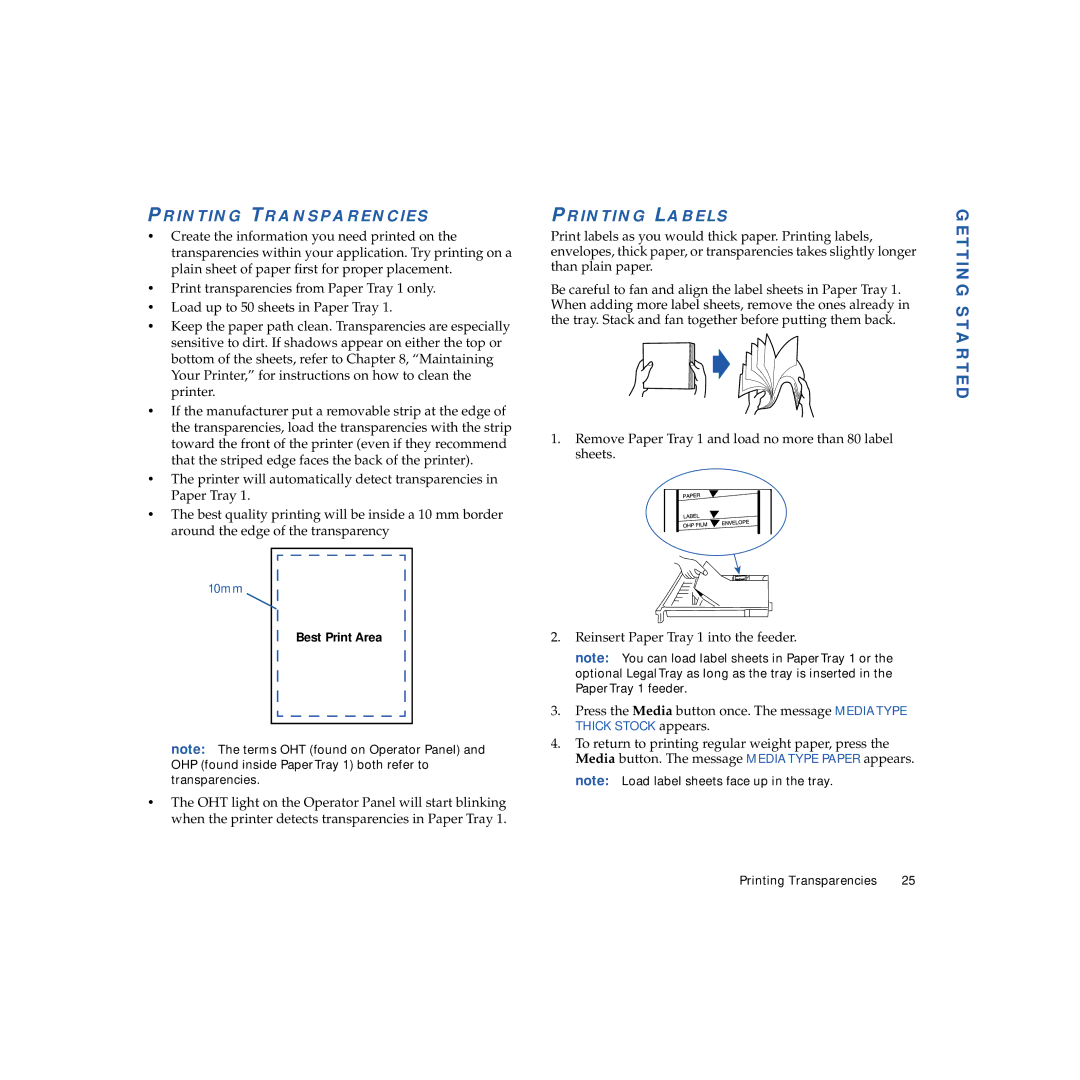
•The best quality printing will be inside a 10 mm border around the edge of the transparency
PRINTING LABELS
Print labels as you would thick paper. Printing labels, envelopes, thick paper, or transparencies takes slightly longer than plain paper.
Be careful to fan and align the label sheets in Paper Tray 1. When adding more label sheets, remove the ones already in the tray. Stack and fan together before putting them back.
1.Remove Paper Tray 1 and load no more than 80 label sheets.
GETTING STARTED
10mm
Best Print Area
note: The terms OHT (found on Operator Panel) and OHP (found inside Paper Tray 1) both refer to transparencies.
•The OHT light on the Operator Panel will start blinking when the printer detects transparencies in Paper Tray 1.
2.Reinsert Paper Tray 1 into the feeder.
note: You can load label sheets in Paper Tray 1 or the optional Legal Tray as long as the tray is inserted in the Paper Tray 1 feeder.
3.Press the Media button once. The message MEDIA TYPE THICK STOCK appears.
4.To return to printing regular weight paper, press the Media button. The message MEDIA TYPE PAPER appears.
note: Load label sheets face up in the tray.
Printing Transparencies | 25 |
