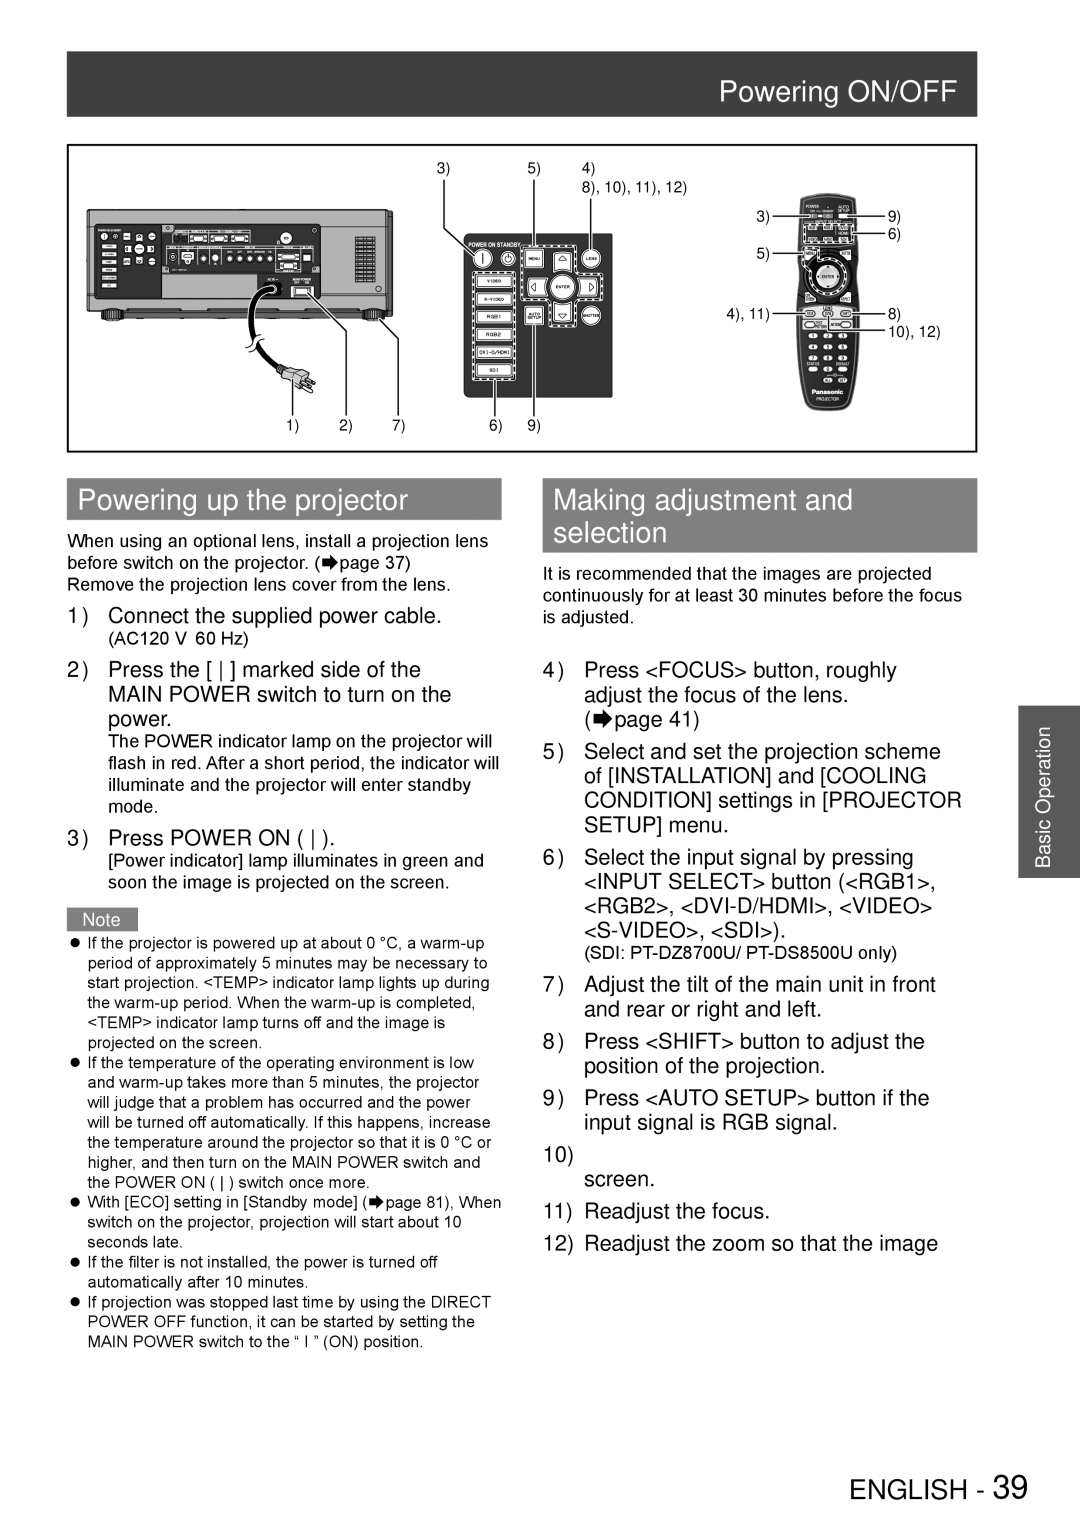
Powering ON/OFF
|
| 3) |
| 5) | 4) |
|
|
|
|
|
| 8), 10), 11), 12) |
|
|
|
|
|
| 3) | 9) |
|
|
|
|
| 5) | 6) |
|
|
|
|
|
| |
|
|
|
|
| 4), 11) | 8) |
|
|
|
|
|
| 10), 12) |
1) | 2) | 7) | 6) | 9) |
|
|
Powering up the projector
When using an optional lens, install a projection lens before switch on the projector. (Æpage 37) Remove the projection lens cover from the lens.
1111 Connect the supplied power cable.
(AC120 V 60 Hz)
Making adjustment and selection
It is recommended that the images are projected continuously for at least 30 minutes before the focus is adjusted.
2222 Press the [ ] marked side of the MAIN POWER switch to turn on the power.
The POWER indicator lamp on the projector will flash in red. After a short period, the indicator will illuminate and the projector will enter standby mode.
3333 Press POWER ON ( ).
[Power indicator] lamp illuminates in green and soon the image is projected on the screen.
Note
zzIf the projector is powered up at about 0 °C, a
zzIf the temperature of the operating environment is low and
zzWith [ECO] setting in [Standby mode] (Æpage 81), When switch on the projector, projection will start about 10 seconds late.
zzIf the filter is not installed, the power is turned off automatically after 10 minutes.
zzIf projection was stopped last time by using the DIRECT POWER OFF function, it can be started by setting the MAIN POWER switch to the “ I ” (ON) position.
4444 Press <FOCUS> button, roughly adjust the focus of the lens. (Æpage 41)
5555 Select and set the projection scheme of [INSTALLATION] and [COOLING CONDITION] settings in [PROJECTOR SETUP] menu.
6666 Select the input signal by pressing <INPUT SELECT> button (<RGB1>, <RGB2>,
(SDI:
7777 Adjust the tilt of the main unit in front and rear or right and left.
8888 Press <SHIFT> button to adjust the position of the projection.
9999 Press <AUTO SETUP> button if the input signal is RGB signal.
1111 Zoom the lens so the image fills the screen.
1111 Readjust the focus.
1111 Readjust the zoom so that the image size fits in the screen.
Basic Operation
ENGLISH - 39