PROJECTOR SETUP menu
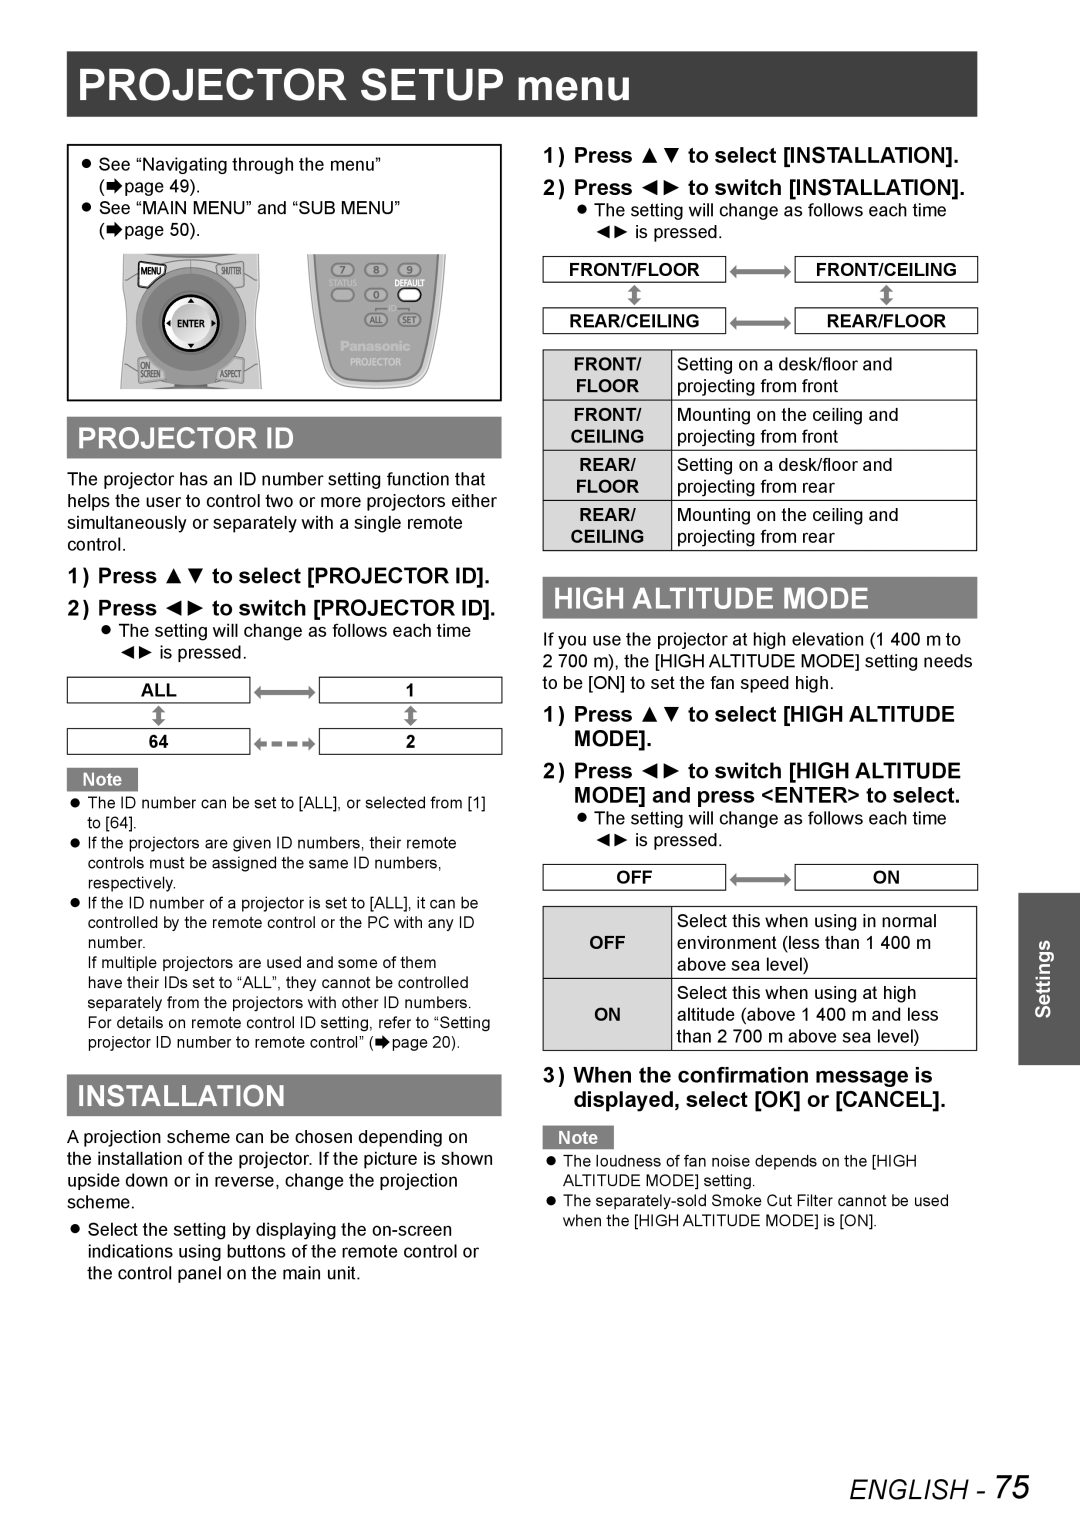
zzSee “Navigating through the menu” (Æpage 49).
zzSee “MAIN MENU” and “SUB MENU” (Æpage 50).
PROJECTOR ID
The projector has an ID number setting function that helps the user to control two or more projectors either simultaneously or separately with a single remote control.
1111 Press ▲▼ to select [INSTALLATION].
2222 Press ◄► to switch [INSTALLATION].
zzThe setting will change as follows each time ◄► is pressed.
FRONT/FLOOR |
| FRONT/CEILING | |
|
|
|
|
REAR/CEILING |
| REAR/FLOOR | |
|
| ||
FRONT/ | Setting on a desk/floor and | ||
FLOOR | projecting from front | ||
FRONT/ | Mounting on the ceiling and | ||
CEILING | projecting from front | ||
REAR/ | Setting on a desk/floor and | ||
FLOOR | projecting from rear | ||
REAR/ | Mounting on the ceiling and | ||
CEILING | projecting from rear | ||
1111 Press ▲▼ to select [PROJECTOR ID].
2222 Press ◄► to switch [PROJECTOR ID].
zzThe setting will change as follows each time ◄► is pressed.
ALL |
| 1 |
|
| |
64 |
| 2 |
Note
zzThe ID number can be set to [ALL], or selected from [1] to [64].
zzIf the projectors are given ID numbers, their remote controls must be assigned the same ID numbers, respectively.
zzIf the ID number of a projector is set to [ALL], it can be controlled by the remote control or the PC with any ID number.
If multiple projectors are used and some of them have their IDs set to “ALL”, they cannot be controlled separately from the projectors with other ID numbers. For details on remote control ID setting, refer to “Setting projector ID number to remote control” (Æpage 20).
HIGH ALTITUDE MODE
If you use the projector at high elevation (1 400 m to
2 700 m), the [HIGH ALTITUDE MODE] setting needs to be [ON] to set the fan speed high.
1111 Press ▲▼ to select [HIGH ALTITUDE MODE].
2222 Press ◄► to switch [HIGH ALTITUDE MODE] and press <ENTER> to select.
zzThe setting will change as follows each time ◄► is pressed.
OFF |
|
| ON |
|
| ||
OFF | Select this when using in normal | ||
environment (less than 1 400 m | |||
| above sea level) | ||
ON | Select this when using at high | ||
altitude (above 1 400 m and less | |||
| than 2 700 m above sea level) | ||
Settings
INSTALLATION
A projection scheme can be chosen depending on the installation of the projector. If the picture is shown upside down or in reverse, change the projection scheme.
zzSelect the setting by displaying the
3333 When the confirmation message is displayed, select [OK] or [CANCEL].
Note
zzThe loudness of fan noise depends on the [HIGH ALTITUDE MODE] setting.
zzThe
ENGLISH - 75
