Settings
POSITION menu
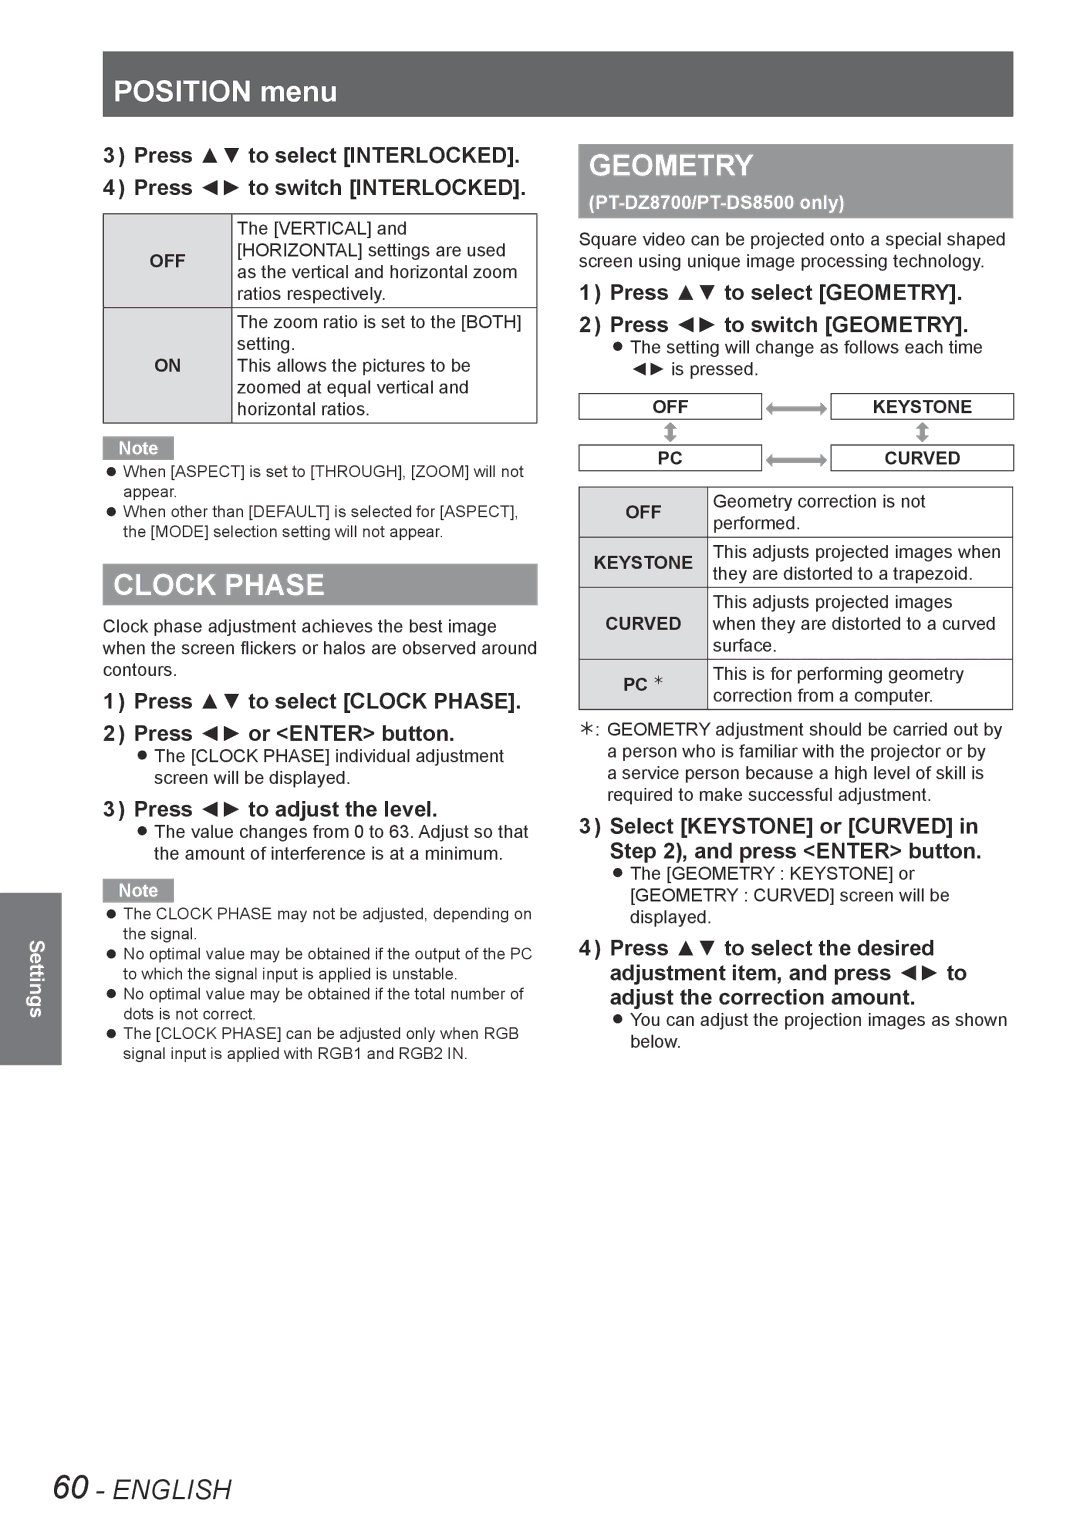
3333 Press ▲▼ to select [INTERLOCKED].
4444 Press ◄► to switch [INTERLOCKED].
| The [VERTICAL] and | |
OFF | [HORIZONTAL] settings are used | |
as the vertical and horizontal zoom | ||
| ||
| ratios respectively. | |
| The zoom ratio is set to the [BOTH] | |
ON | setting. | |
This allows the pictures to be | ||
| zoomed at equal vertical and | |
| horizontal ratios. |
Note
zzWhen [ASPECT] is set to [THROUGH], [ZOOM] will not appear.
zzWhen other than [DEFAULT] is selected for [ASPECT], the [MODE] selection setting will not appear.
CLOCK PHASE
Clock phase adjustment achieves the best image when the screen flickers or halos are observed around contours.
1111 Press ▲▼ to select [CLOCK PHASE].
2222 Press ◄► or <ENTER> button.
zzThe [CLOCK PHASE] individual adjustment screen will be displayed.
3333 Press ◄► to adjust the level.
zzThe value changes from 0 to 63. Adjust so that the amount of interference is at a minimum.
Note
zzThe CLOCK PHASE may not be adjusted, depending on the signal.
zzNo optimal value may be obtained if the output of the PC to which the signal input is applied is unstable.
zzNo optimal value may be obtained if the total number of dots is not correct.
zzThe [CLOCK PHASE] can be adjusted only when RGB signal input is applied with RGB1 and RGB2 IN.
GEOMETRY
(PT-DZ8700/PT-DS8500 only)
Square video can be projected onto a special shaped screen using unique image processing technology.
1111 Press ▲▼ to select [GEOMETRY].
2222 Press ◄► to switch [GEOMETRY].
zzThe setting will change as follows each time ◄► is pressed.
OFF |
|
| KEYSTONE | |
|
|
|
| |
PC |
|
| CURVED | |
|
| |||
OFF | Geometry correction is not | |||
performed. | ||||
| ||||
KEYSTONE | This adjusts projected images when | |||
they are distorted to a trapezoid. | ||||
CURVED | This adjusts projected images | |||
when they are distorted to a curved | ||||
| surface. | |||
PC Û | This is for performing geometry | |||
| correction from a computer. | |||
½½½ GEOMETRY adjustment should be carried out by a person who is familiar with the projector or by a service person because a high level of skill is required to make successful adjustment.
3333 Select [KEYSTONE] or [CURVED] in Step 2), and press <ENTER> button.
zzThe [GEOMETRY : KEYSTONE] or [GEOMETRY : CURVED] screen will be displayed.
4444 Press ▲▼ to select the desired adjustment item, and press ◄► to adjust the correction amount.
zzYou can adjust the projection images as shown below.
60 - ENGLISH
