Maintenance Guide
Operating Instructions
Introduction
Trademarks
Safety Information
Safety During Operation
Iii
Low-power Mode Energy Saver mode Specifications
Energy Star Program
How to Read This Manual
Symbols
Table of Contents
100
102
103
105
Viii
Replacing Consumables and Maintenance Kit
Detaching the SR770 2 Tray Finisher
Lower the Duplex Reversal Unit slowly until it stops
Opening and Closing the Duplex Reversal Unit
Push up the lock release button and keep it in place
Replacing the Toner Cartridge
Add Toner
Shake the toner cartridge back and forth 5-6 times
Loading Toner
Turn off the power switch and unplug the power cable
Replacing the Fuser Oil Unit
Replace Fuser Oil Unit TypeG
Pull out the left cover of the print- er slowly
Do not touch any areas other than the handle
ZDJH055J
Plug in the power cable and turn on the power switch
Replacing the Photoconductor Unit
Replace Black PCU Type F
Replace Color PCU Type a
Take out the green screwdriver
Lift the inner cover until it clicks into place and holds
Remove the Photoconductor Unit you want to replace
Install a new Photoconductor Unit
Take the unit out from the bag
Turn the light brown lever clock- wise
Tighten two screws using provid- ed screwdriver
Lower the inner cover slowly
Calibrating
Replace Color Dev. UnitTypeB
Replacing the Development Unit
Replace Black Dev. UnitTypeD
Install a new Development Unit
Remove the Development Unit
ZDJH227E
Please Wait
Pull out the left cover of the print- er
Replacing the Fusing Unit
Replace Fusing Unit Type C
Remove the Fuser Oil Unit in the direction of the arrow
Please Wait
Set Sheet Bypass, then #
Press # for Fuser Adjust
Initializing Please Wait
C D E F G H 0 0 0 0 0 0 0
Ready
Invalid Value Press #
Replacing the Dustproof Filter
Wear the glove on either hand
Attach the small filter
Replacing the Waste Toner Bottle
Replace Waste Toner Type E
Push it in until it stops
Paper Feed Roller B Paper Feed Roller C Two Stoppers
Replacing the Paper Feed Rollers
Paper Feed Roller a
Replacing the Paper Feed Rollers
ZERH090E
Cleaning and Adjusting the Printer
Cleaning the Registration Roller
Close the right cover by pushing the area labeled Push
Cleaning the DustProof Glass
Adjusting the Color Registration
Auto Adjust
Fuser Adjust
Color Regist Fuser Adjust
When replacing the fusing unit
Completed
Cannot Adjust See User’s Guide
Fuser Adjust At Unit Replace
Invalid Value Cannot Adjust
Test Sheet Print
Load A4L or larger paper in the Bypass Tray
Menu Maintenance Fuser Adjust Custom Adjust
When color shifting occurs
Set Sheet, then# A3 297 X
Custom Adjust Plain 600dpi
Select Action
Manual Adjust
Adjustment a -7.0 +7.0 +0
Color Regist Manual Adjust Adjustment a -7.0 +7.0 +2
Press U or T to display Man- ual Adjust, and then press En
Printing
Manual Adjust Print Result
Color Regist Manual Adjust
ColorRegistSheet Fuser Adjust Sheet
Test Sheet Samples
Fuser Adjust Sheet
Adjusting the Image Density
Maintenance Image Density
Menu Maintenance Ready
Image Density Black
Adjusting the Registration of the Trays
Maintenance Registration
Registration
Prt. Test Sheet
Registration Adjustment
Adjustment Vert. Tray
Vert. Tray 3 -5.0 +5.0
Press U or T to set the digit of the registration value mm
Cleaning and Adjusting the Printer
Input Paper Sizes Metric version
Paper and Other Media Supported by This Printer
Paper Sizes
Paper and Other Media
Input Paper Sizes Inch version
Paper weight and number of sheets to be set
Output Paper Sizes Metric version
148 ⋅ 210 ⋅
Output Paper Sizes Inch version
Storing Paper
Paper Recommendations
Loading Paper
Types of Paper and Other Media
Plain Paper
Thick Paper
OHP transparencies
Envelopes
Only envelopes a and B as shown below are supported
Paper not supported by this printer
Printable Area
Loading Paper
Loading Paper in Tray
Pull out the paper tray slowly un- til it stops
Load paper into the tray with the print side down
Load paper in the same direction
Loading Paper in Tray 2 and the Optional Paper Feed Unit
Set the paper guide lock to the unlocked position
ZDJY007J
Menu Paper Input
Paper Input Tray Paper Size
Push in the Paper Tray slowly un- til it stops
Press U or T to display Paper Input, and then press Enter
Press U or T to display pAuto, and then press Enter
2 x
Tray 2 *Auto
Changing the paper type
Paper Type Tray
Tray Recycled Paper
Menu Paper Input Ready
Load Paper in the Bypass Tray
Adjust the side guides to the pa- per width
Paper Input Bypass Size
Bypass Size *11 x
Press U or T to Paper In- put menu, and then press En- ter
Bypass Size Custom Size
Custom Size Vert mm
Custom Size Horiz mm
Specifying a custom paper size for the Bypass Tray
Press U or T to display By- pass Tray, and then press Enter
Paper Type Bypass Tray
Specifying a paper type for the Bypass Tray
Panel display
Bypass Tray Thick Paper
Following message appears on
Alert Messages
Error & Status Messages on the Control Panel
Status Messages
Troubleshooting
Error & Status Messages on the Control Panel
UTILITY\1394
RAM
Troubleshooting
Error & Status Messages on the Control Panel
Troubleshooting
PCU
Troubleshooting
Error & Status Messages on the Control Panel
Troubleshooting
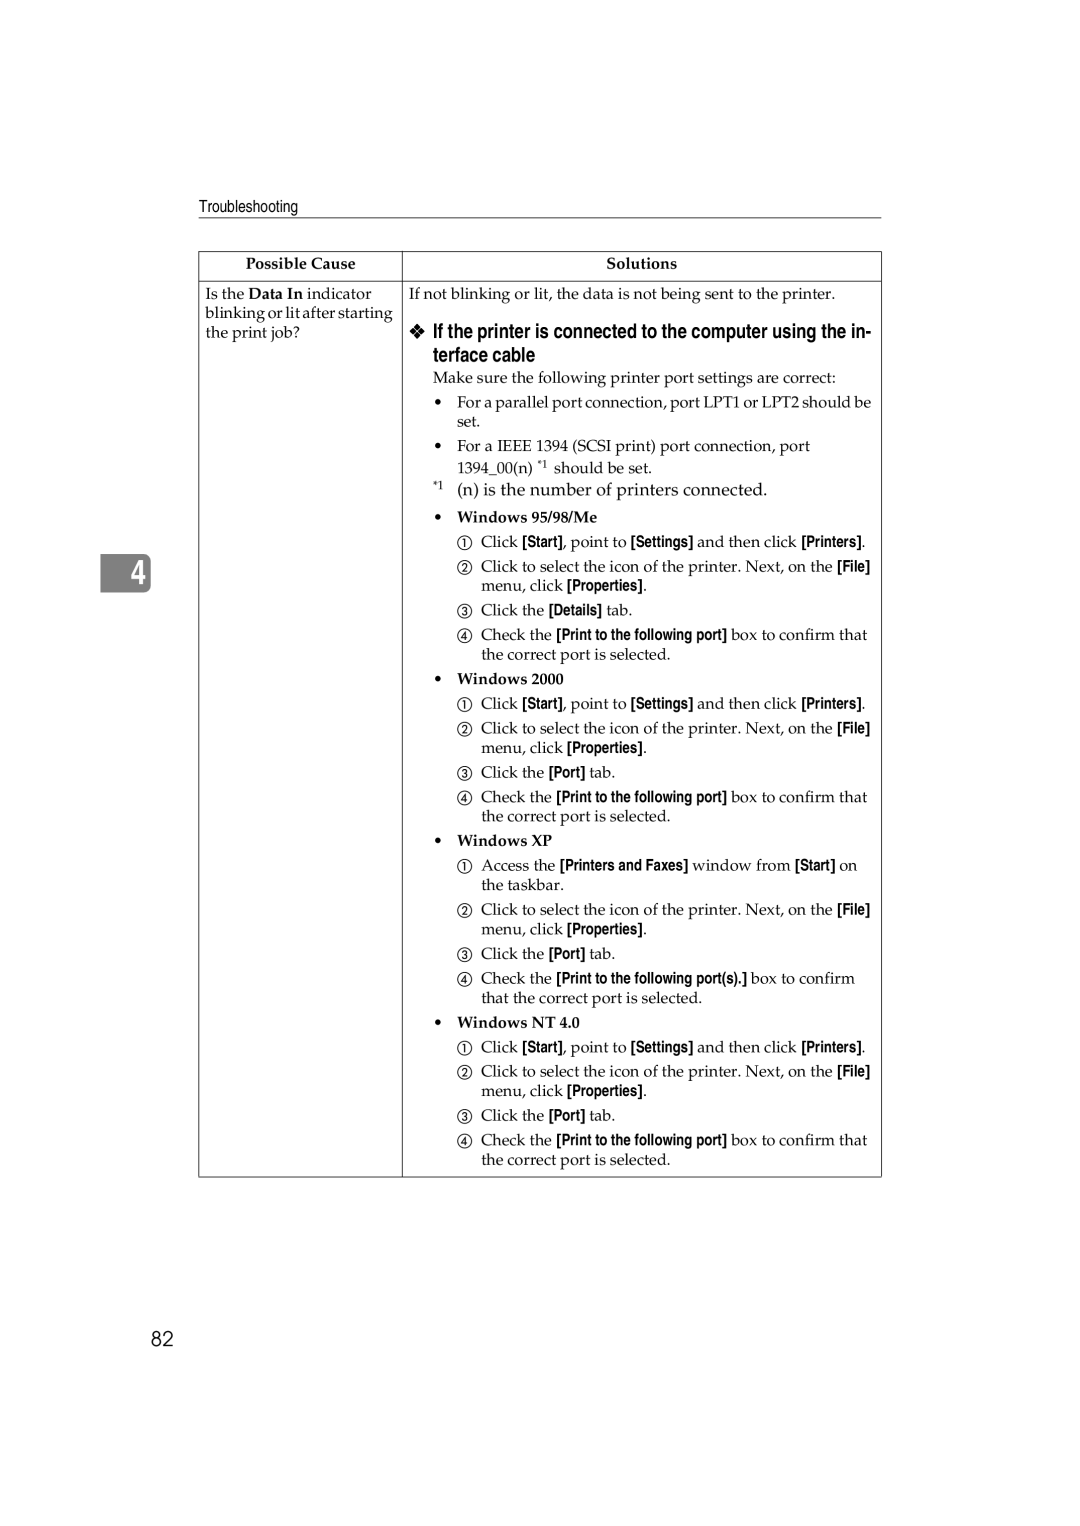
Possible Cause Solutions
Printer Does Not Print
Terface cable
Is the number of printers connected
Network Connection
Other Printing Problems
Status Possible Causes, Descriptions, and Solutions
Der the Image Adjustments tab in the Change Use Settings
Select KBlack for Gray Reproduction under the Image
Status Possible Causes, Descriptions, and Solutions
Removing Misfed Paper
Detaching the 2 Tray Finisher
Removing Misfed Paper in the Duplex Feed Unit
Opening and Closing the Duplex Reversal Unit
ZDJP221J
ZDJP056J
When Remove Misfeed AInternal Path Appears
Open the right cover
Pull out the upper left cover for the printer slowly
Back until it clicks into place B
When Remove Misfeed W Mailbox Appears
Close the Mailbox Cover
Fold the Output Tray Raise it vertically
Fold it along the printer body
ZDJY208J
Close the front cover for the 2 Tray Finisher
Return the Output Tray back into place Raise the tray
Lower it slowly
Close the Lower Right cover for the Paper Feed Unit
If you cannot remove the paper, proceed to step C
Removing Jammed Staples
Add Staples
Open the face plate of the car- tridge to unlock it
Remove the jammed staples
Close the front cover for the 24 Tray Finisher
Adding Staples
Pull the case cover up
Close the front cover for the 2 4 Tray Finisher
Pull out the ribbon used for bun- dling the staples
Are Full
Removing Punch-hole Chips
Punch-hole Chips
Push in the Transfer Unit until it stops
When the Front Cover Does Not Close
Close Front Cover
104
Moving and Transporting the Printer
Moving the Printer
Moving the printer in the short distance
Be sure to check the following points
106
Staple Cartridge
Consumables
Toner cartridge
Other consumables
Name Consumables Average printable number Pages *1
Index
110
Memo
112
Page
Overseas Affiliates