3Push the envelope levers upwards. The print quality will be enhanced.
CAUTION: Push the envelope levers downwards when you print on materials other than envelopes.
4Flex or fan the edge of the envelope stack to separate and load the envelopes into the
6When you print, set the paper source, type, and size properly in the software application. For details, see the Software Section.
For details about setting on the control panel, see page 3.2.
7After printing, push the envelope levers to their original positions, and close the
Printing on Labels
Guidelines
•Only use labels recommended for laser printers.
•Verify that the labels’ adhesive material can tolerate fusing temperature of 195°C (383°F) for 0.1 second.
•Make sure that there is no exposed adhesive material between the labels. Exposed areas can cause labels to peel off during printing, which can cause paper jams. Exposed adhesive can also cause damage to printer components.
•Never print on the same sheet of labels more than once, or print on a partial sheet of labels.
•Do not use labels that are separating from the backing sheet or are wrinkled, bubbled, or damaged in any way.
•To prevent labels from sticking together, do not let the printed label sheets stack up as they are printed out.
1Open the
5 Squeeze the paper width guide and slide it to the edge of the envelope stack without causing it to bend.
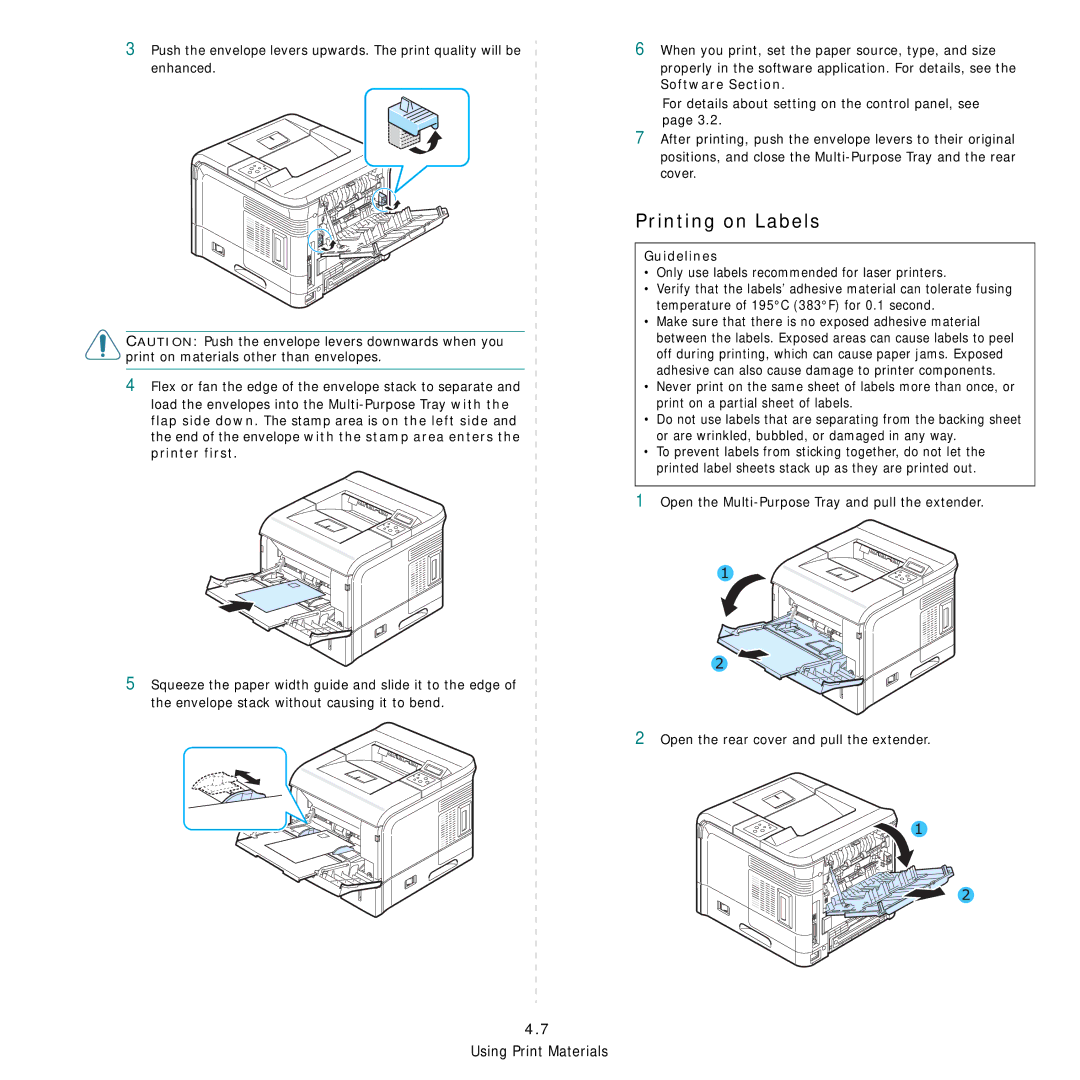
2 Open the rear cover and pull the extender.