6
7
Tighten the two screws which you removed in step 4 or supplied with your new network card.
Replace the control board cover.
Using the Hard Disk
Installing the hard disk allows the data from your computer to be sent to the print queue of the printer hard disk. This decreases the workload of the computer.
You can use various print features, such as storing a job in the hard disk, proofing a job, and printing private documents.
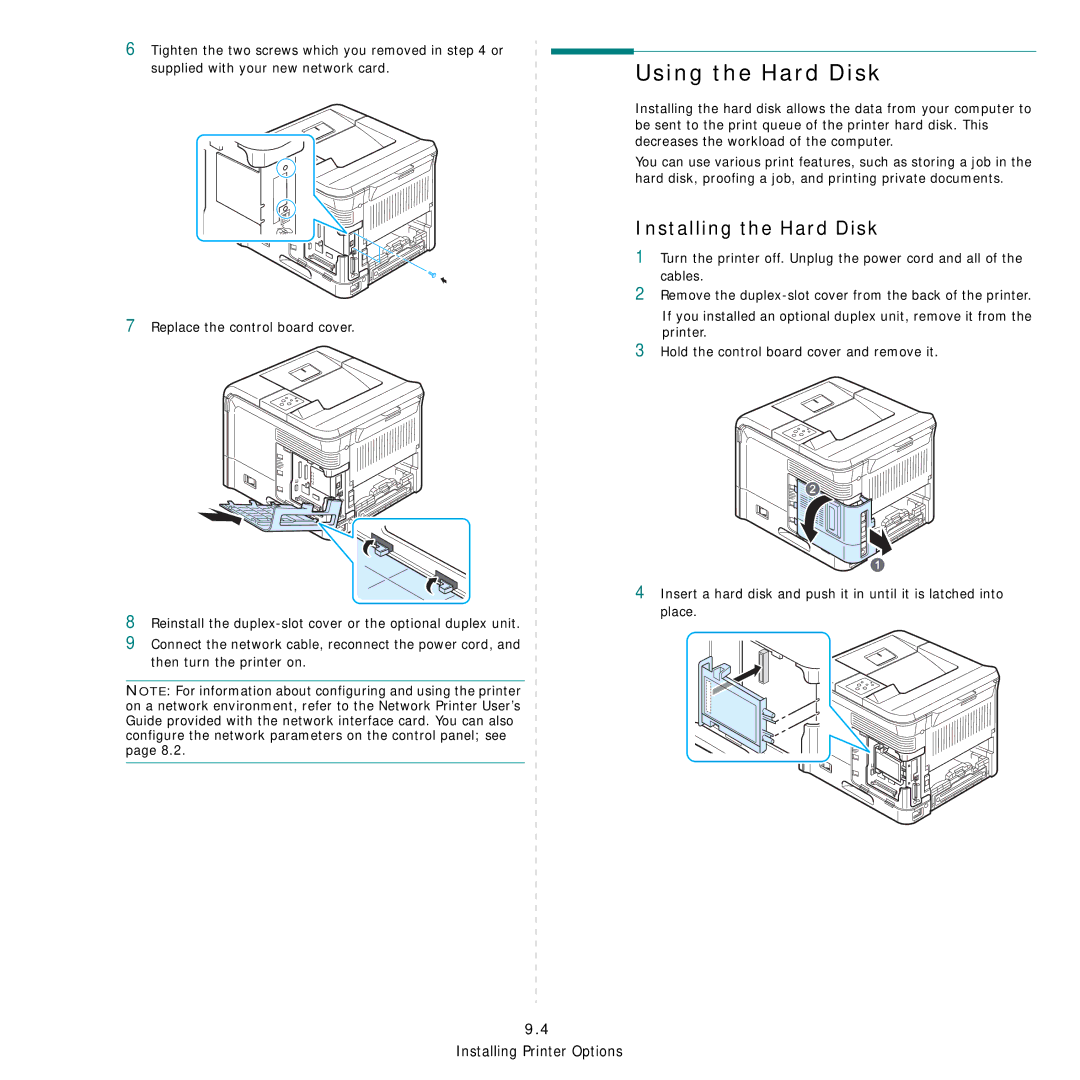
Installing the Hard Disk
1Turn the printer off. Unplug the power cord and all of the cables.
2Remove the
If you installed an optional duplex unit, remove it from the printer.
3Hold the control board cover and remove it.
8Reinstall the
9Connect the network cable, reconnect the power cord, and then turn the printer on.
NOTE: For information about configuring and using the printer on a network environment, refer to the Network Printer User’s Guide provided with the network interface card. You can also configure the network parameters on the control panel; see page 8.2.
4Insert a hard disk and push it in until it is latched into place.
9.4