SECTION 2: INSTALLATION
2.4 REPLACING THE PRINT HEAD
Before attempting to replace the print head, it is advisable to contact your local dealer or service center so that they can assist you in case of problems.
1.Make sure the printer has been turned off for at least 30 minutes so that the print head is not hot. Lift up the main cover.
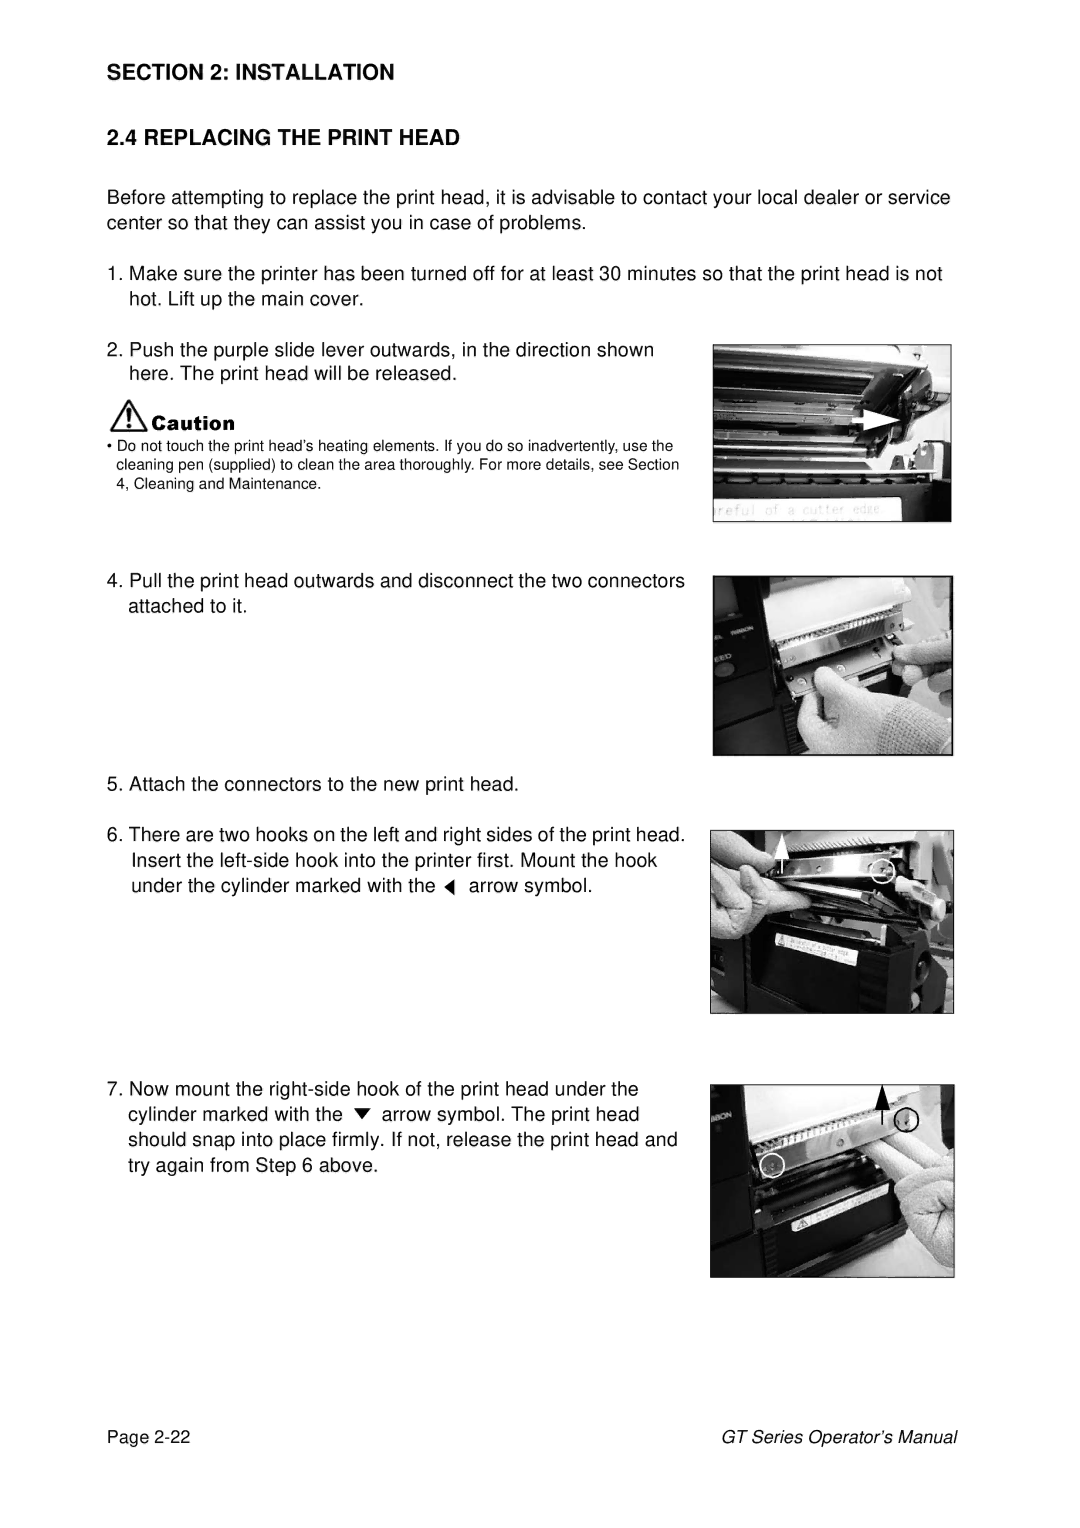
2.Push the purple slide lever outwards, in the direction shown here. The print head will be released.
•Do notCautiontouch the print head’s heating elements. If you do so inadvertently, use the cleaning pen (supplied) to clean the area thoroughly. For more details, see Section 4, Cleaning and Maintenance.
4.Pull the print head outwards and disconnect the two connectors attached to it.
5.Attach the connectors to the new print head.
6.There are two hooks on the left and right sides of the print head.
Insert the ![]() arrow symbol.
arrow symbol.
7. Now mount the ![]() arrow symbol. The print head should snap into place firmly. If not, release the print head and try again from Step 6 above.
arrow symbol. The print head should snap into place firmly. If not, release the print head and try again from Step 6 above.
Page | GT Series Operator’s Manual |