Section 2: Installation
2.5 TURNING THE PRINTER ON/OFF
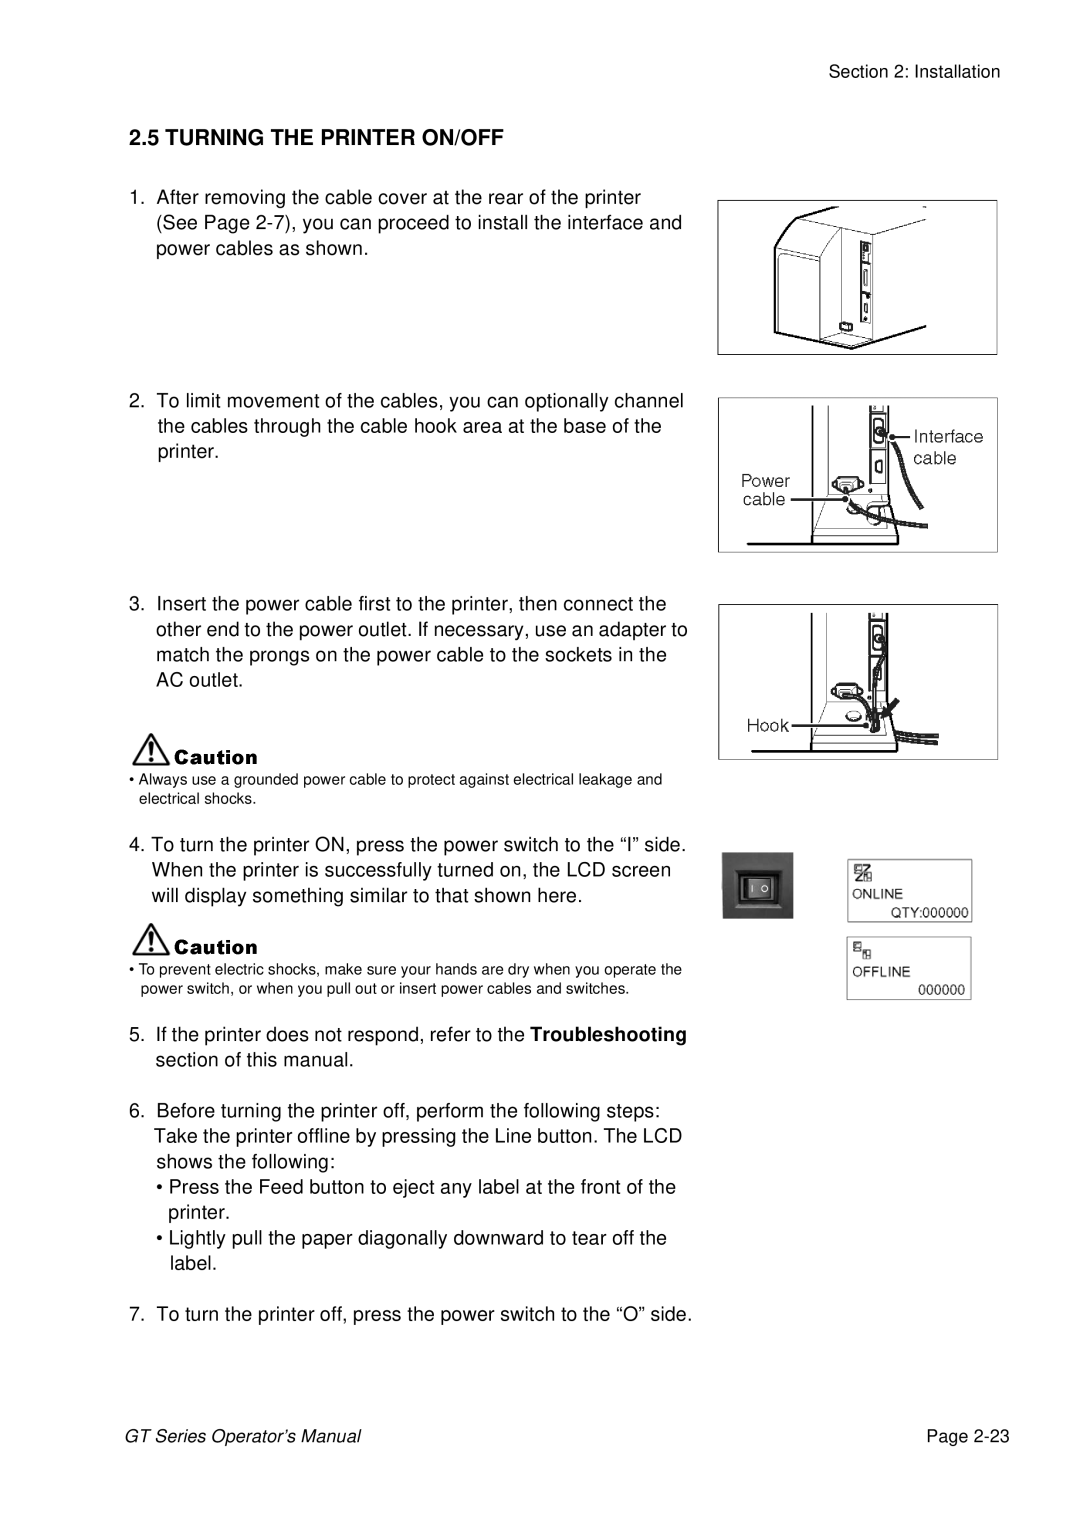
1.After removing the cable cover at the rear of the printer (See Page
2.To limit movement of the cables, you can optionally channel the cables through the cable hook area at the base of the printer.
3.Insert the power cable first to the printer, then connect the other end to the power outlet. If necessary, use an adapter to match the prongs on the power cable to the sockets in the AC outlet.
•AlwaysCautionuse grounded power cable to protect against electrical leakage and electrical shocks.
4.To turn the printer ON, press the power switch to the “I” side. When the printer is successfully turned on, the LCD screen will display something similar to that shown here.
•To preventCautionelectric shocks, make sure your hands are dry when you operate the power switch, or when you pull out or insert power cables and switches.
5.If the printer does not respond, refer to the Troubleshooting section of this manual.
6.Before turning the printer off, perform the following steps: Take the printer offline by pressing the Line button. The LCD shows the following:
•Press the Feed button to eject any label at the front of the printer.
•Lightly pull the paper diagonally downward to tear off the label.
7.To turn the printer off, press the power switch to the “O” side.
GT Series Operator’s Manual | Page |
