SECTION 2: INSTALLATION
2.2 LOADING THE CARBON RIBBON
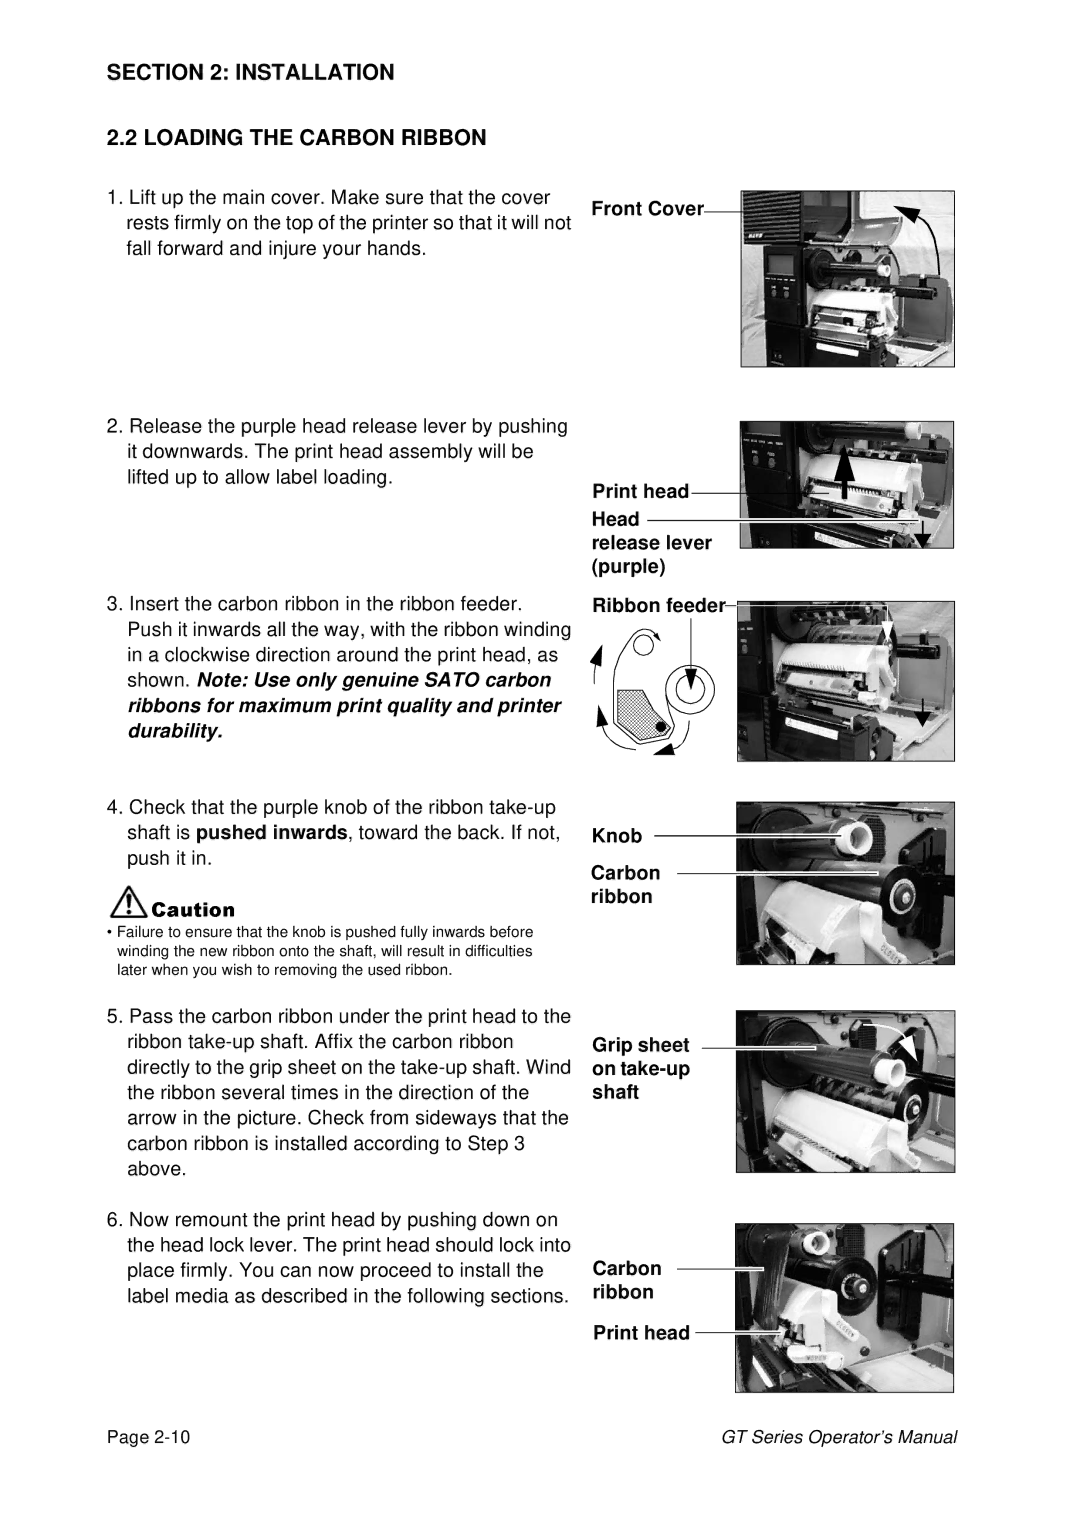
1.Lift up the main cover. Make sure that the cover rests firmly on the top of the printer so that it will not fall forward and injure your hands.
2.Release the purple head release lever by pushing it downwards. The print head assembly will be lifted up to allow label loading.
3.Insert the carbon ribbon in the ribbon feeder. Push it inwards all the way, with the ribbon winding in a clockwise direction around the print head, as shown. Note: Use only genuine SATO carbon ribbons for maximum print quality and printer durability.
Front Cover
Print head Head ![]() release lever (purple)
release lever (purple)
Ribbon feeder
4. Check that the purple knob of the ribbon
shaft is pushed inwards, toward the back. If not, Knob ![]() push it in.
push it in.
Carbon ribbon
•FailureCautionto ensure that the knob is pushed fully inwards before winding the new ribbon onto the shaft, will result in difficulties later when you wish to removing the used ribbon.
5.Pass the carbon ribbon under the print head to the ribbon
6.Now remount the print head by pushing down on the head lock lever. The print head should lock into place firmly. You can now proceed to install the label media as described in the following sections.
Grip sheet  on
on take-up
shaft
Carbon ribbon
Print head 
Page | GT Series Operator’s Manual |