Chapter 2 Setting Up Your Printer
Setting the OPC Belt Counter to Zero
Printer software tracks OPC belt usage. After the counter reaches a pre- set number, the printer displays a message to indicate that maintenance is necessary. After the first installation, and after every replacement of the OPC belt, set the counter to zero.
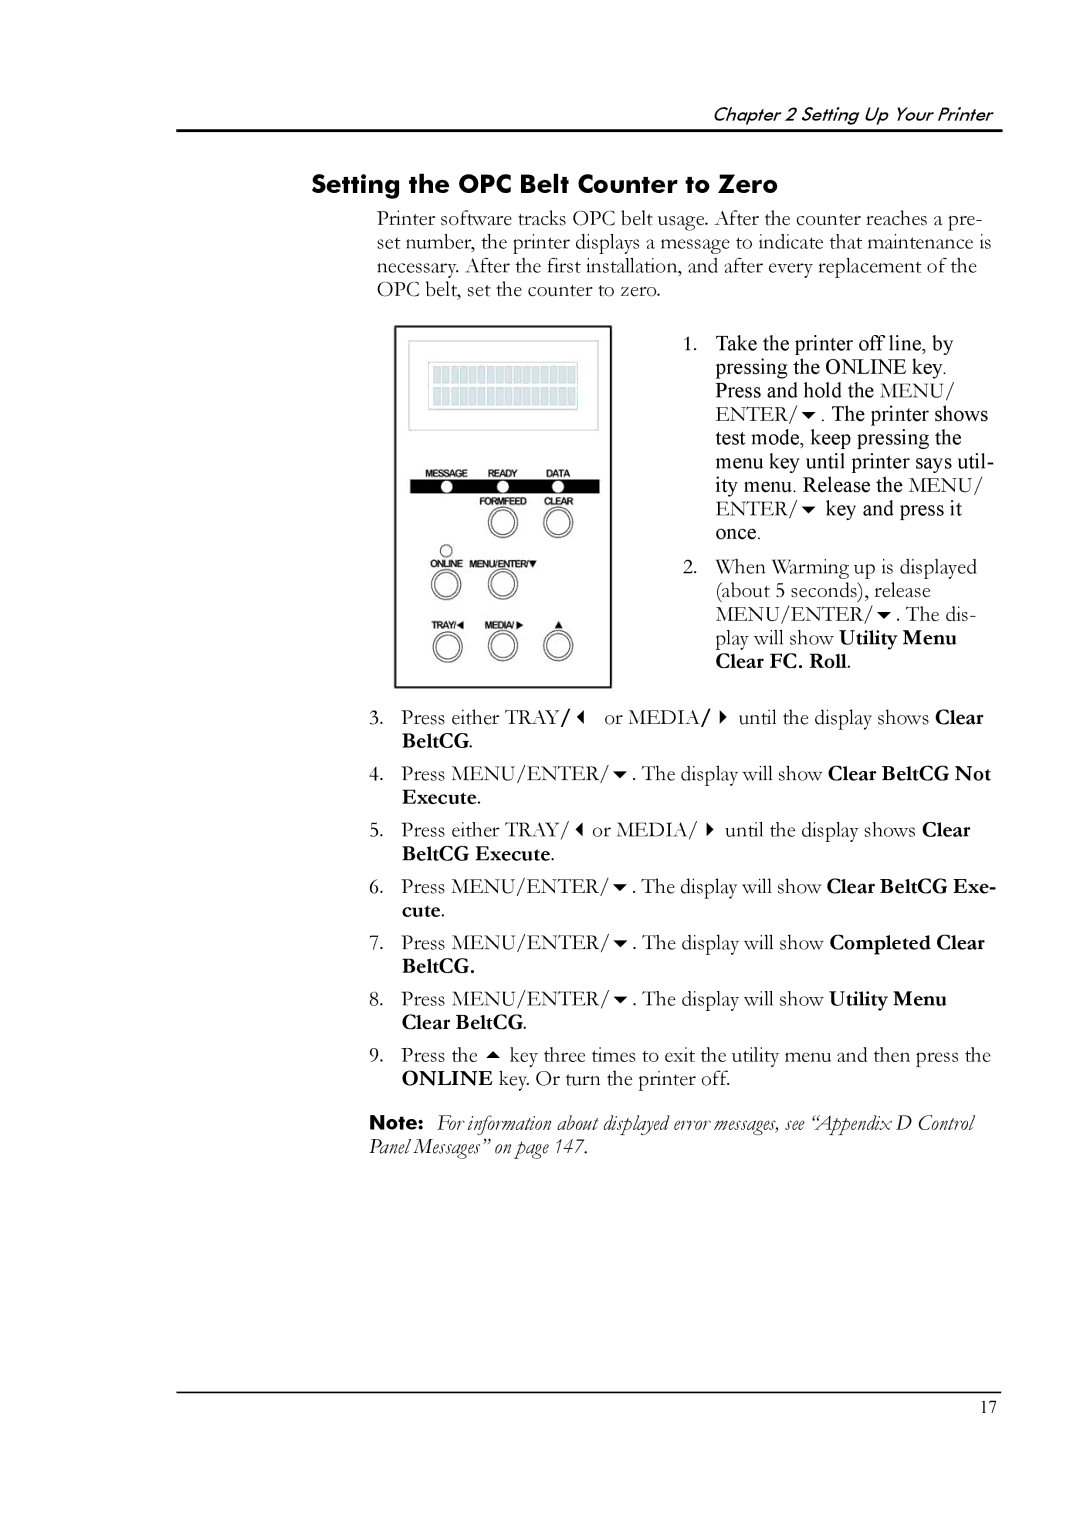
1. Take the printer off line, by pressing the ONLINE key. Press and hold the MENU/ ENTER/ . The printer shows test mode, keep pressing the menu key until printer says util- ity menu. Release the MENU/ ENTER/ key and press it once.
2. When Warming up is displayed (about 5 seconds), release MENU/ENTER/ . The dis- play will show Utility Menu Clear FC. Roll.
3. | Press either TRAY/ | or MEDIA/ | until the display shows Clear | |
| BeltCG. |
|
|
|
4. | Press MENU/ENTER/ | . The display will show Clear BeltCG Not | ||
| Execute. |
|
|
|
5. | Press either TRAY/ | or MEDIA/ | until the display shows Clear | |
| BeltCG Execute. |
|
|
|
6. | Press MENU/ENTER/ | . The display will show Clear BeltCG Exe- | ||
| cute. |
|
|
|
7. | Press MENU/ENTER/ | . The display will show Completed Clear | ||
| BeltCG. |
|
|
|
8. | Press MENU/ENTER/ | . The display will show Utility Menu | ||
| Clear BeltCG. |
|
|
|
9. | Press the key three times to exit the utility menu and then press the | |||
| ONLINE key. Or turn the printer off. | |||
Note: For information about displayed error messages, see “Appendix D Control Panel Messages” on page 147.
17
