S E R P R I N T E R S
S E R P R I N T E R S
V3 January 071-0236-00
Pantone, Inc
Terms on product Caution
User safety summary
Symbols as marked on product
Terms in manual Caution
For Users in Japan
Contents
Printer Management
Troubleshooting
Using Color
Using Printer Utilities
Connecting Peripheral Devices
Regulatory Information and Specifications
Using Your Printer with a Scanner
Index
Chapter
Color Printer Resources
User Guide
Setup Guide
PhaserShare Networking Setup Guide
Printed and on-line books
Tektronix World Wide Web sites
Advanced Features and Troubleshooting Manual
PhaserShare Networking Manual
What it includes Where to find it
What it includes
PhaserLink software
TekSMART Knowledge Base
Color Connection
All about media
Paper Trays
Transparency Trays
Use the Multi-Purpose Tray for specialty media
Multi-Purpose Tray
Margins and print area
Supported media sizes selected in drivers and front panel
Margins Media Size Print area Top Bottom Sides
U T I O N
Media hints
Loading media trays
Loading paper
Loading letterhead paper
Loading Tektronix transparencies
Using the Transparency tray
Using the Multi-Purpose Tray
Hints for making transparencies
Using the Multi-Purpose Tray
Standard media
Specialty media
Thin Medium Thick
Setting media thickness
Media type Tray capacity
Inserting the media
Tektronix Transparencies
Loading specialty media in the Multi-Purpose Tray
Letterhead
0236-14
Tektronix Glossy Coated Paper / Card Stock
Printing hints
Envelopes
A supported printer driver
Guidelines for printing envelopes
Envelope printing hints
Your application
Laser labels
Guidelines for printing on labels
Sheet size Label size Avery label Setting
Tektronix Fabric Transfer Media
Guidelines for printing on Fabric Transfer media
Manual duplex
Duplex printing
Automatic duplex
Automatic duplex
PC Windows NT4
Macintosh LaserWriter
PC Windows
PC Windows 95 / Windows
Manual duplex
Multi-Purpose Tray recommended
Paper trays
Using the Multi-Purpose Tray
Side
Media type Front panel selection
3 4 5 6
Using a Paper tray
32564-09a
Adjusting margins for a single-sided print
Adjusting margins
Scroll to Adjust Top Margin. Press Menu
Adjusting margins for a duplex print
Phaser 740 and 740L Laser Printers
Downloading fonts
Using fonts
Resident typefaces PostScript
Resident typefaces PCL5
Downloading fonts from a Macintosh
Printing a list of resident fonts
From a Macintosh
From a PC or workstation
Using Quick Collate
Requirements
Quick Collate hints
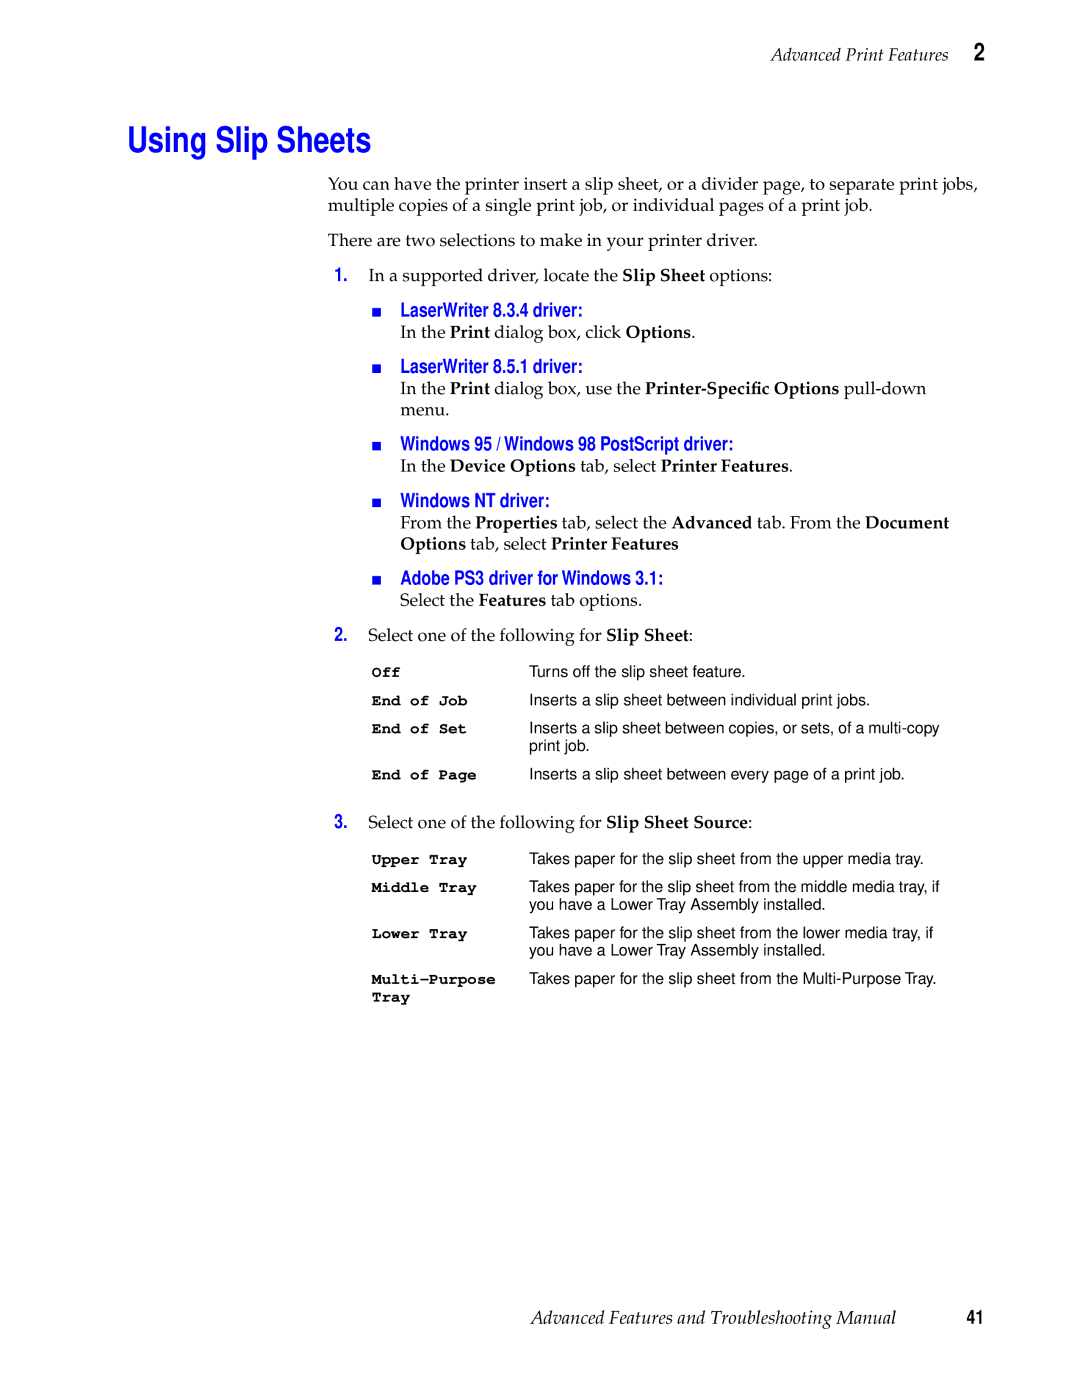
Using Slip Sheets
Previewing with Check Print
Enable Check Print and reset the timeout
Use Check Print
Using Image Smoothing
Automatic tray switching
Macintosh
Output Order hints
Output Order
Output Order Face Up
Output Order Face Down
Compatibility requirements
PhaserPrint Plug-in for Photoshop
Installing the plug-in Macintosh
Installing the plug-in
Using the plug-in
Installing the plug-in Windows
Selecting options in the PhaserPrint dialog box
Print using Macintosh
Number of copies
Print using Windows
Printer name
Printer model
Quality
Media size selection
Color Correction
Media
Fast preview
Output face up
Check Print
Image Smoothing
Stylized representation
Scaling an image
Image size
Landscape orientation
Center images
Replicate images
Number of images
Image separation
Image layout
Media size display
Show color preview of image
Phaser 740 and 740L Laser Printers
User-replaceable components
Consumables
Front panel messages
When to replace components
Toner Cartridges
Order numbers Average life % of coverage
Order numbers Average life
Imaging Unit
Fuser
Fuser Roll
Consumable life information
Transfer Kit
Main Charge Grid
Status of each consumable
Usage Profile Report
LOW
Using the information on the Consumables
On-line support
Troubleshooting
Customer Support Centers
Customer Support Centers
Country Numbers
Getting information by fax
Diagnostic tools
Service Print Configuration
Consumables
Usage Profile Report
PhaserLink Printer Management Software Front panel
Calibrate Margins
Color Density Samples Color Reference Margin Adjust Pages
Basic rules for troubleshooting
Where does the symptom appear? Solution
Maintaining print quality
Symptoms and solutions
Symptom Possible Causes Solution
Front Panel Messages
Fuser expired
Front Panel Messages contd
Print quality problems
To avoid the problem
Print quality problems contd
Phaser 740 and 740L Laser Printers
Approximately on the same
Phaser 740 and 740L Laser Printers
Entire page prints in black, including the borders
Quality
If you can’t make a print
Symptom Solution
Problems with image size and position
Problems with jams
Problems with automatic duplexing
SymptomSolution
Printed colors are not what you expected
Presentation, change it to Standard
Printed colors are not what you expected contd
Print quality hints
Specialty media
Media hints
Media handling
Double-sided printing
Improving print speed
Relative port speed
Fastest print time
Printed colors are not what you expected
Printing Pantone Colors
Using the Tektronix halftone screens
Windows
Selecting page sizes in Windows applications
Fonts printing incorrectly from Windows
Feature set PostScript printer description file ppd
Sharing the printer on a network
Driver, utility files, and front panel interactions
If the Apple Printer Utility does not work AppleTalk
Startup page prints even though it is disabled
Error messages on the Startup
MessageDescription
Windows 95 users
PostScript printing errors
Macintosh users
Windows 3.1 users
Enabling the PostScript error handler
Error User Corrective Action
Error codes
If problem persists for Error 30, clean the sensor. See
Error 80, 81, 82, 83, Turn the printer off, then on.
Clearing a media jam
Jam at a
Solution
Jam at B
Jam at C
101
Jam at D
103
Jam at E
Jam at Multi-Purpose
Jam at Duplex Unit
107
Occasional cleaning
Paper-pick rollers a
Duplex Unit
Sensor
Phaser 740 Color Printer
Printing the cleaning
Cleaning other rollers
Cleaning the sensor
Printer Management
PhaserLink Printer Management software
For the system administrator
For the service provider
Usage Profile
Job Accounting
From the printer’s front panel
From PhaserLink Printer Management software
Enabling and disabling the Startup
From utility files
Changing the Energy Star timeout
Protected mode for the front panel menu
Macintosh utility files
PC utility files
Print-quality modes
Using Color
DIC
Color corrections
Print the Color Reference
Controlling color density
Color
121
Adjust the colors
Menu item What it does How it works
Calibrate Colors menu selections
Overview
Printing the Color Sampler Charts
Color sampler chart descriptions
Color charts
Downloading a color correction file
Installing color correction files
Printing samplers from a Macintosh
Selecting a color correction file
Printing the desired color from an application
Printing a color sampler chart
Printing samplers from a PC
Selecting a color correction in an application
Scroll to RGB Color Sampler or Cmyk Color Sampler
Printing a color sampler chart from the front panel
Pantone Color Files
Methods of printing Pantone Colors
Printer-specific Pantone Colors
For final output on a color printing press
Pantone Colors from color selection books
Macintosh
Installing the Pantone Color files
Printing the Pantone Color Chart
Printing the entire chart
Printing individual pages from Acrobat Reader
From a nonsupported driver
Using the files on the printer’s CD-ROM
Using the Apple Printer Utility to download files
Downloading files from a Macintosh
Using Printer Utilities
Using the Apple Printer Utility to perform other tasks
Turning on/off the Startup
Changing the printer’s AppleTalk name
Downloading files from a PC
Windows
Windows 95 / Windows
Windows NT
Downloading files from the Tektronix World Wide Web site
Type anonymous
Downloading files from the Tektronix ftp server
Page
Device Uses
Scsi peripheral devices
Connecting Scsi devices
Required items
Connection overview
Connecting one Scsi device
Connecting multiple Scsi devices
Initializing a formatted Scsi device
Macintosh users
PC and workstation users
NOSYSTRT.PS
Enabling and disabling SysStart Job execution
Overview
Using Your Printer with a Scanner
Copying a single
Making copies
Copying multiple pages with an Auto-Document Feeder
Using the front panel Copier Menu
Copier Menu
Reset Factory Defaults
Copying at 100% scale
Placing and scaling images
Copying to fit full-bleed images
Scaling images using Scan Area
Scaling images using Zoom
Regulatory Information and Specifications
Declaration of conformity
For 220-230 VAC equipment
Environmental Phenomena Test Specification Basic Standard
R N I N G
FCC Class B device
Material Safety Data Sheets
Msds for Toner
Ecological Information
Physical And Chemical Properties
Stability And Reactivity
Toxicological Information
Specifications
Power Consumption
Dimensions of Lower Tray Assembly
State Average power
Index
Phaser 740 and 740L Laser Printers
167
CMYK.PS
169
Phaser 740 and 740L Laser Printers
Printed on recycled paper