Using the Scheduler
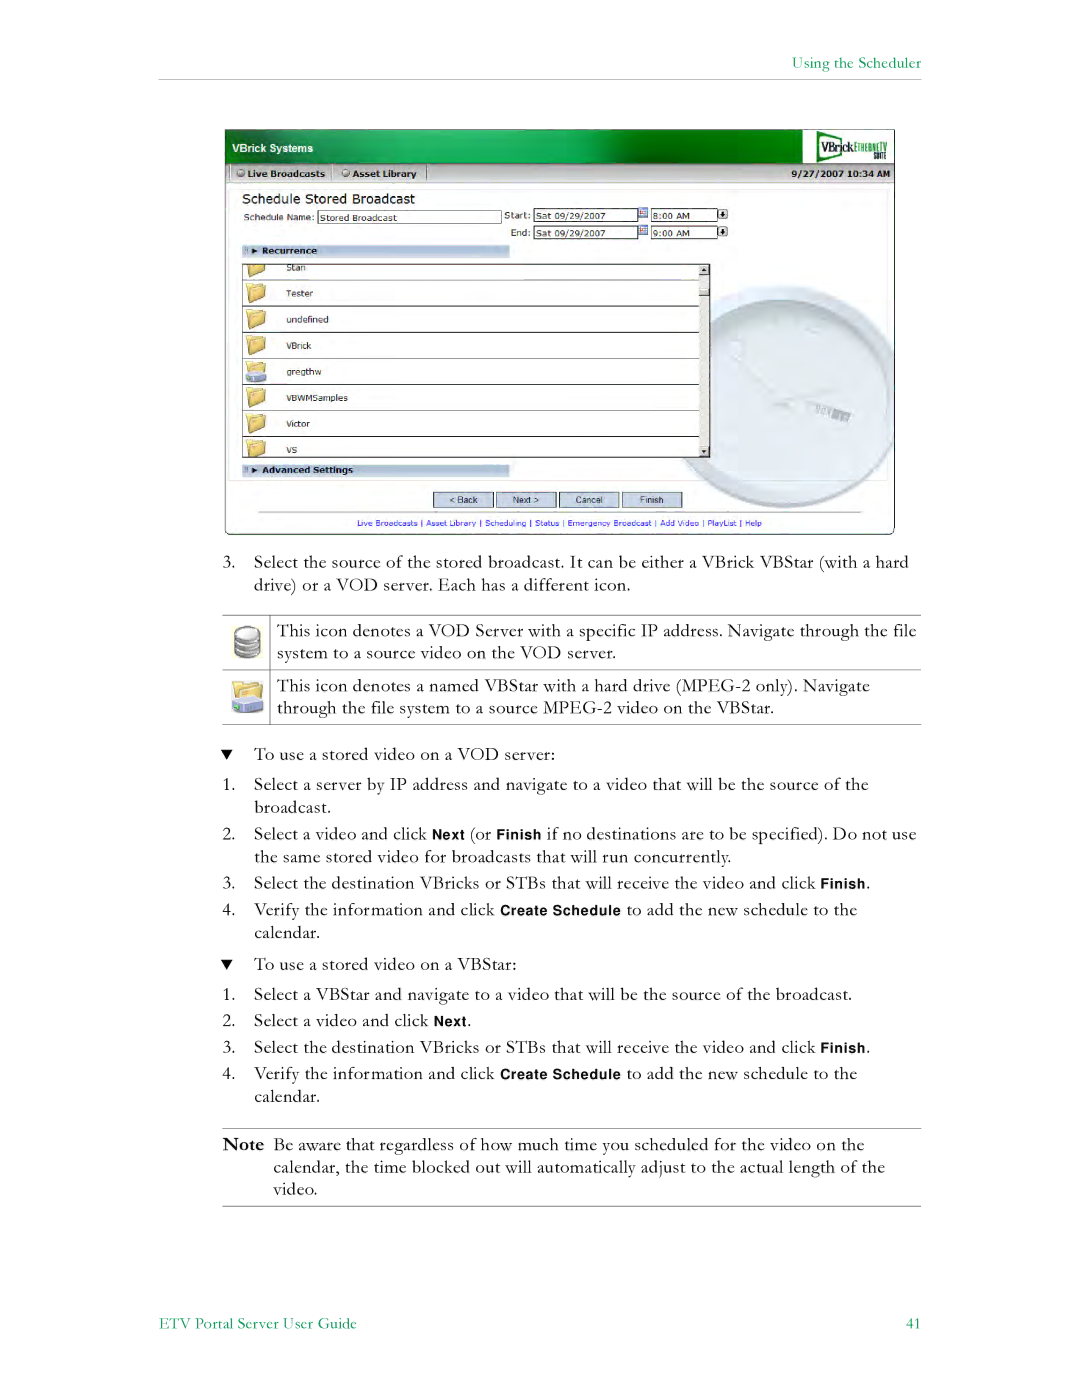
3.Select the source of the stored broadcast. It can be either a VBrick VBStar (with a hard drive) or a VOD server. Each has a different icon.
This icon denotes a VOD Server with a specific IP address. Navigate through the file system to a source video on the VOD server.
This icon denotes a named VBStar with a hard drive
TTo use a stored video on a VOD server:
1.Select a server by IP address and navigate to a video that will be the source of the broadcast.
2.Select a video and click Next (or Finish if no destinations are to be specified). Do not use the same stored video for broadcasts that will run concurrently.
3.Select the destination VBricks or STBs that will receive the video and click Finish.
4.Verify the information and click Create Schedule to add the new schedule to the calendar.
TTo use a stored video on a VBStar:
1.Select a VBStar and navigate to a video that will be the source of the broadcast.
2.Select a video and click Next.
3.Select the destination VBricks or STBs that will receive the video and click Finish.
4.Verify the information and click Create Schedule to add the new schedule to the calendar.
Note Be aware that regardless of how much time you scheduled for the video on the calendar, the time blocked out will automatically adjust to the actual length of the video.
ETV Portal Server User Guide | 41 |