REMOVING THE UPPER CONSOLE
![]() WARNING
WARNING
Electrical Shock Hazard
Disconnect from electrical supply before servic- ing unit.
Failure to do so could result in death or electri- cal shock.
CAUTION: When you work on the gas range, be careful when handling the sheet metal parts. Sharp
5.Remove the ignitor module from the console (use the procedure on page
6.Disconnect the wires from the terminals of the manual oven light switch (not on all models).
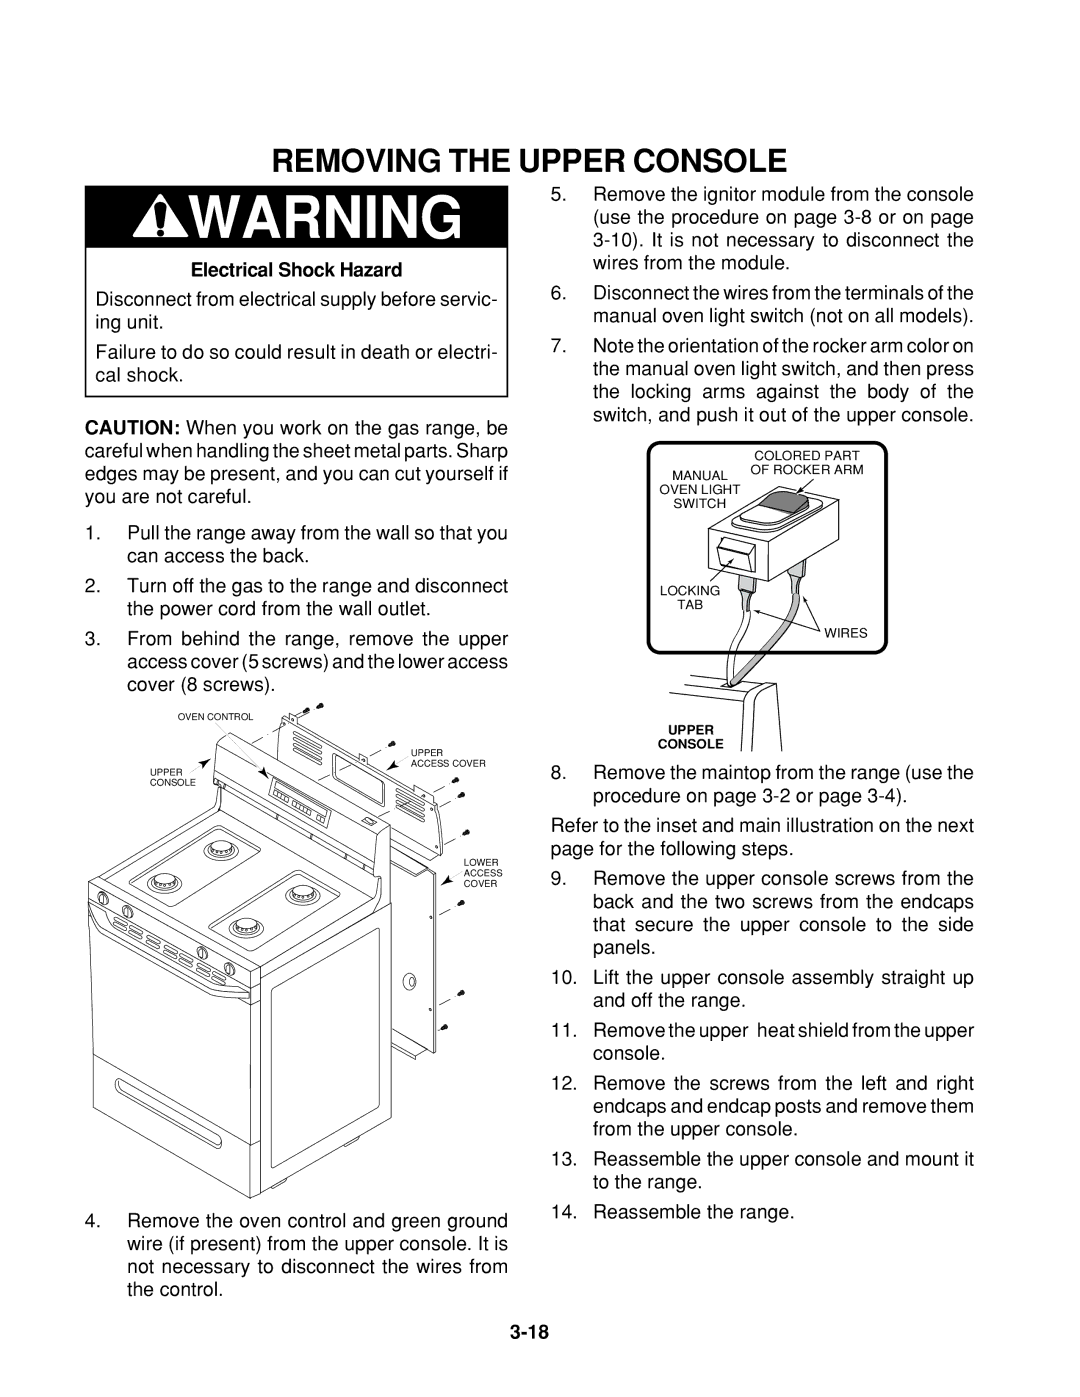
7.Note the orientation of the rocker arm color on the manual oven light switch, and then press the locking arms against the body of the switch, and push it out of the upper console.
edges may be present, and you can cut yourself if
MANUAL
COLORED PART OF ROCKER ARM
you are not careful.
1.Pull the range away from the wall so that you can access the back.
2.Turn off the gas to the range and disconnect the power cord from the wall outlet.
3.From behind the range, remove the upper access cover (5 screws) and the lower access cover (8 screws).
OVEN CONTROL
UPPER
![]() ACCESS COVER
ACCESS COVER
UPPER CONSOLE
LOWER
![]() ACCESS
ACCESS
COVER
4.Remove the oven control and green ground wire (if present) from the upper console. It is not necessary to disconnect the wires from the control.
OVEN LIGHT
SWITCH
LOCKING
TAB
WIRES
UPPER
CONSOLE
8.Remove the maintop from the range (use the procedure on page
Refer to the inset and main illustration on the next page for the following steps.
9.Remove the upper console screws from the back and the two screws from the endcaps that secure the upper console to the side panels.
10.Lift the upper console assembly straight up and off the range.
11.Remove the upper heat shield from the upper console.
12.Remove the screws from the left and right endcaps and endcap posts and remove them from the upper console.
13.Reassemble the upper console and mount it to the range.
14.Reassemble the range.