Installation and Configuration
Basic Setup Procedure - Ethernet
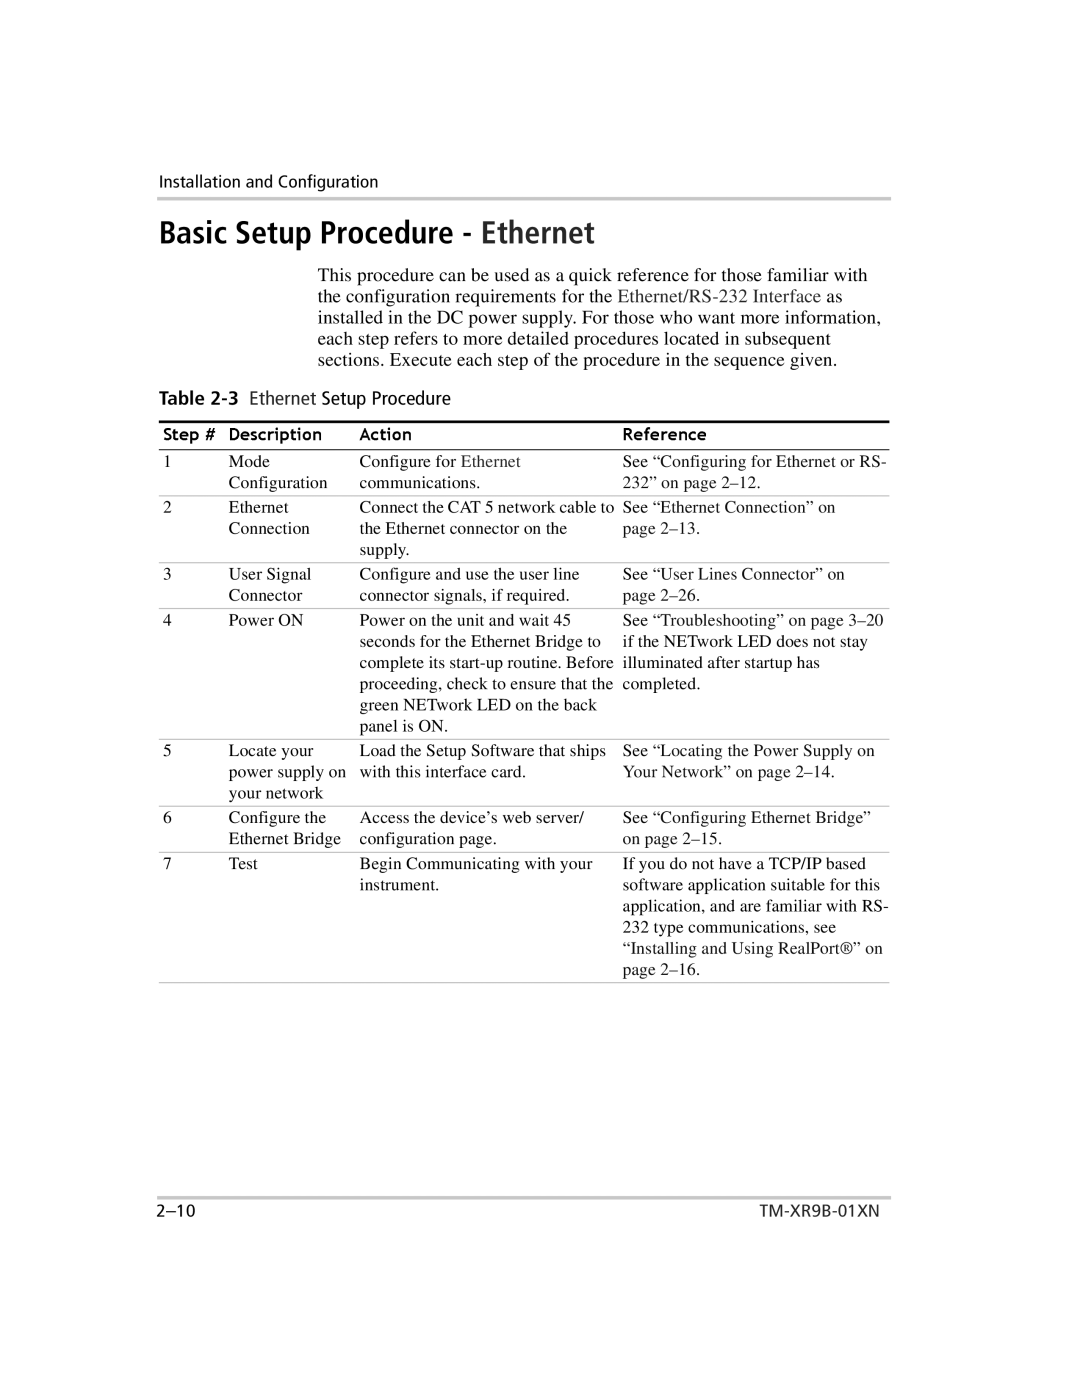
This procedure can be used as a quick reference for those familiar with the configuration requirements for the
Table
1Step#DescriptionActionModeConfigure for Ethernet | ReferenceSee “Configuring for Ethernet or RS- | ||
| Configuration | communications. | 232” on page |
|
|
| |
2 | Ethernet | Connect the CAT 5 network cable to See “Ethernet Connection” on | |
| Connection | the Ethernet connector on the | page |
|
| supply. |
|
|
|
|
|
3 | User Signal | Configure and use the user line | See “User Lines Connector” on |
| Connector | connector signals, if required. | page |
4 | Power ON | Power on the unit and wait 45 |
|
| seconds for the Ethernet Bridge to |
|
| complete its |
|
| proceeding, check to ensure that the |
|
| green NETwork LED on the back |
|
| panel is ON. |
See “Troubleshooting” on page
5 | Locate your | Load the Setup Software that ships |
| power supply on | with this interface card. |
| your network |
|
See “Locating the Power Supply on Your Network” on page
6 | Configure the | Access the device’s web server/ | See “Configuring Ethernet Bridge” |
| Ethernet Bridge | configuration page. | on page |
|
|
|
|
7 | Test | Begin Communicating with your | If you do not have a TCP/IP based |
|
| instrument. | software application suitable for this |
|
|
| application, and are familiar with RS- |
|
|
| 232 type communications, see |
|
|
| “Installing and Using RealPort®” on |
|
|
| page |
|
|
|
|
