Chapter 3. Operation
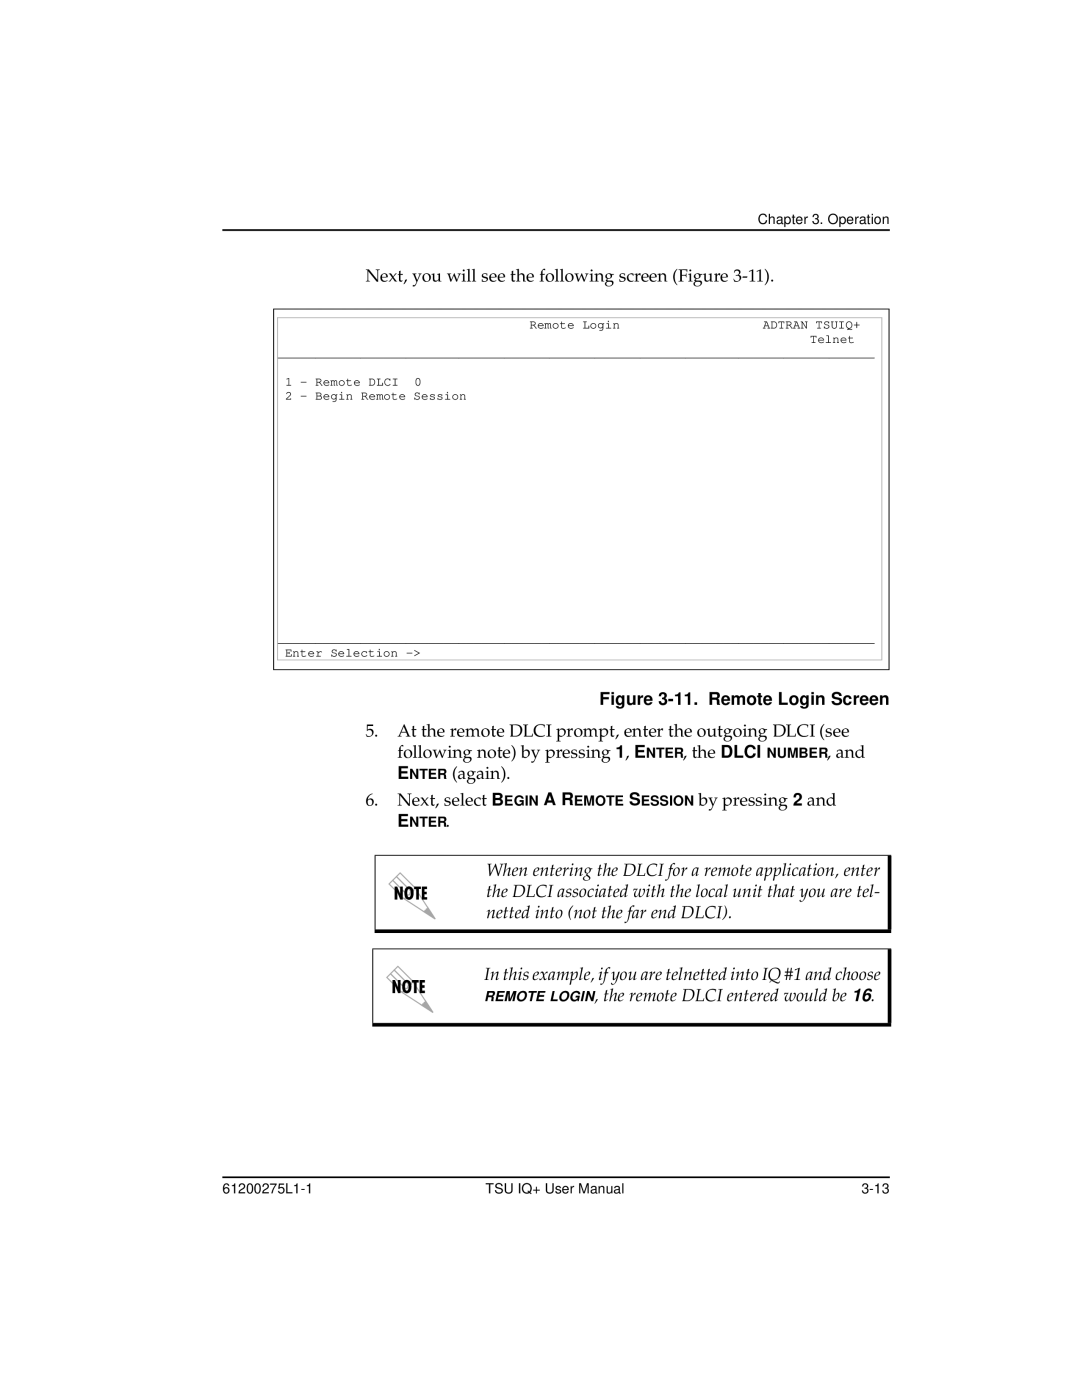
Next, you will see the following screen (Figure
|
| Remote Login | ADTRAN TSUIQ+ |
|
|
| Telnet |
_______________________________________________________________________________ | |||
1 | - | Remote DLCI 0 |
|
2 | - | Begin Remote Session |
|
_______________________________________________________________________________
Enter Selection
Figure 3-11. Remote Login Screen
5.At the remote DLCI prompt, enter the outgoing DLCI (see following note) by pressing 1, ENTER, the DLCI NUMBER, and ENTER (again).
6.Next, select BEGIN A REMOTE SESSION by pressing 2 and
ENTER.
When entering the DLCI for a remote application, enter the DLCI associated with the local unit that you are tel- netted into (not the far end DLCI).
In this example, if you are telnetted into IQ #1 and choose
REMOTE LOGIN, the remote DLCI entered would be 16.
TSU IQ+ User Manual |
