Using the Callable Interface
Step | Action |
6Use option 1, Realtime monitor interface members, to submit the job.
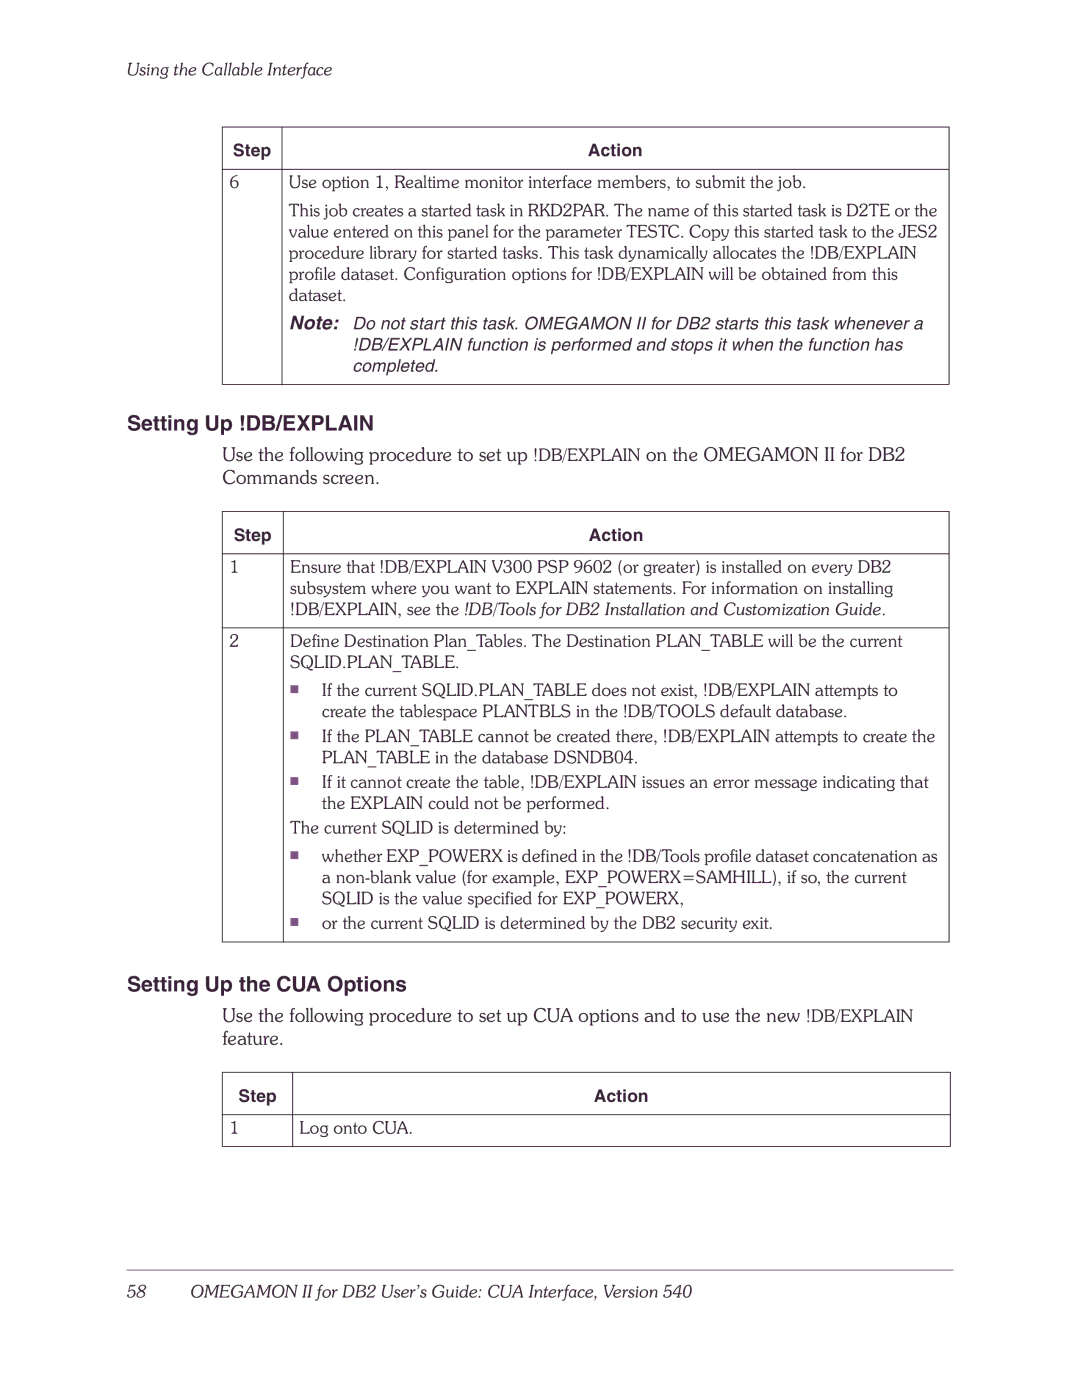
This job creates a started task in RKD2PAR. The name of this started task is D2TE or the value entered on this panel for the parameter TESTC. Copy this started task to the JES2 procedure library for started tasks. This task dynamically allocates the !DB/EXPLAIN profile dataset. Configuration options for !DB/EXPLAIN will be obtained from this dataset.
Note: Do not start this task. OMEGAMON II for DB2 starts this task whenever a !DB/EXPLAIN function is performed and stops it when the function has completed.
Setting Up !DB/EXPLAIN
Use the following procedure to set up !DB/EXPLAIN on the OMEGAMON II for DB2 Commands screen.
Step |
| Action |
|
| |
1 | Ensure that !DB/EXPLAIN V300 PSP 9602 (or greater) is installed on every DB2 | |
| subsystem where you want to EXPLAIN statements. For information on installing | |
| !DB/EXPLAIN, see the !DB/Tools for DB2 Installation and Customization Guide. | |
|
| |
2 | Define Destination Plan_Tables. The Destination PLAN_TABLE will be the current | |
| SQLID.PLAN_TABLE. | |
| ■ | If the current SQLID.PLAN_TABLE does not exist, !DB/EXPLAIN attempts to |
|
| create the tablespace PLANTBLS in the !DB/TOOLS default database. |
| ■ | If the PLAN_TABLE cannot be created there, !DB/EXPLAIN attempts to create the |
|
| PLAN_TABLE in the database DSNDB04. |
| ■ | If it cannot create the table, !DB/EXPLAIN issues an error message indicating that |
|
| |
|
| the EXPLAIN could not be performed. |
| The current SQLID is determined by: | |
| ■ | whether EXP_POWERX is defined in the !DB/Tools profile dataset concatenation as |
|
| |
|
| a |
|
| SQLID is the value specified for EXP_POWERX, |
| ■ | or the current SQLID is determined by the DB2 security exit. |
|
|
|
Setting Up the CUA Options
Use the following procedure to set up CUA options and to use the new !DB/EXPLAIN feature.
Step | Action |
|
|
1 | Log onto CUA. |
|
|
