Using the OMEGAMON II for DB2 Callable Interface
Setting Up !DB/EXPLAIN
Use the following procedure to set up !DB/EXPLAIN for OMEGAMON II for DB2.
Step |
| Action |
|
| |
1 | Ensure that !DB/EXPLAIN V510 PSP is installed on every DB2 subsystem where you | |
| want to EXPLAIN statements. For information on installing !DB/EXPLAIN, see the | |
| !DB/Tools for DB2 Installation and Customization Guide, Version 510. | |
|
| |
2 | Define Destination Plan_Tables. The Destination PLAN_TABLE will be the current | |
| SQLID.PLAN_TABLE. | |
| ■ | If the current SQLID.PLAN_TABLE does not exist, !DB/EXPLAIN attempts to |
|
| create the tablespace PLANTBLS in the !DB/TOOLS default database. |
| ■ | If the PLAN_TABLE cannot be created there, !DB/EXPLAIN attempts to create |
|
| |
|
| the PLAN_TABLE in the database DSNDB04. |
| ■ | If it cannot create the table, !DB/EXPLAIN issues an error message indicating that |
|
| the EXPLAIN could not be performed. |
| The current SQLID is determined by: | |
| ■ | whether EXP_POWERX is defined in the !DB/Tools profile dataset concatenation |
|
| as a |
|
| SQLID is the value specified for EXP_POWERX, |
|
| or |
| ■ | the current SQLID is determined by the DB2 security exit. |
|
|
|
Setting Up the CUA Options
Use the following procedure to set up CUA options and to use the new !DB/EXPLAIN feature.
Step | Action |
1Log onto CUA.
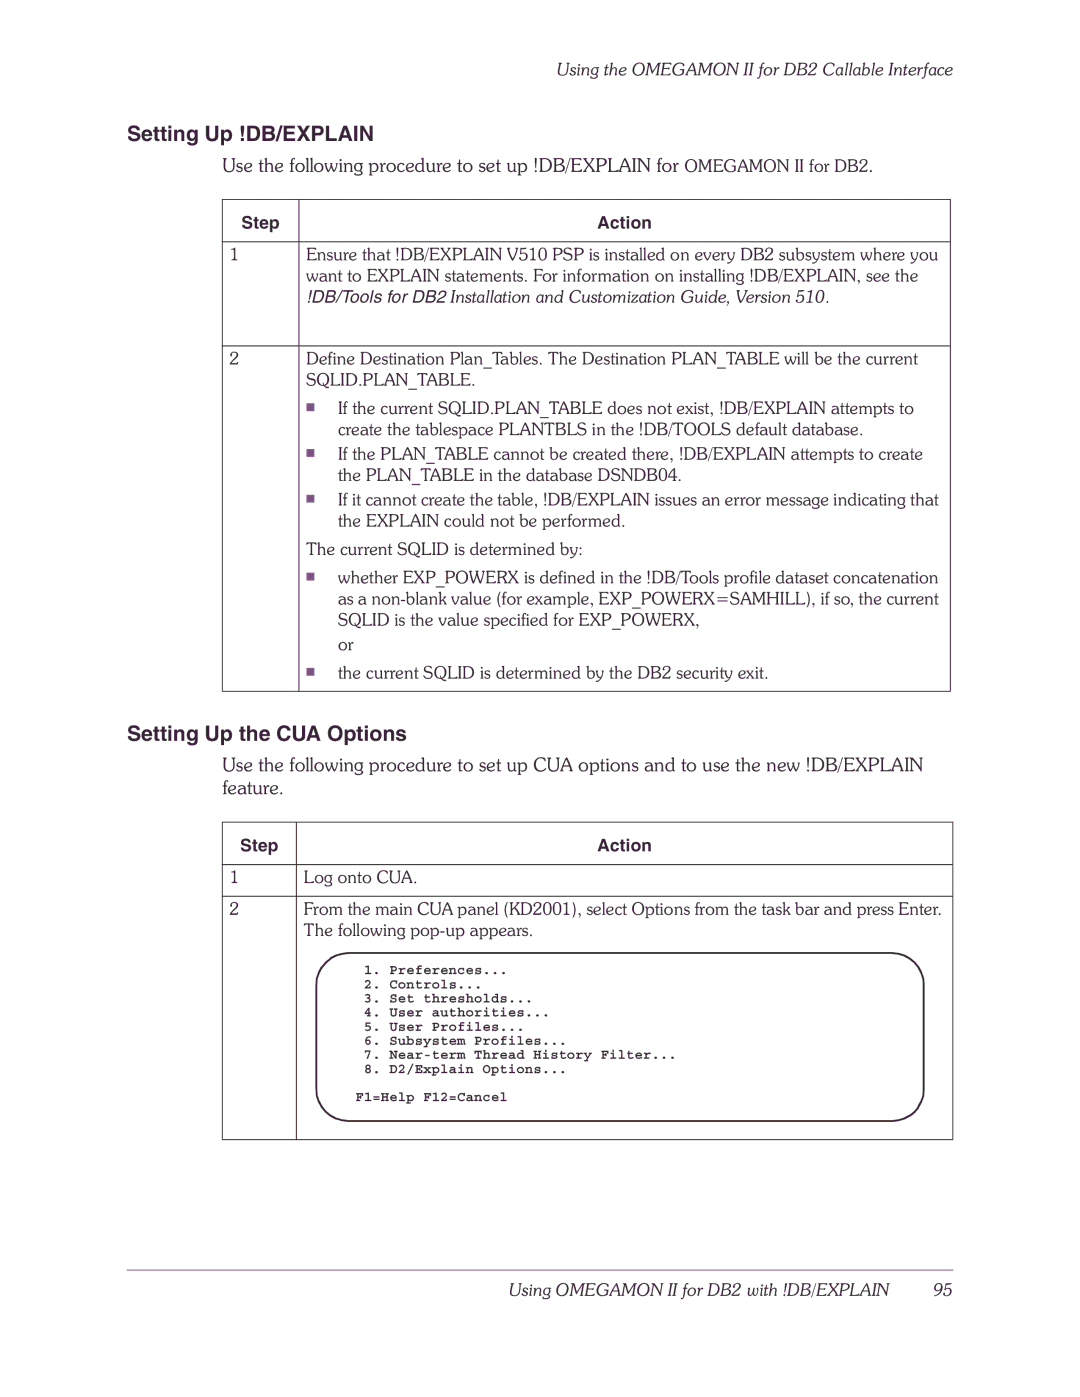
2From the main CUA panel (KD2001), select Options from the task bar and press Enter. The following
1.Preferences...
2.Controls...
3.Set thresholds...
4.User authorities...
5.User Profiles...
6.Subsystem Profiles...
7.
8.D2/Explain Options...
F1=Help F12=Cancel
Using OMEGAMON II for DB2 with !DB/EXPLAIN | 95 |