Tip
Schedule Setting Tool
Setting the motion detection level while checking recorded images
To set the level of motion detection at motion detection is activated, it is useful to make adjustments to settings while checking actual actions in the Viewer. Because with the device you can set the level of motion detection by checking in Video Mode the pictures recorded in Live Mode (→ P.4- 41) in the Mode tab, you do no need to repeat the actual actions in front of the camera.
You cannot perform this operation if the OS of your PC is Windows 2000/Windows 2000 (SP1 to SP3).
1.Select Movie Recording Option from Tools in the menu bar and the Movie Recording Options setting dialog box is displayed.
Movie Recording Options setting dialog box
q
w
qMaximum Recording Time (sec.)
Sets maximum recording time, for
wSelf-timer (sec.)
Sets the time until recording starts after clicking “Rec. Start”, from
2.Align the camera position and click the “Rec. Start” button in Live Mode.
Recording of the picture in the Viewer starts. Record pictures necessary for adjusting the level of motion detection such as performing actions in front of the camera.
To stop recording, click the “Stop Recording” button.
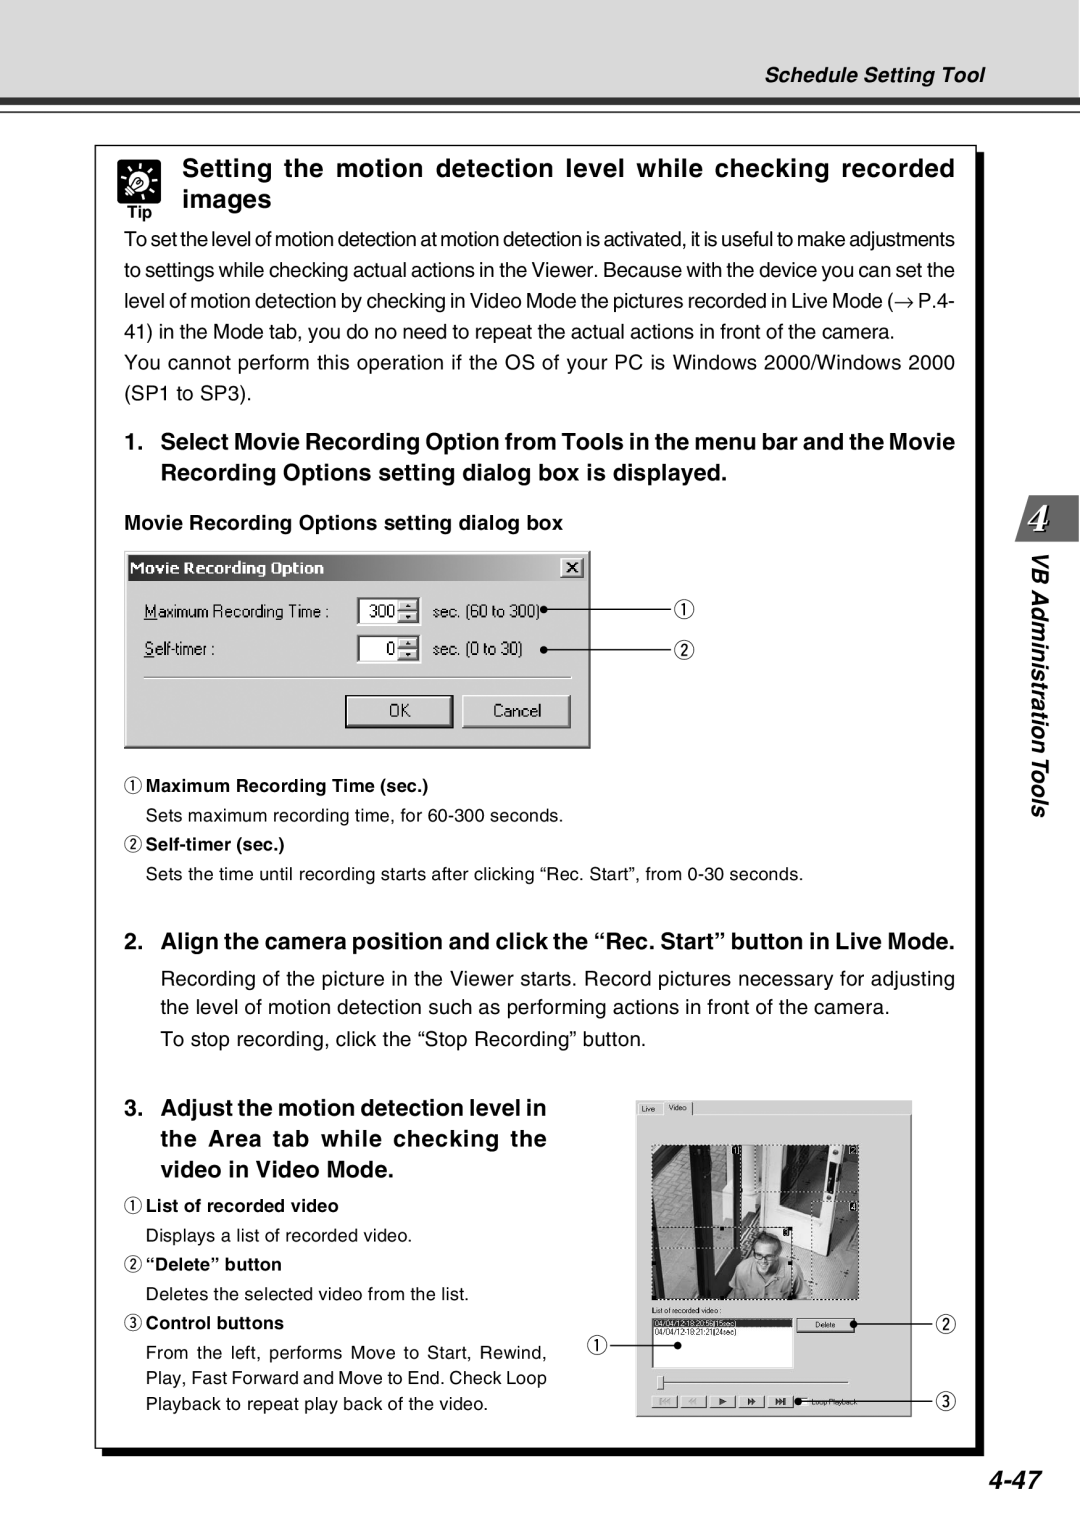
3.Adjust the motion detection level in the Area tab while checking the video in Video Mode.
qList of recorded video Displays a list of recorded video.
w“Delete” button
Deletes the selected video from the list.
e Control buttons | q |
|
|
|
| w |
|
|
|
| |||
From the left, performs Move to Start, Rewind, |
|
|
|
|
| |
| ||||||
|
|
|
|
|
| |
Play, Fast Forward and Move to End. Check Loop |
|
|
|
|
|
|
Playback to repeat play back of the video. |
|
|
|
|
| e |
|
|
|
|
|
