Chapter | 5 | Configuring The Internal Ethernet Adapter For Novell | ||
|
|
|
|
|
|
|
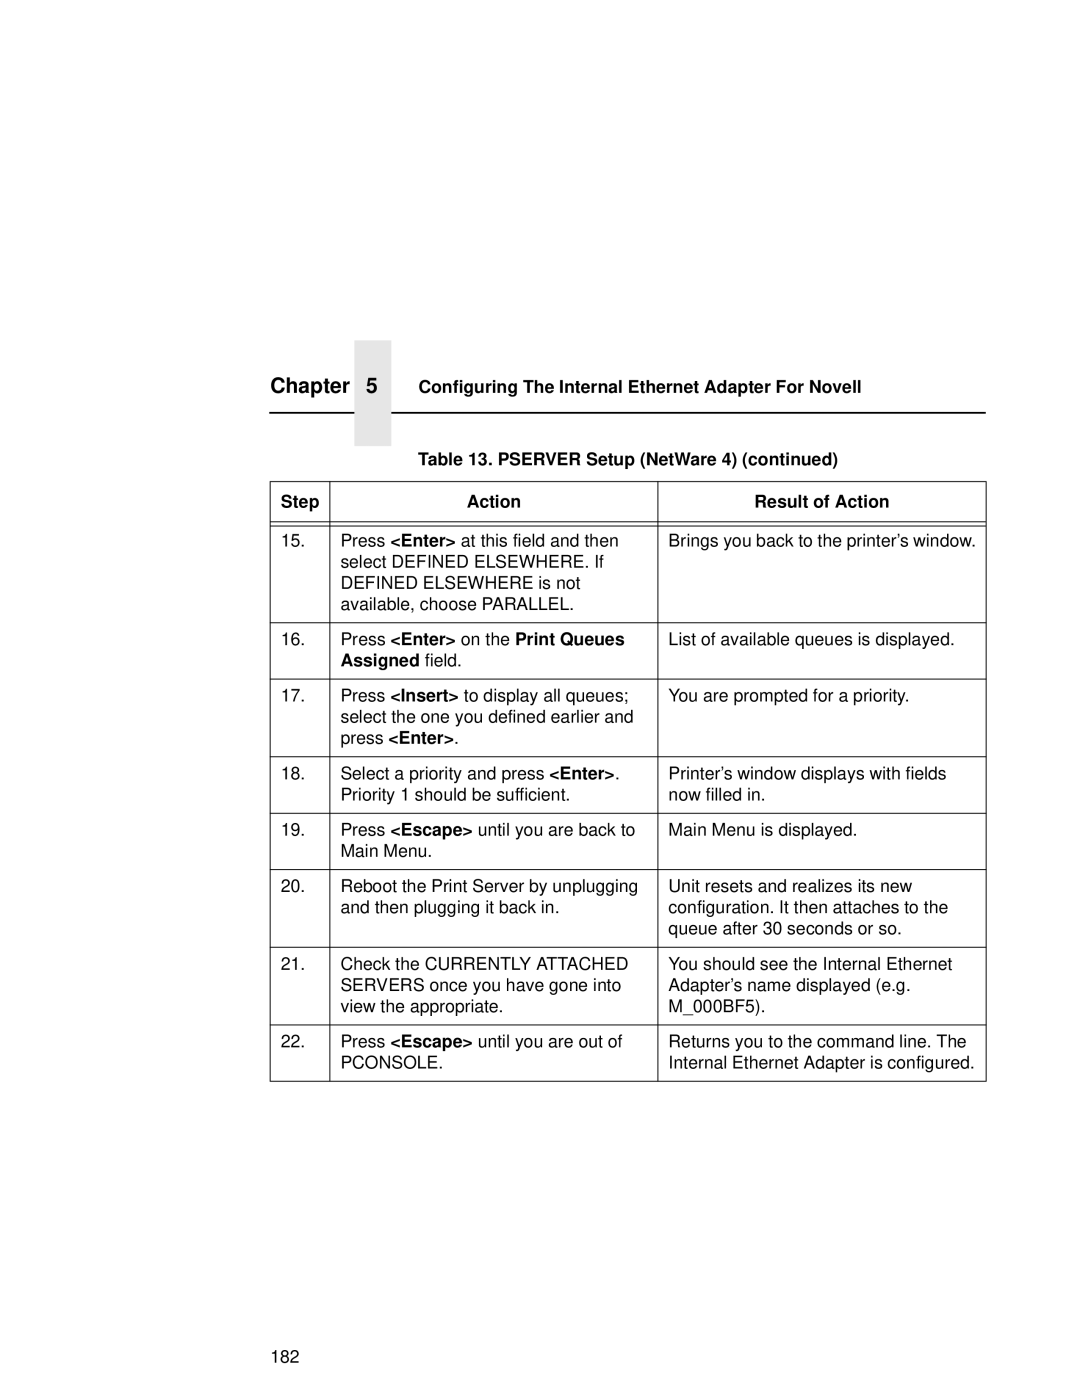
| Table 13. PSERVER Setup (NetWare 4) (continued) | |
|
|
| ||
|
|
|
|
|
Step |
|
| Action | Result of Action |
|
|
| ||
|
|
| ||
15. | Press <Enter> at this field and then | Brings you back to the printer’s window. | ||
| select DEFINED ELSEWHERE. If |
| ||
| DEFINED ELSEWHERE is not |
| ||
| available, choose PARALLEL. |
| ||
|
|
| ||
16. | Press <Enter> on the Print Queues | List of available queues is displayed. | ||
| Assigned field. |
| ||
|
|
| ||
17. | Press <Insert> to display all queues; | You are prompted for a priority. | ||
| select the one you defined earlier and |
| ||
| press <Enter>. |
| ||
|
|
| ||
18. | Select a priority and press <Enter>. | Printer’s window displays with fields | ||
| Priority 1 should be sufficient. | now filled in. | ||
|
|
| ||
19. | Press <Escape> until you are back to | Main Menu is displayed. | ||
| Main Menu. |
| ||
|
|
| ||
20. | Reboot the Print Server by unplugging | Unit resets and realizes its new | ||
| and then plugging it back in. | configuration. It then attaches to the | ||
|
|
|
| queue after 30 seconds or so. |
|
|
| ||
21. | Check the CURRENTLY ATTACHED | You should see the Internal Ethernet | ||
| SERVERS once you have gone into | Adapter’s name displayed (e.g. | ||
| view the appropriate. | M_000BF5). | ||
|
|
| ||
22. | Press <Escape> until you are out of | Returns you to the command line. The | ||
| PCONSOLE. | Internal Ethernet Adapter is configured. | ||
|
|
|
|
|
182
