Chapter | 2 | Connect the Interface and Power Cords |
|
|
|
|
|
|
1.Make sure the printer power switch is set to O (Off).
2.Open the cabinet rear door, and remove the cover from the selected I/O connector. (See “Interface Connections” on page 30.)
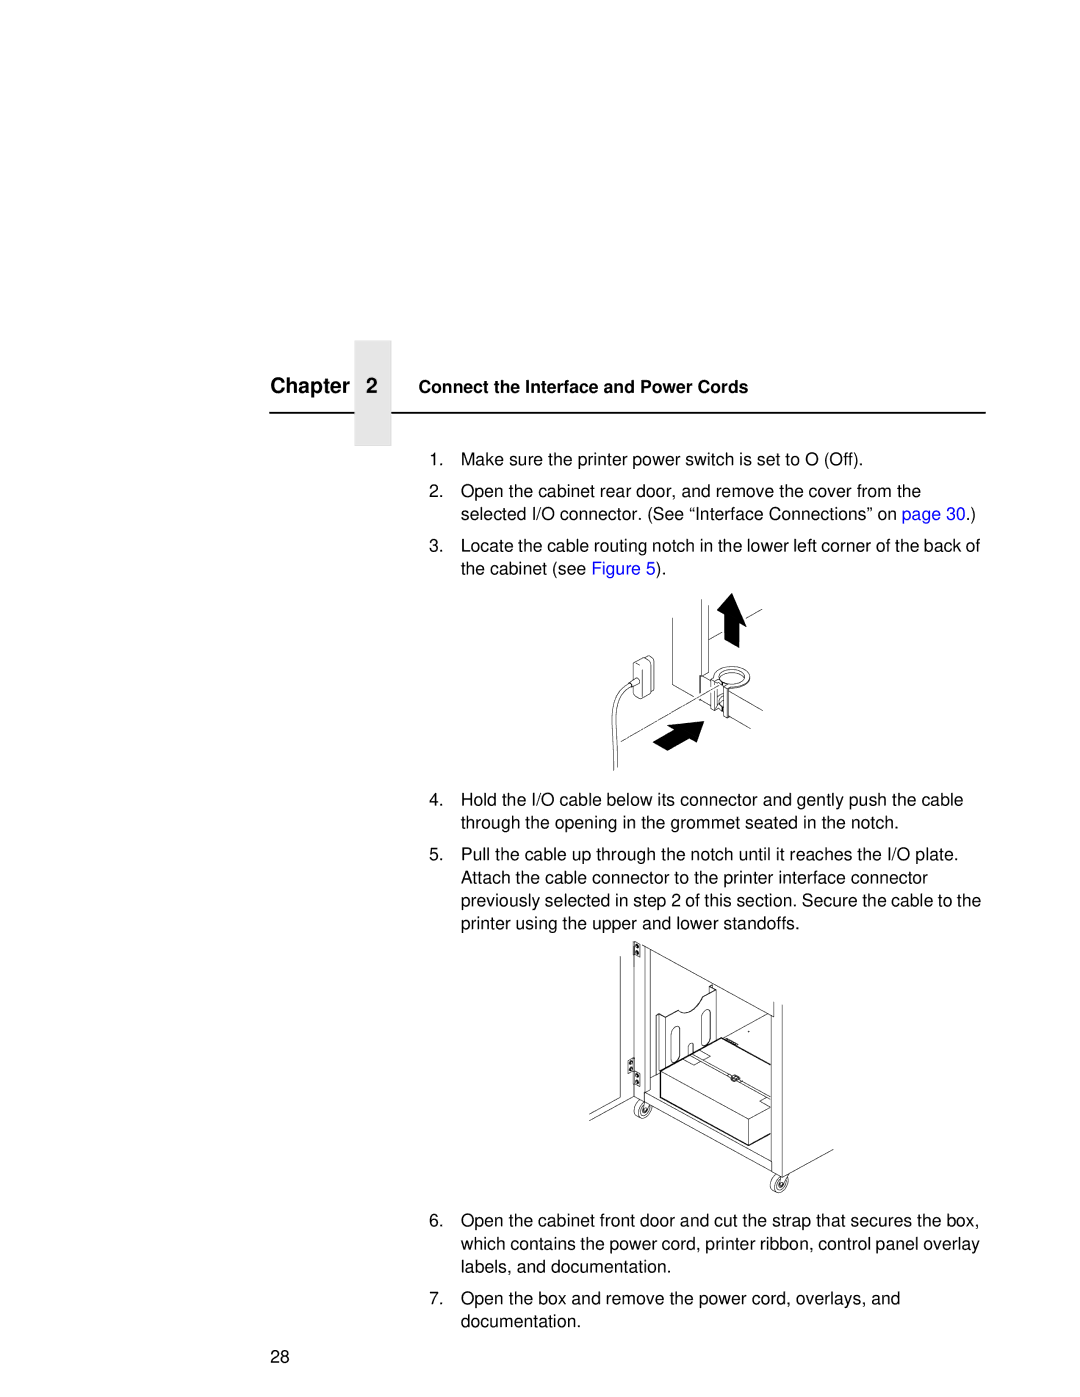
3.Locate the cable routing notch in the lower left corner of the back of the cabinet (see Figure 5).
4.Hold the I/O cable below its connector and gently push the cable through the opening in the grommet seated in the notch.
5.Pull the cable up through the notch until it reaches the I/O plate. Attach the cable connector to the printer interface connector previously selected in step 2 of this section. Secure the cable to the printer using the upper and lower standoffs.
6.Open the cabinet front door and cut the strap that secures the box, which contains the power cord, printer ribbon, control panel overlay labels, and documentation.
7.Open the box and remove the power cord, overlays, and documentation.
28