Chapter 5 Configure Compex WP11A Using Web Interface
To reserve a certain IP address for a specific workstation
1.Click on “DHCP Server Reservations” button in the Management Port Setup Menu.
2.Enter the specific IP address to be assigned to your designated PC.
3.Assign a name for the Host of the designated PC.
4.Fill in the MAC address of the designated PC in the Hardware Address entry.
NOTE
The DHCP server will ignore the Host Name if it finds a match in the Hardware Address. It checks the Hardware Address first, so you need only to enter either the Host Name or Hardware Address.
To add an entry
1.Click “Add” button to create an entry into the DHCP Server Reservations.
2.After the address is entered, click “Apply” button to make the updates effective. You need to reboot and logon WP11A+ again to activate the changes.
NOTE
The reserved IP address must not be within the range of DHCP start and end IP addresses.
To view the IP released by the DHCP Server
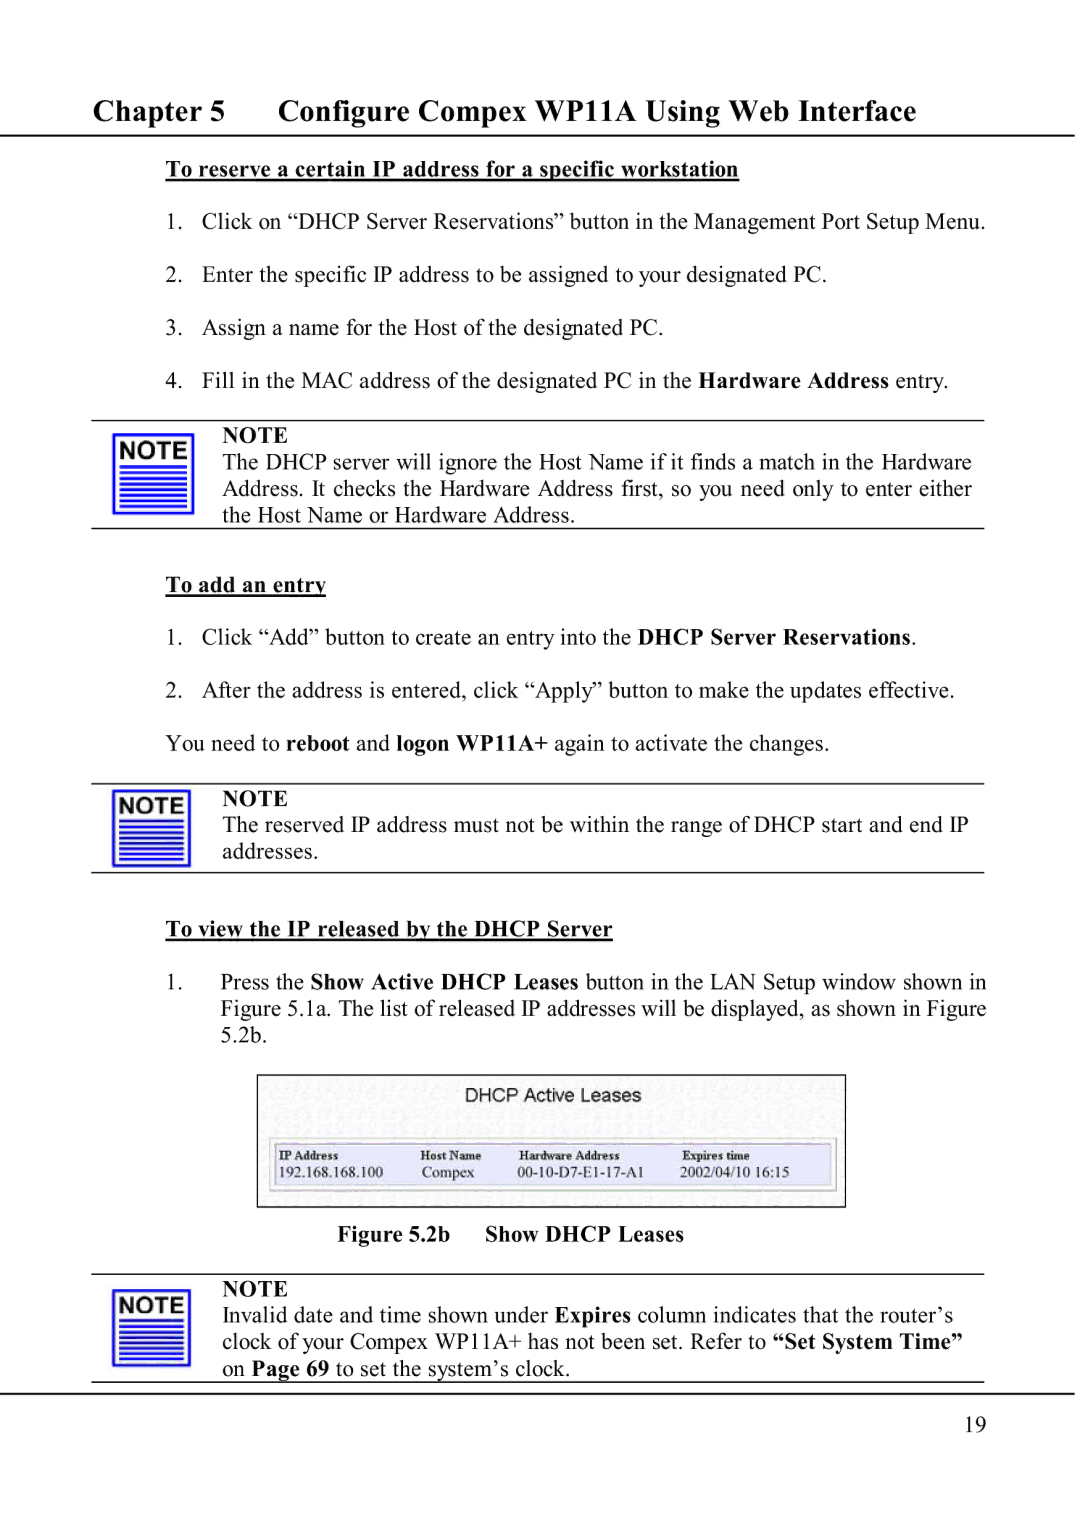
1.Press the Show Active DHCP Leases button in the LAN Setup window shown in Figure 5.1a. The list of released IP addresses will be displayed, as shown in Figure 5.2b.
Figure 5.2b Show DHCP Leases
NOTE
Invalid date and time shown under Expires column indicates that the router’s clock of your Compex WP11A+ has not been set. Refer to “Set System Time” on Page 69 to set the system’s clock.
19
