Chapter 2 -
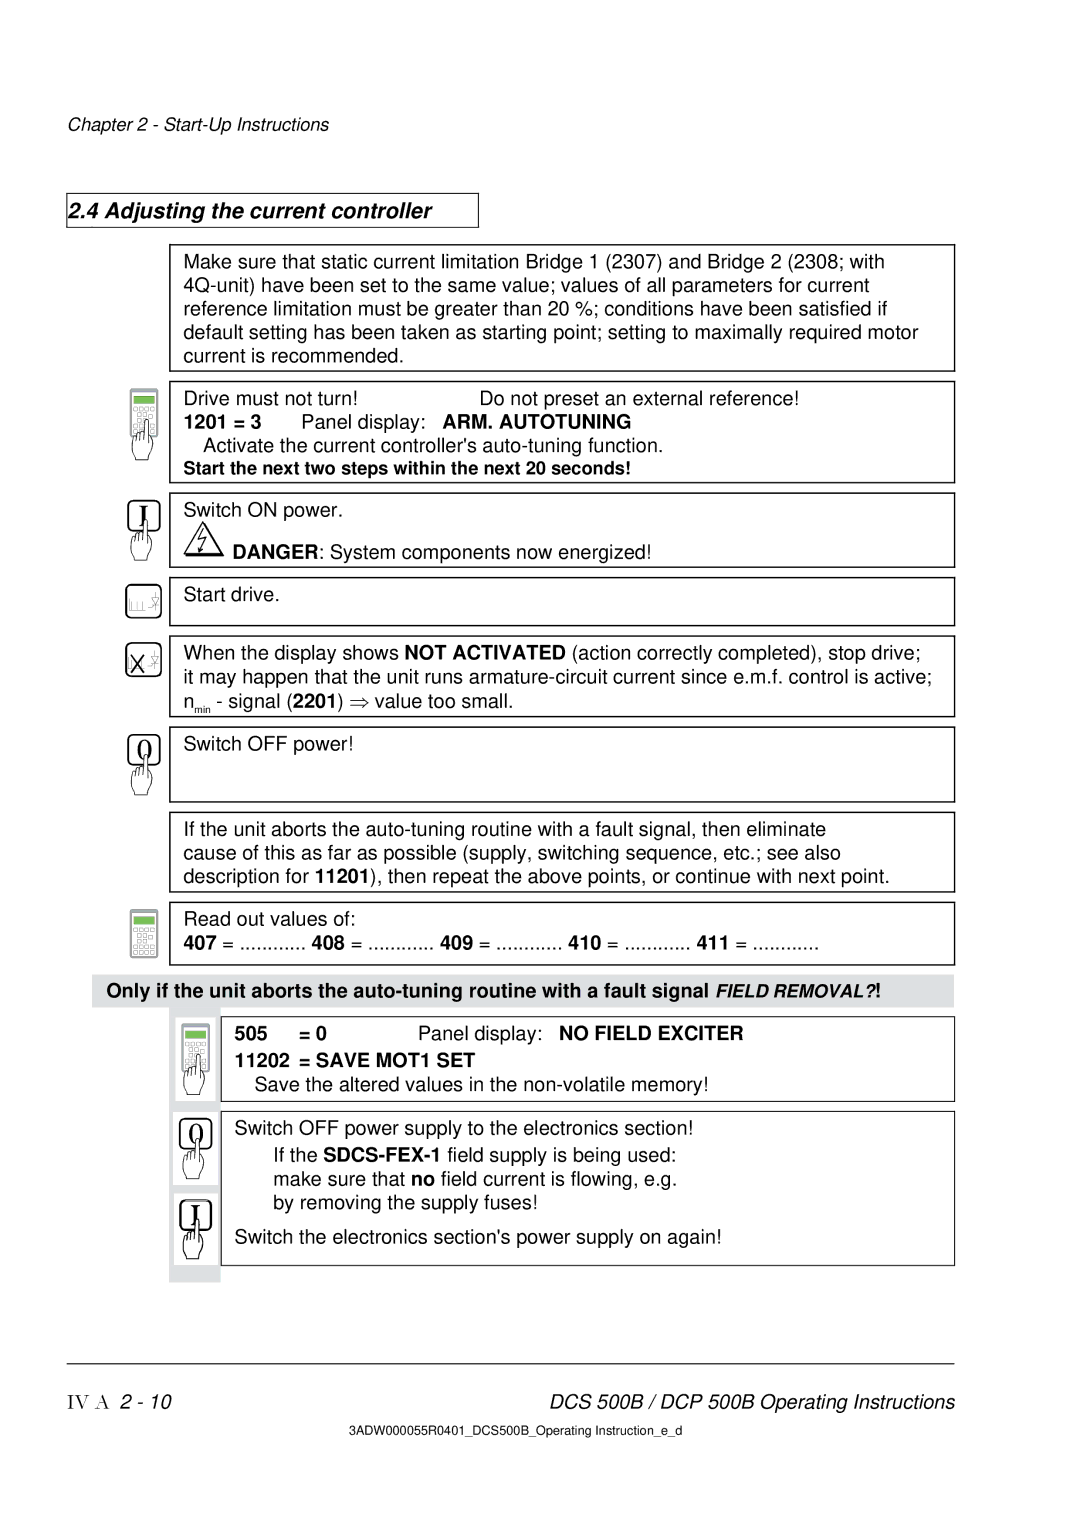
2.4 Adjusting the current controller
Make sure that static current limitation Bridge 1 (2307) and Bridge 2 (2308; with
Drive must not turn!Do not preset an external reference!
1201 = 3 Panel display: ARM. AUTOTUNING
Activate the current controller's
Start the next two steps within the next 20 seconds!
Switch ON power.
![]() DANGER: System components now energized!
DANGER: System components now energized!
Start drive.
When the display shows NOT ACTIVATED (action correctly completed), stop drive; it may happen that the unit runs
Switch OFF power!
If the unit aborts the
Read out values of: |
|
|
| |
407 = | 408 = | 409 = | 410 = | 411 = |
Only if the unit aborts the
505 | = 0 | Panel display: NO FIELD EXCITER |
11202 | = SAVE MOT1 SET | |
Save the altered values in the
Switch OFF power supply to the electronics section! If the
Switch the electronics section's power supply on again!
IV A 2 - 10 | DCS 500B / DCP 500B Operating Instructions |
3ADW000055R0401_DCS500B_Operating Instruction_e_d
