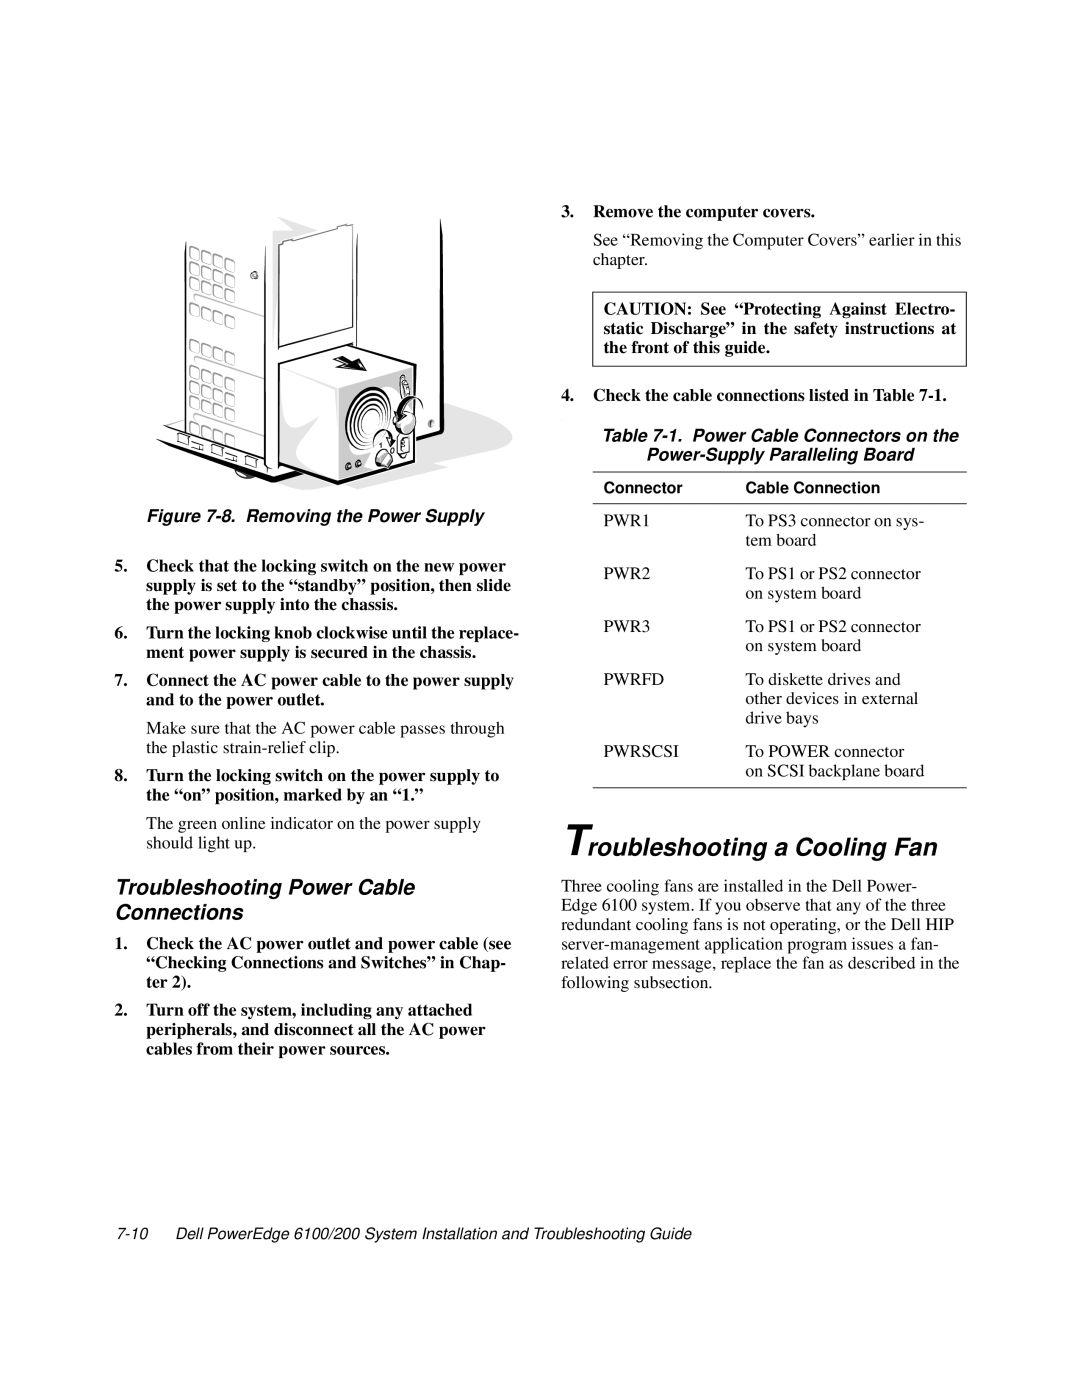
Figure 7-8. Removing the Power Supply
5.Check that the locking switch on the new power supply is set to the “standby” position, then slide the power supply into the chassis.
6.Turn the locking knob clockwise until the replace- ment power supply is secured in the chassis.
7.Connect the AC power cable to the power supply and to the power outlet.
Make sure that the AC power cable passes through the plastic
8.Turn the locking switch on the power supply to the “on” position, marked by an “1.”
The green online indicator on the power supply should light up.
Troubleshooting Power Cable
Connections
1.Check the AC power outlet and power cable (see “Checking Connections and Switches” in Chap- ter 2).
2.Turn off the system, including any attached peripherals, and disconnect all the AC power cables from their power sources.
3.Remove the computer covers.
See “Removing the Computer Covers” earlier in this chapter.
CAUTION: See “Protecting Against Electro- static Discharge” in the safety instructions at the front of this guide.
4.Check the cable connections listed in Table 7-1.
.
Table 7-1. Power Cable Connectors on the
Power-Supply Paralleling Board
Connector | Cable Connection |
|
|
PWR1 | To PS3 connector on sys- |
| tem board |
PWR2 | To PS1 or PS2 connector |
| on system board |
PWR3 | To PS1 or PS2 connector |
| on system board |
PWRFD | To diskette drives and |
| other devices in external |
| drive bays |
PWRSCSI | To POWER connector |
| on SCSI backplane board |
|
|
Troubleshooting a Cooling Fan
Three cooling fans are installed in the Dell Power- Edge 6100 system. If you observe that any of the three redundant cooling fans is not operating, or the Dell HIP