Connecting the Receiver to a Dish Antenna System
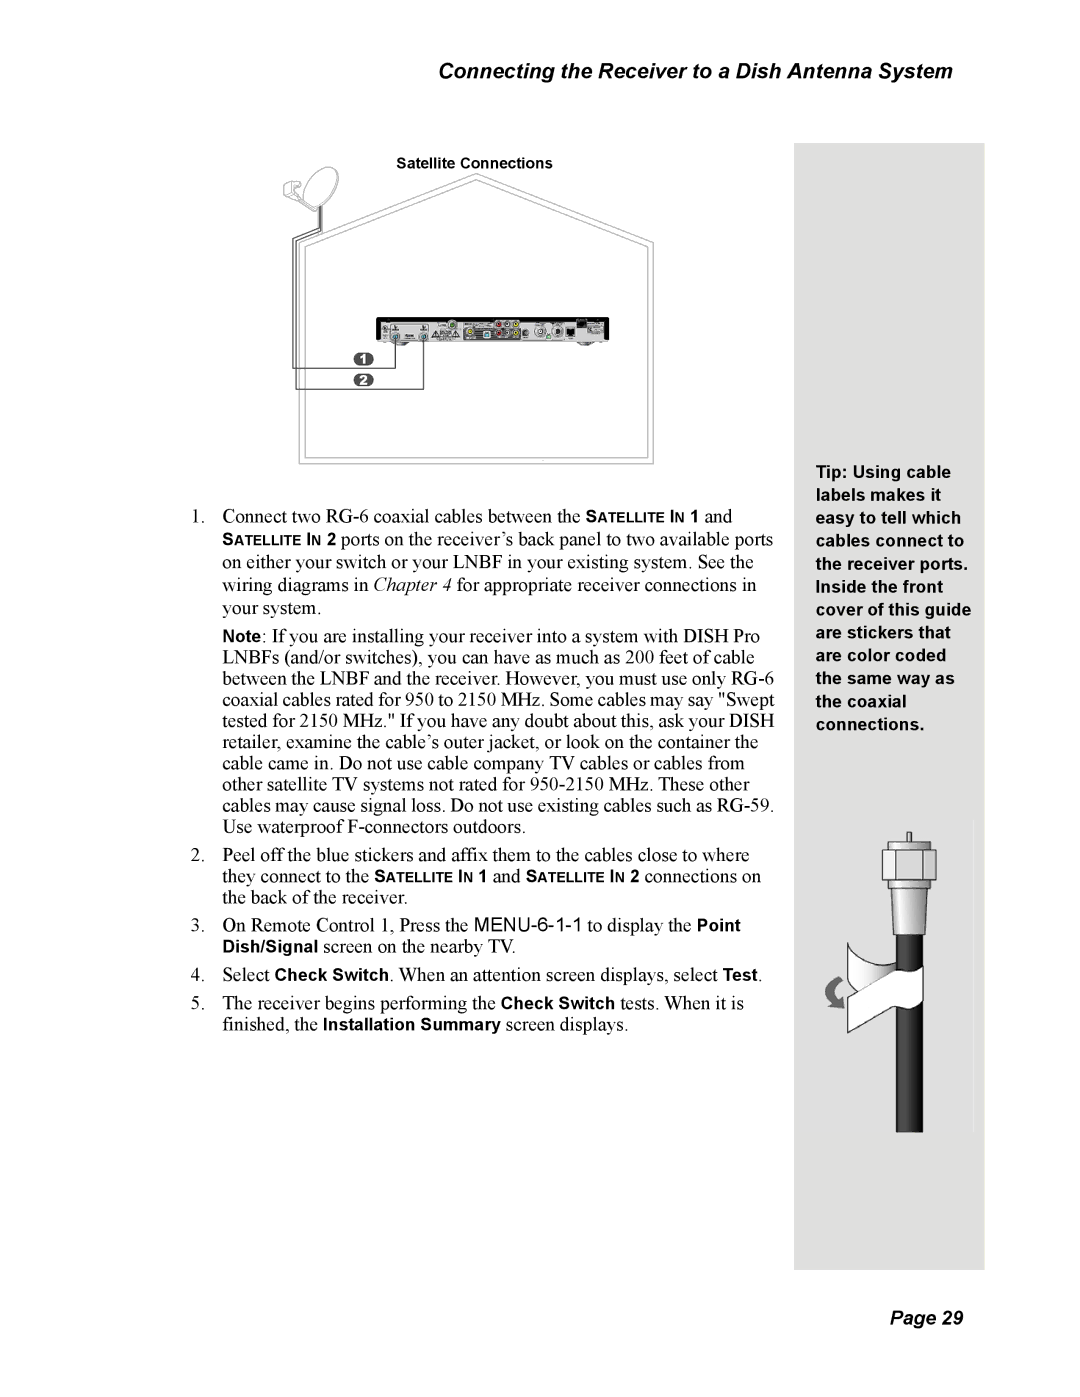
Satellite Connections
1
2
1.Connect two
SATELLITE IN 2 ports on the receiver’s back panel to two available ports on either your switch or your LNBF in your existing system. See the wiring diagrams in Chapter 4 for appropriate receiver connections in your system.
Note: If you are installing your receiver into a system with DISH Pro LNBFs (and/or switches), you can have as much as 200 feet of cable between the LNBF and the receiver. However, you must use only
2.Peel off the blue stickers and affix them to the cables close to where they connect to the SATELLITE IN 1 and SATELLITE IN 2 connections on the back of the receiver.
3.On Remote Control 1, Press the
4.Select Check Switch. When an attention screen displays, select Test.
5.The receiver begins performing the Check Switch tests. When it is finished, the Installation Summary screen displays.
Tip: Using cable labels makes it easy to tell which cables connect to the receiver ports. Inside the front cover of this guide are stickers that are color coded the same way as the coaxial connections.
Page 29