Chapter 5 Operating SCU | 71 |
Use “ ” or “ ” to select one page or one of the parameters, and “ ” or “ ” to select the parameter value. Press “ENT” to confirm and save.
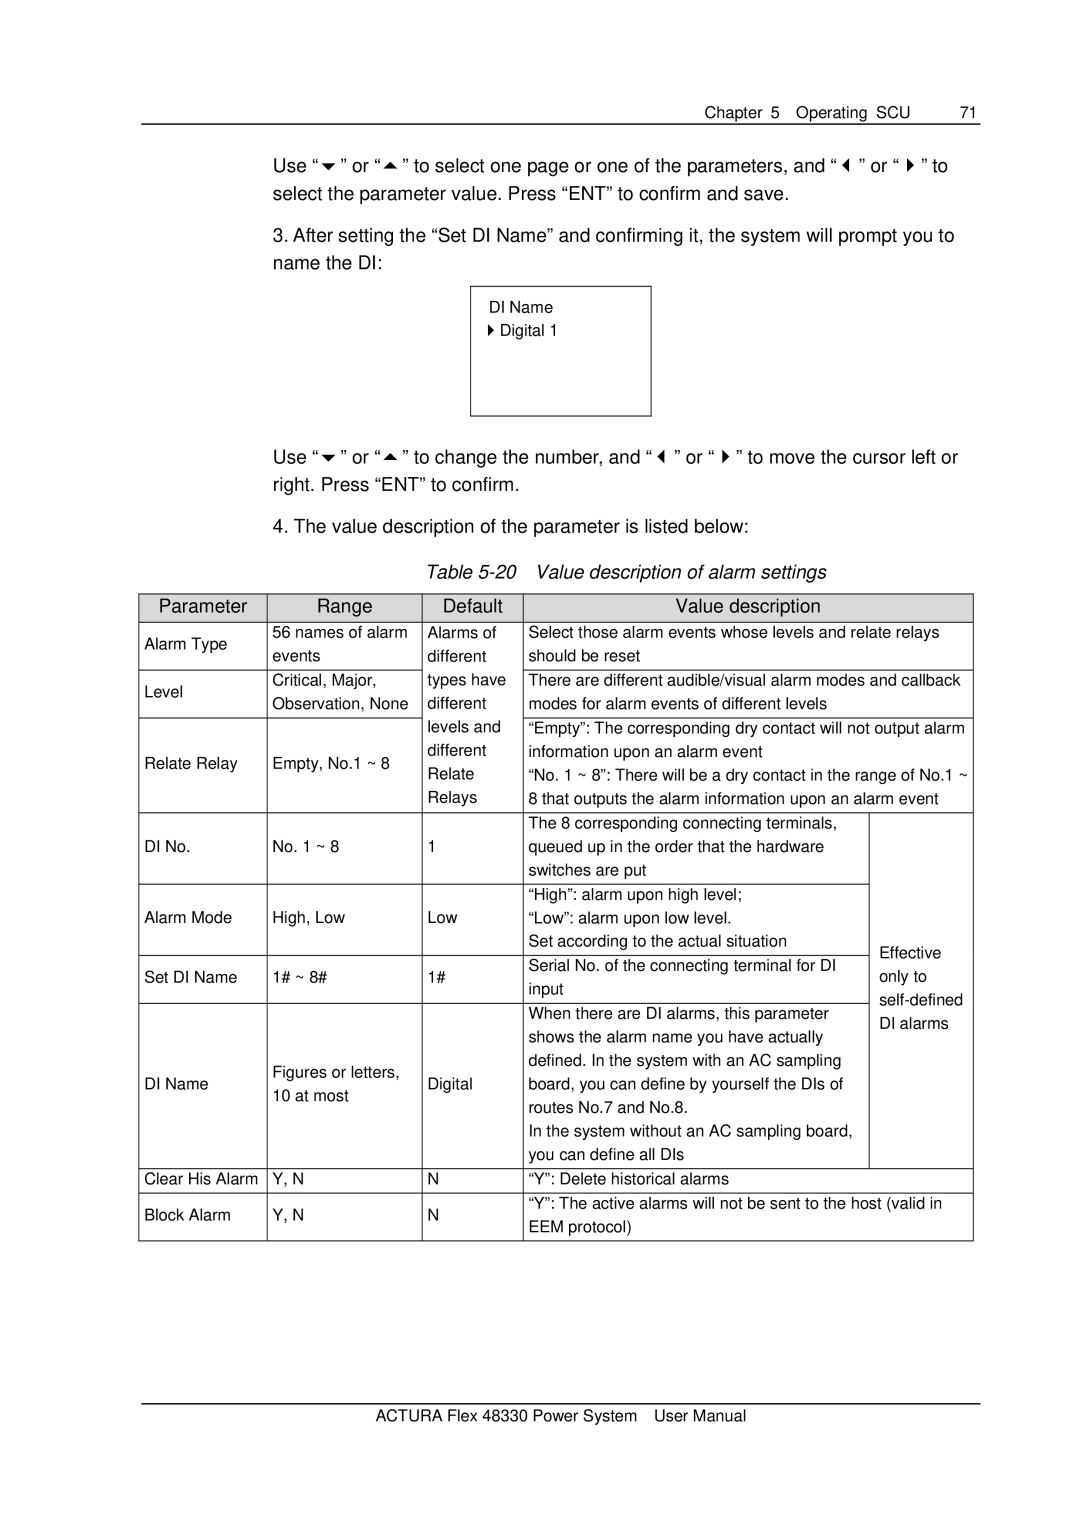
3.After setting the “Set DI Name” and confirming it, the system will prompt you to name the DI:
DI Name
Digital 1
Use “ ” or “ ” to change the number, and “ ” or “ ” to move the cursor left or right. Press “ENT” to confirm.
4. The value description of the parameter is listed below:
Table 5-20 Value description of alarm settings
| Parameter |
| Range |
| Default |
| Value description |
|
| Alarm Type |
| 56 names of alarm |
| Alarms of |
| Select those alarm events whose levels and relate relays | |
|
| events |
| different |
| should be reset |
| |
|
|
|
|
|
| |||
|
|
|
|
| types have |
|
|
|
| Level |
| Critical, Major, |
|
| There are different audible/visual alarm modes and callback | ||
|
| Observation, None |
| different |
| modes for alarm events of different levels |
| |
|
|
|
|
|
| |||
|
|
|
|
| levels and |
|
|
|
|
|
|
|
|
| “Empty”: The corresponding dry contact will not output alarm | ||
| Relate Relay | Empty, No.1 ~ 8 |
| different |
| information upon an alarm event |
| |
|
| Relate |
| “No. 1 ~ 8”: There will be a dry contact in the range of No.1 ~ | ||||
|
|
|
|
|
| |||
|
|
|
|
| Relays |
| 8 that outputs the alarm information upon an alarm event | |
|
|
|
|
|
|
|
|
|
|
|
|
|
|
|
| The 8 corresponding connecting terminals, |
|
| DI No. |
| No. 1 ~ 8 | 1 |
| queued up in the order that the hardware |
| |
|
|
|
|
|
|
| switches are put |
|
|
|
|
|
|
|
|
|
|
|
|
|
|
|
|
| “High”: alarm upon high level; |
|
| Alarm Mode |
| High, Low |
| Low |
| “Low”: alarm upon low level. |
|
|
|
|
|
|
|
| Set according to the actual situation | Effective |
|
|
|
|
|
|
|
| |
|
|
|
|
|
|
| Serial No. of the connecting terminal for DI | |
| Set DI Name | 1# ~ 8# | 1# |
| only to | |||
|
| input | ||||||
|
|
|
|
|
|
| ||
|
|
|
|
|
|
|
| |
|
|
|
|
|
|
| When there are DI alarms, this parameter | |
|
|
|
|
|
|
| DI alarms | |
|
|
|
|
|
|
| shows the alarm name you have actually | |
|
|
|
|
|
|
|
| |
|
|
| Figures or letters, |
|
|
| defined. In the system with an AC sampling |
|
| DI Name |
|
| Digital |
| board, you can define by yourself the DIs of |
| |
|
| 10 at most |
|
|
| |||
|
|
|
|
|
| routes No.7 and No.8. |
| |
|
|
|
|
|
|
|
| |
|
|
|
|
|
|
| In the system without an AC sampling board, |
|
|
|
|
|
|
|
| you can define all DIs |
|
|
|
|
|
|
|
|
|
|
| Clear His Alarm |
| Y, N |
| N |
| “Y”: Delete historical alarms |
|
|
|
|
|
|
|
|
| |
| Block Alarm |
| Y, N |
| N |
| “Y”: The active alarms will not be sent to the host (valid in | |
|
|
|
| EEM protocol) |
| |||
|
|
|
|
|
|
|
| |
|
|
|
|
|
|
|
|
|
ACTURA Flex 48330 Power System User Manual
