Quick Start
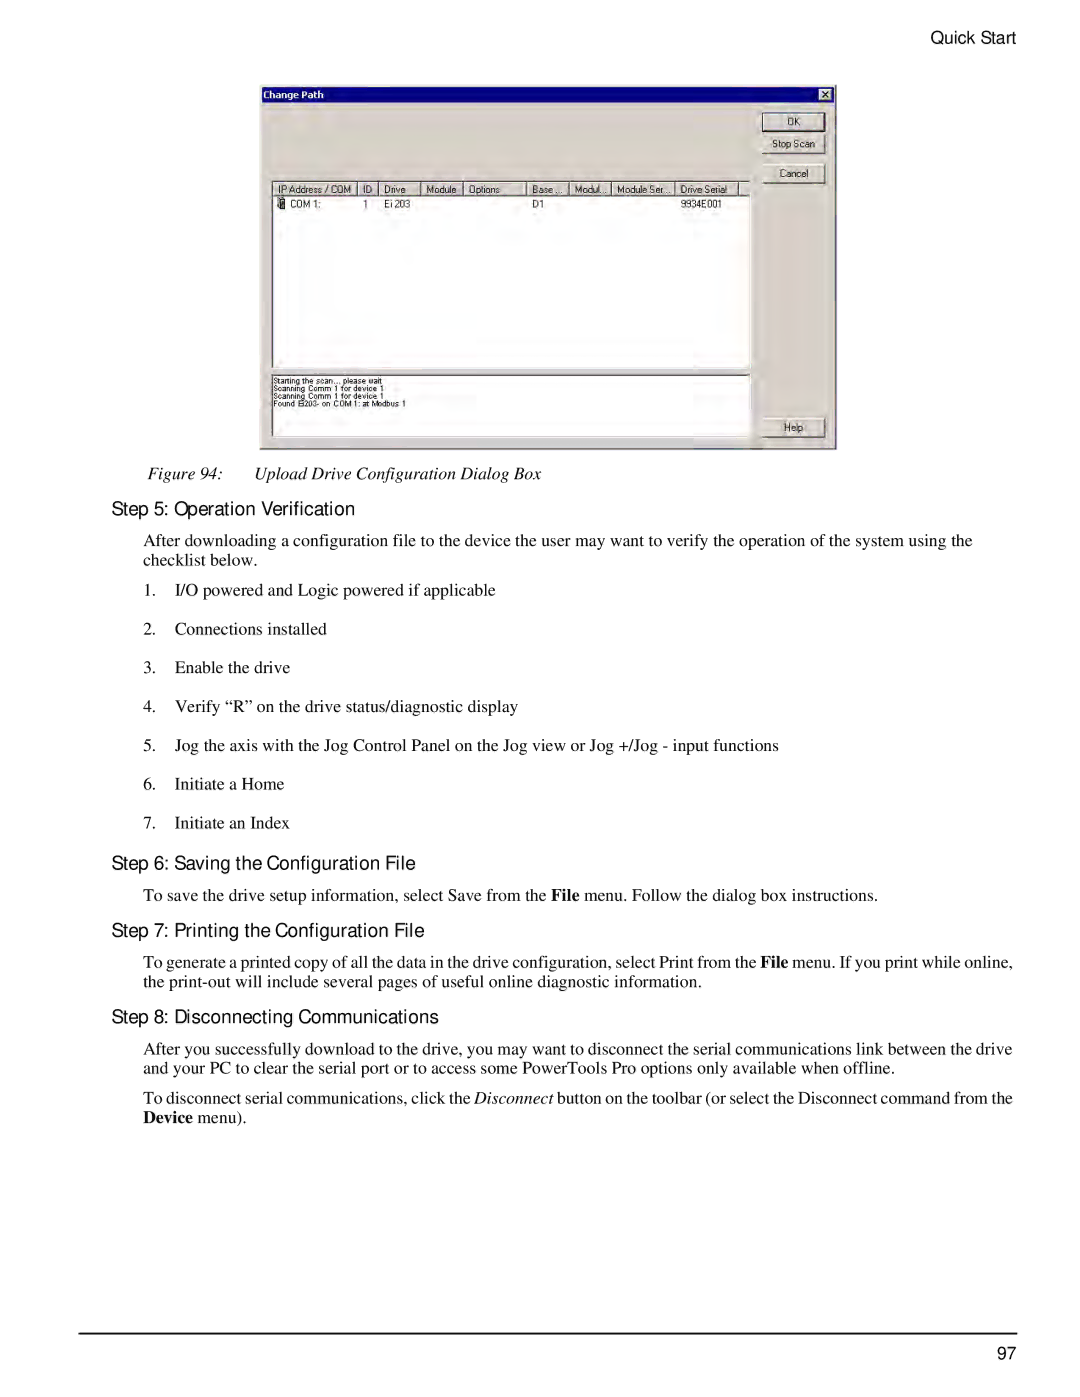
Figure 94: Upload Drive Configuration Dialog Box
Step 5: Operation Verification
After downloading a configuration file to the device the user may want to verify the operation of the system using the checklist below.
1.I/O powered and Logic powered if applicable
2.Connections installed
3.Enable the drive
4.Verify “R” on the drive status/diagnostic display
5.Jog the axis with the Jog Control Panel on the Jog view or Jog +/Jog - input functions
6.Initiate a Home
7.Initiate an Index
Step 6: Saving the Configuration File
To save the drive setup information, select Save from the File menu. Follow the dialog box instructions.
Step 7: Printing the Configuration File
To generate a printed copy of all the data in the drive configuration, select Print from the File menu. If you print while online, the
Step 8: Disconnecting Communications
After you successfully download to the drive, you may want to disconnect the serial communications link between the drive and your PC to clear the serial port or to access some PowerTools Pro options only available when offline.
To disconnect serial communications, click the Disconnect button on the toolbar (or select the Disconnect command from the Device menu).
97
