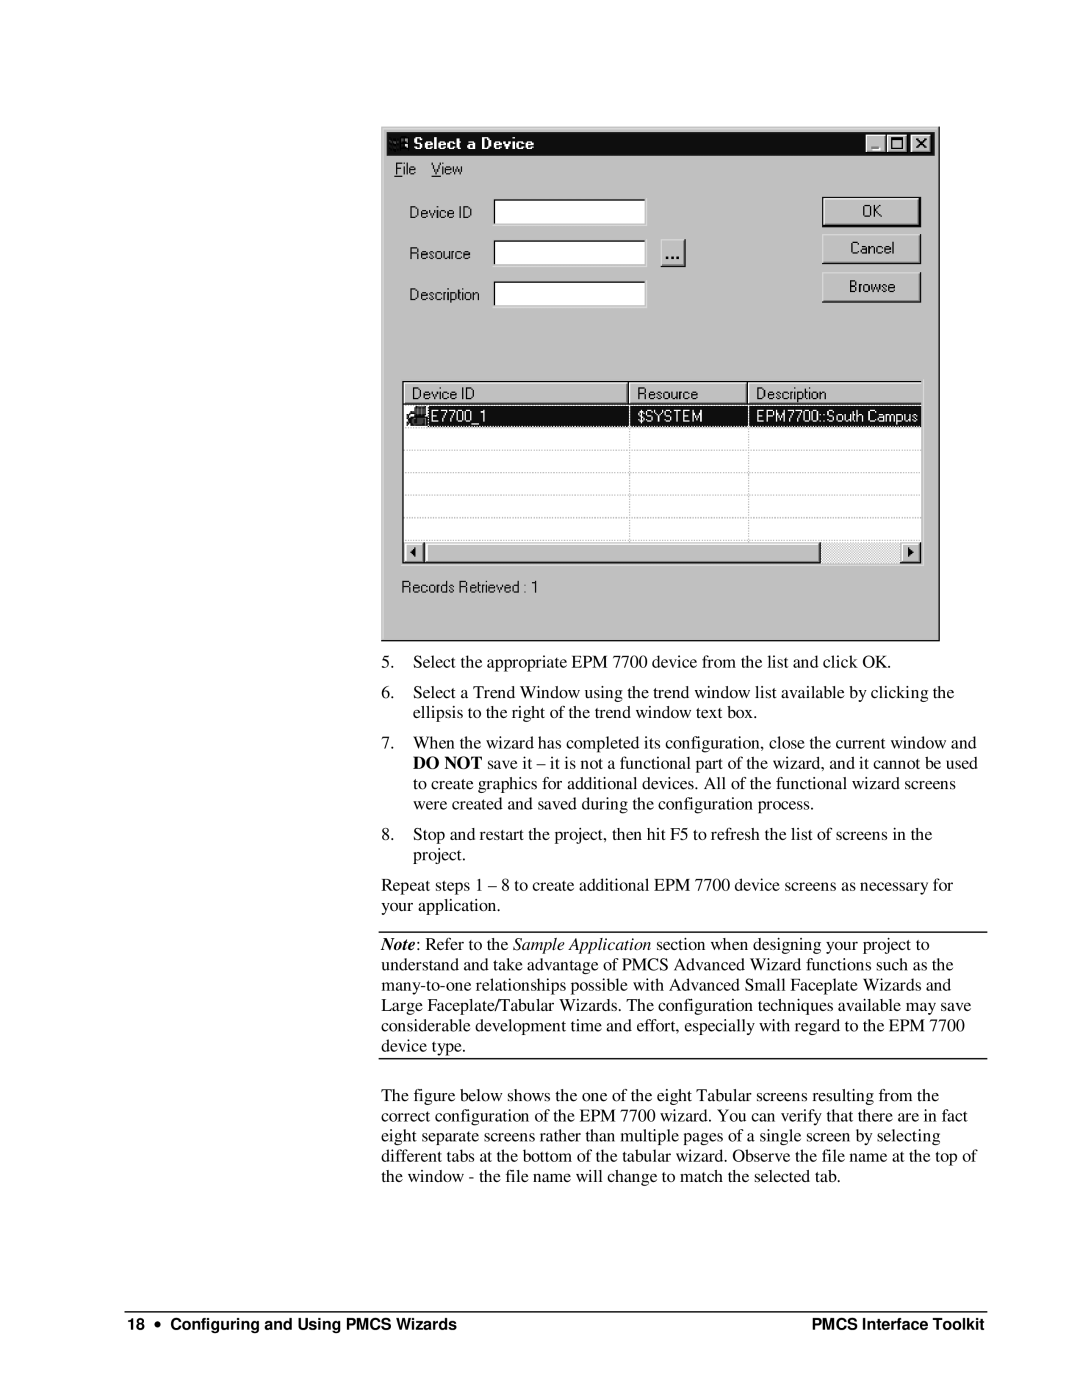
5.Select the appropriate EPM 7700 device from the list and click OK.
6.Select a Trend Window using the trend window list available by clicking the ellipsis to the right of the trend window text box.
7.When the wizard has completed its configuration, close the current window and DO NOT save it – it is not a functional part of the wizard, and it cannot be used to create graphics for additional devices. All of the functional wizard screens were created and saved during the configuration process.
8.Stop and restart the project, then hit F5 to refresh the list of screens in the project.
Repeat steps 1 – 8 to create additional EPM 7700 device screens as n ecessary for your application.
Note: Refer to the Sample Application section when designing your project to understand and take advantage of PMCS Advanced Wizard functions such as the
The figure below shows the one of the eight Tabular screens resulting from the correct configuration of the EPM 7700 wizard. You can verify that there are in fact eight separate screens rather than multiple pages of a single screen by selecting different tabs at the bottom of the tabular wizard. Observe the file name at the top of the window - the file name will change to match the selected tab.
18 ∙ Configuring and Using PMCS Wizards | PMCS Interface Toolkit |