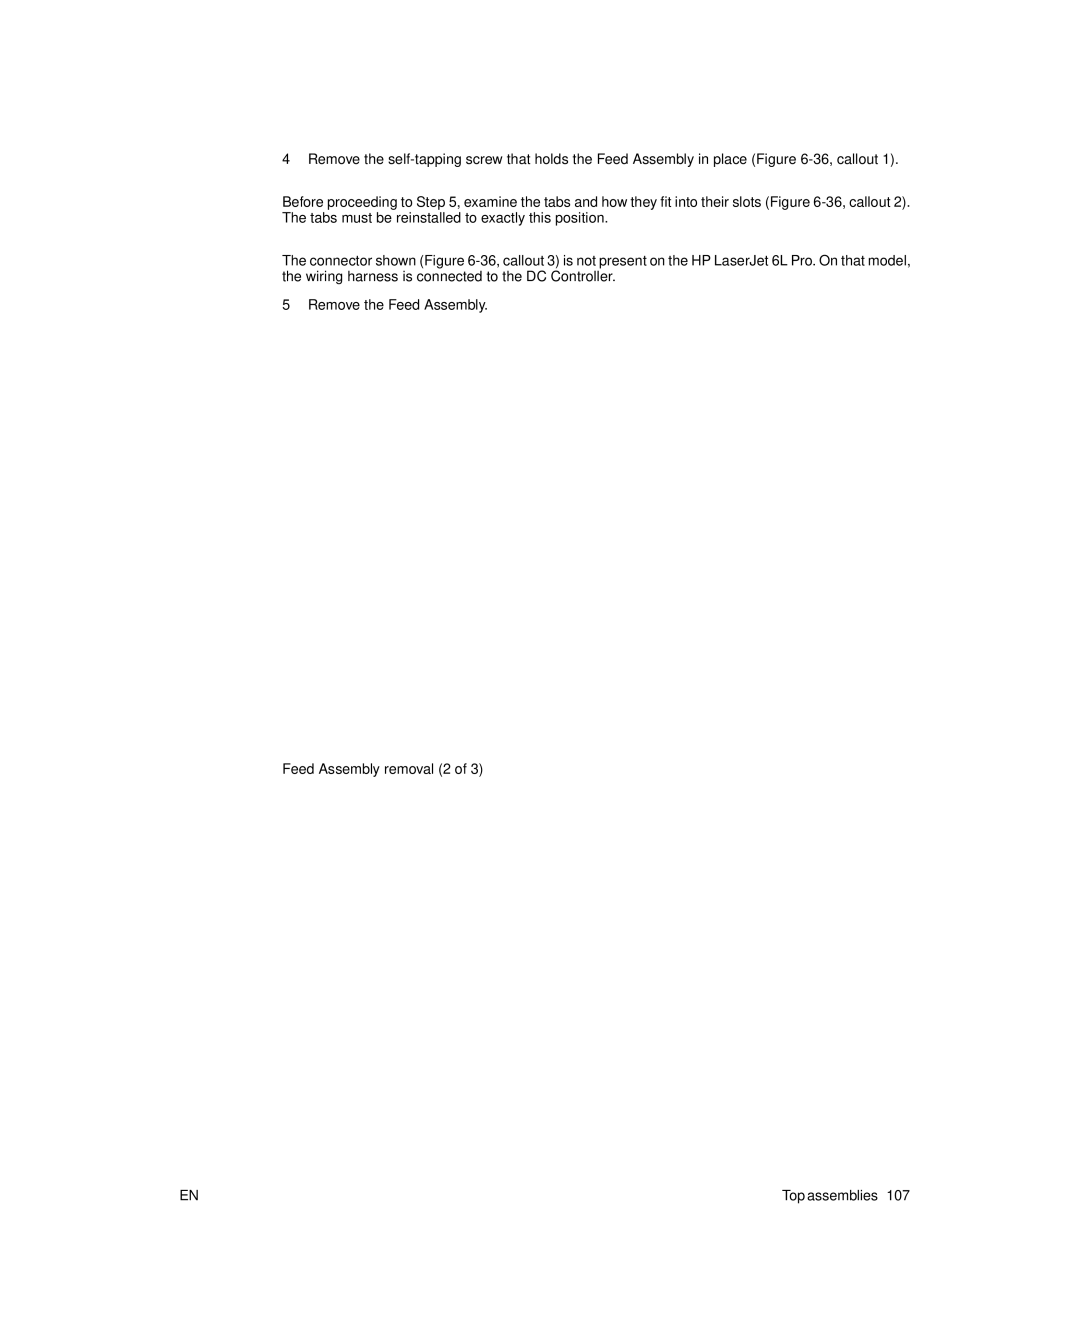
| 4 | Remove the |
|
| |
Note | Before proceeding to Step 5, examine the tabs and how they fit into their slots (Figure | |
| The tabs must be reinstalled to exactly this position. | |
|
| |
|
| |
Note | The connector shown (Figure | |
| the wiring harness is connected to the DC Controller. | |
| 5 | Remove the Feed Assembly. |
| ||
3
1
2
Figure 6-36 Feed Assembly removal (2 of 3)
EN | Top assemblies 107 |