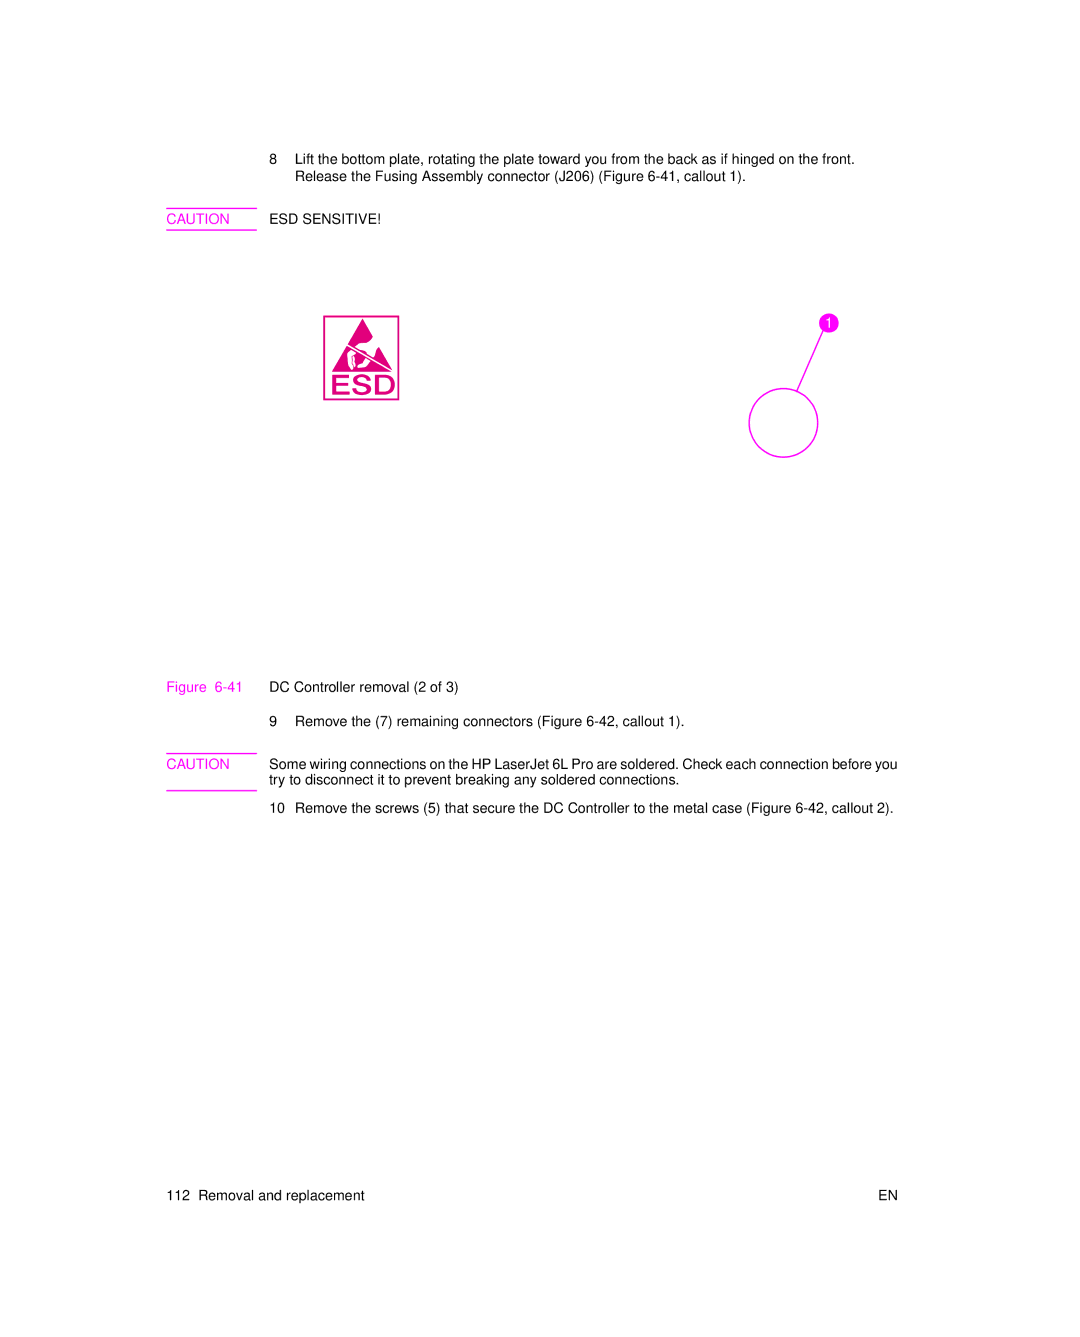
8Lift the bottom plate, rotating the plate toward you from the back as if hinged on the front. Release the Fusing Assembly connector (J206) (Figure
CAUTION ESD SENSITIVE!
1
Figure 6-41 DC Controller removal (2 of 3)
9Remove the (7) remaining connectors (Figure
CAUTION Some wiring connections on the HP LaserJet 6L Pro are soldered. Check each connection before you try to disconnect it to prevent breaking any soldered connections.
10Remove the screws (5) that secure the DC Controller to the metal case (Figure
112 Removal and replacement | EN |