HP Simple Trax Control Panel Overview |
■If you want to start tracking files on a CD created by someone else.
To import a CD into HP Simple Trax:
1.Place the CD whose contents you want to import into your
2.Run Explorer by clicking the Start button, pointing to Programs, and clicking Windows Explorer.
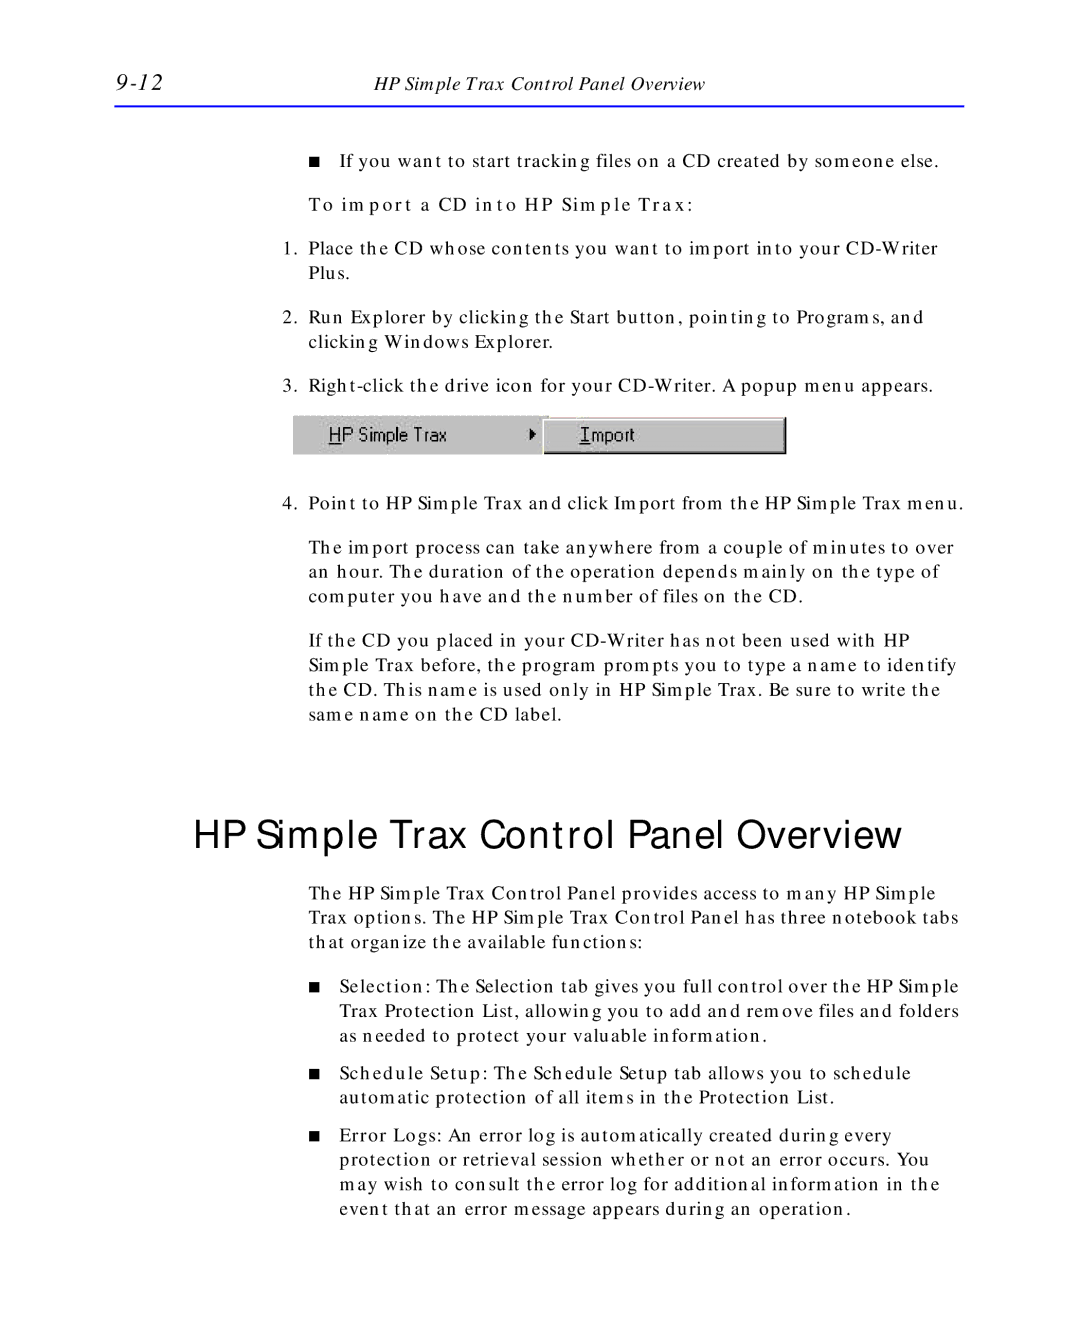
3.
4.Point to HP Simple Trax and click Import from the HP Simple Trax menu.
The import process can take anywhere from a couple of minutes to over an hour. The duration of the operation depends mainly on the type of computer you have and the number of files on the CD.
If the CD you placed in your
HP Simple Trax Control Panel Overview
The HP Simple Trax Control Panel provides access to many HP Simple Trax options. The HP Simple Trax Control Panel has three notebook tabs that organize the available functions:
■Selection: The Selection tab gives you full control over the HP Simple Trax Protection List, allowing you to add and remove files and folders as needed to protect your valuable information.
■Schedule Setup: The Schedule Setup tab allows you to schedule automatic protection of all items in the Protection List.
■Error Logs: An error log is automatically created during every protection or retrieval session whether or not an error occurs. You may wish to consult the error log for additional information in the event that an error message appears during an operation.