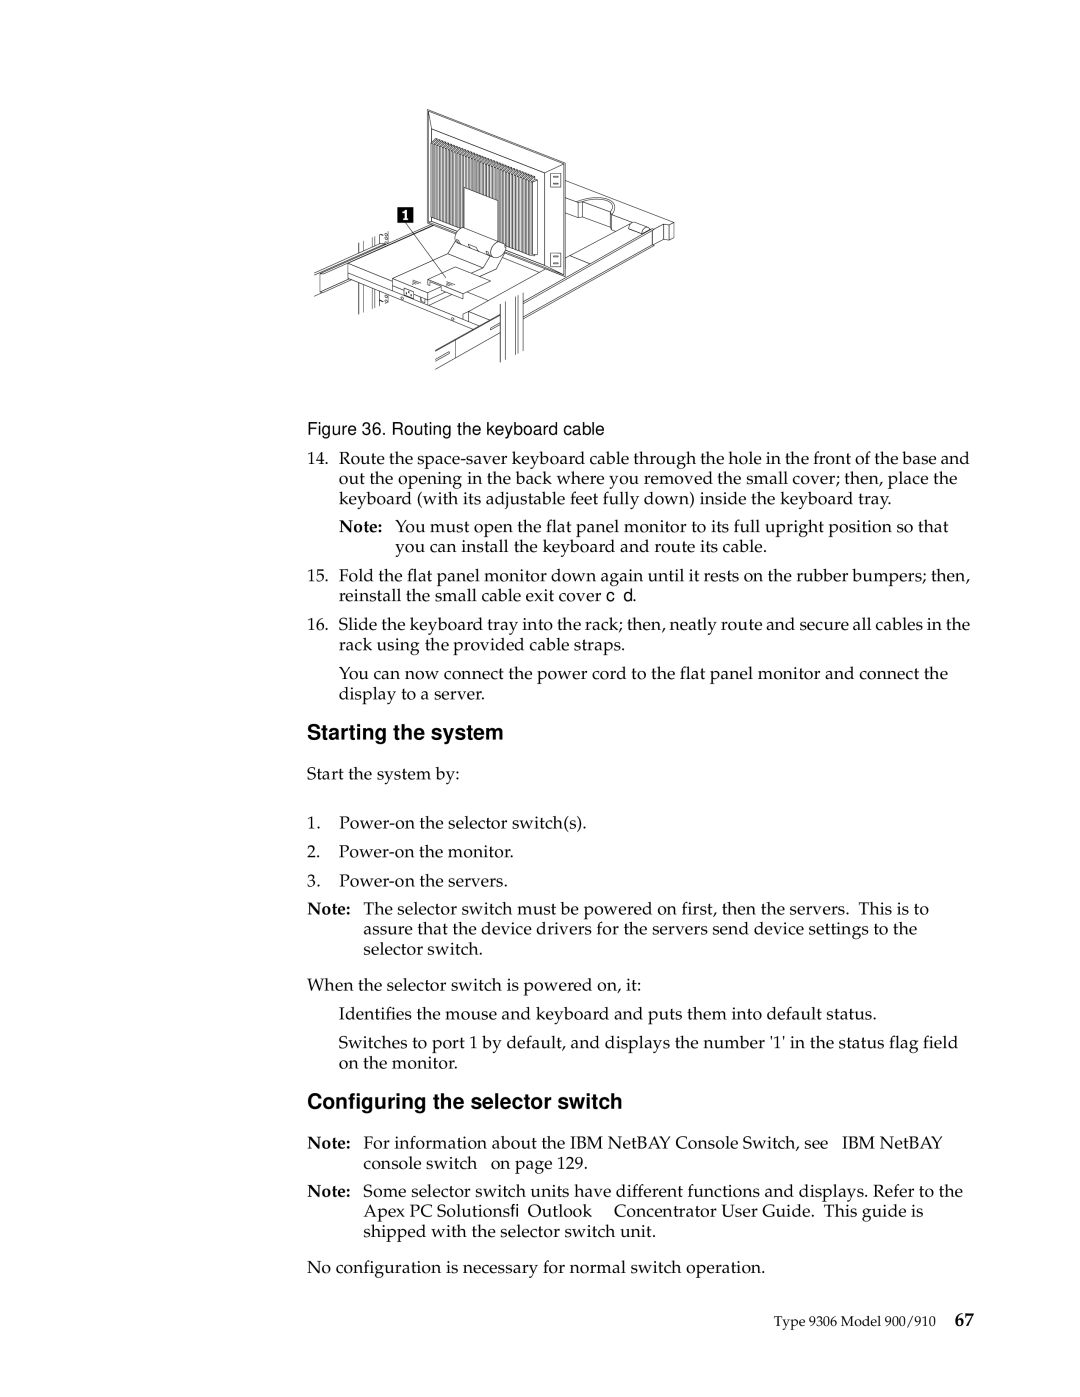
Figure 36. Routing the keyboard cable
14.Route the
Note: You must open the flat panel monitor to its full upright position so that you can install the keyboard and route its cable.
15.Fold the flat panel monitor down again until it rests on the rubber bumpers; then, reinstall the small cable exit cover c1d.
16.Slide the keyboard tray into the rack; then, neatly route and secure all cables in the rack using the provided cable straps.
You can now connect the power cord to the flat panel monitor and connect the display to a server.
Starting the system
Start the system by:
1.
2.
3.
Note: The selector switch must be powered on first, then the servers. This is to assure that the device drivers for the servers send device settings to the selector switch.
When the selector switch is powered on, it:
•Identifies the mouse and keyboard and puts them into default status.
•Switches to port 1 by default, and displays the number '1' in the status flag field on the monitor.
Configuring the selector switch
Note: For information about the IBM NetBAY Console Switch, see “IBM NetBAY console switch” on page 129.
Note: Some selector switch units have different functions and displays. Refer to the Apex PC Solutions® Outlook™ Concentrator User Guide. This guide is shipped with the selector switch unit.
No configuration is necessary for normal switch operation.
Type 9306 Model 900/910 67