length of time you want this server to be connected to the monitor and keyboard, before switching to the next server in the scan.
6.Press the Down Arrow (d) key to move the highlighting to the next port in the Port column and repeat step 5.
To delete unwanted ports from the scan list in the Scan Pattern Setup window, place the highlighting on the
7.When you have finished setting the scan pattern, press the Enter key. Press Esc at any time before pressing Enter to retain the previous scan pattern.
Note: Pressing the F2 key will return all Port and Sec values to the factory defaults.
8.To exit, press Esc.
Assigning unique names to servers: Unique names can be given to servers and secondary selector switches. To assign names:
1.Press the Print Screen key.
2.Press the F2 key to display the Advanced Menu screen.
Press the Right Arrow (g) key to move the highlight to the Setup Menu.
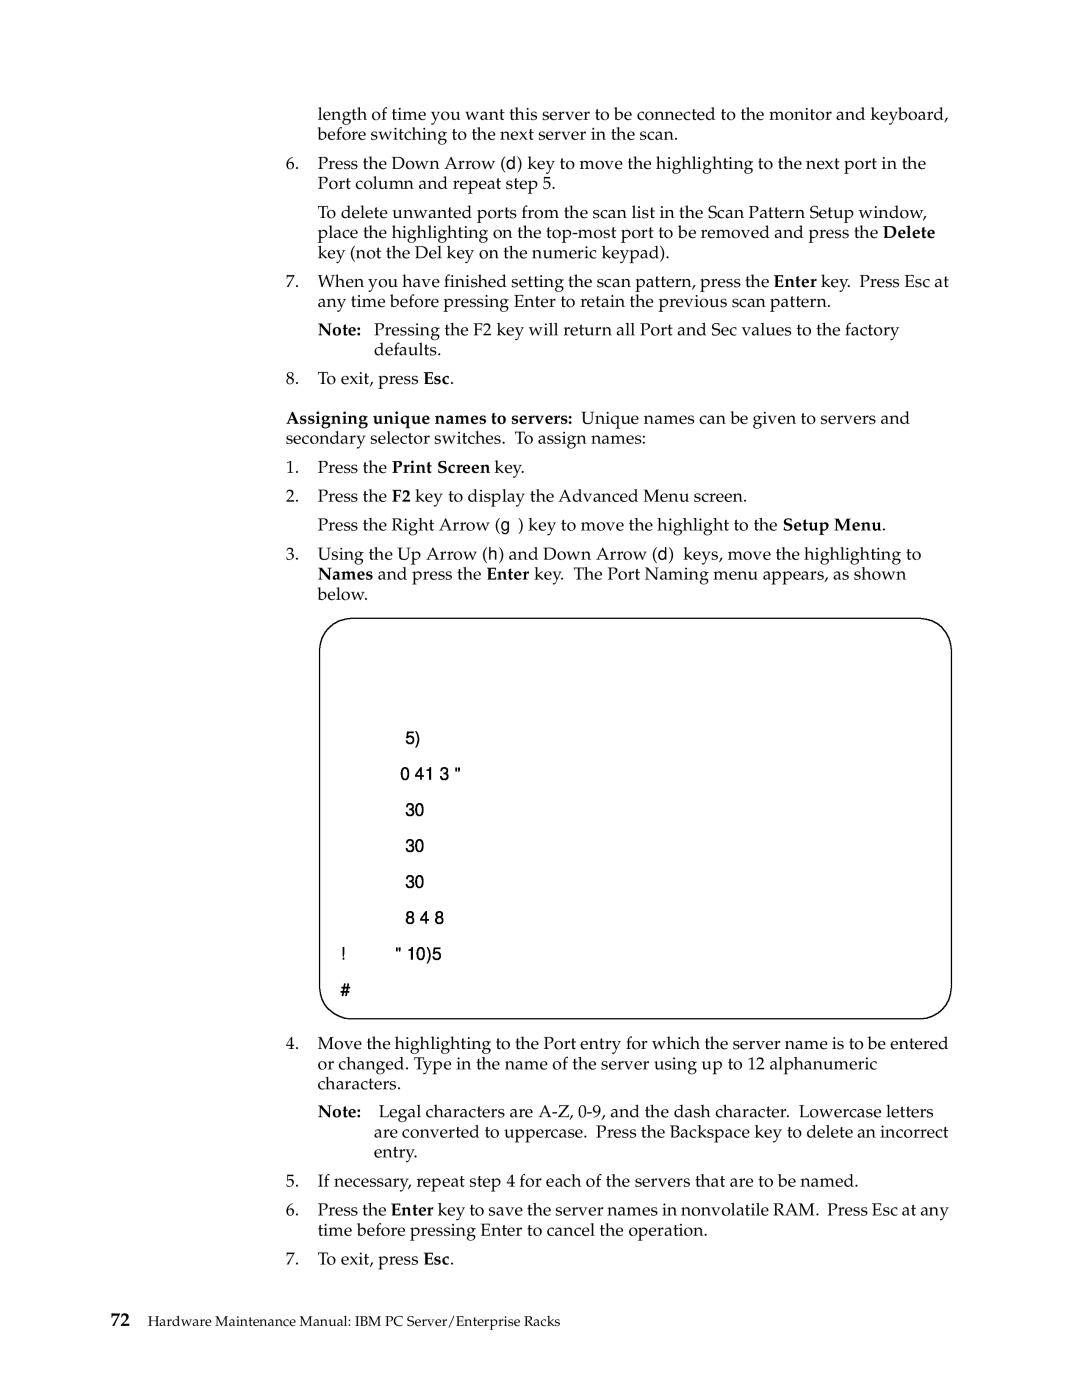
3.Using the Up Arrow (h) and Down Arrow (d) keys, move the highlighting to Names and press the Enter key. The Port Naming menu appears, as shown below.
Port Naming
Port Name
1MAGIC
2CENTRALOFC
3SALES-C
4SALES-B
5SALES-A
6DOWNTOWN
7FOREIGN
8
4.Move the highlighting to the Port entry for which the server name is to be entered or changed. Type in the name of the server using up to 12 alphanumeric characters.
Note: Legal characters are
5.If necessary, repeat step 4 for each of the servers that are to be named.
6.Press the Enter key to save the server names in nonvolatile RAM. Press Esc at any time before pressing Enter to cancel the operation.
7.To exit, press Esc.