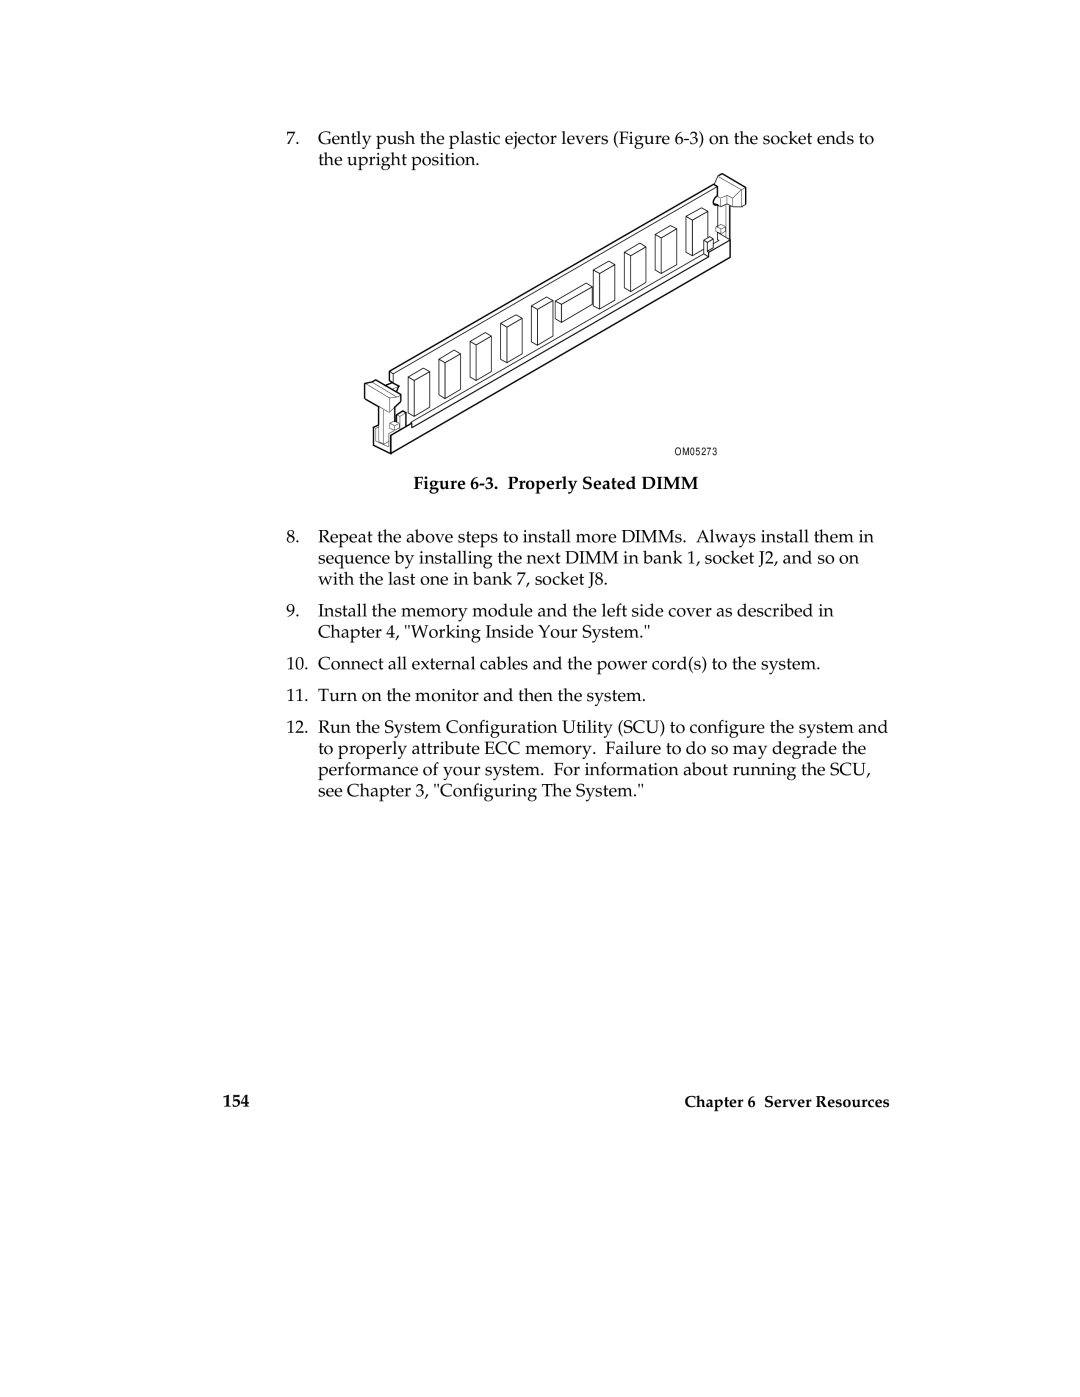
7.Gently push the plastic ejector levers (Figure
OM05273
Figure 6-3. Properly Seated DIMM
8.Repeat the above steps to install more DIMMs. Always install them in sequence by installing the next DIMM in bank 1, socket J2, and so on with the last one in bank 7, socket J8.
9.Install the memory module and the left side cover as described in Chapter 4, "Working Inside Your System."
10.Connect all external cables and the power cord(s) to the system.
11.Turn on the monitor and then the system.
12.Run the System Configuration Utility (SCU) to configure the system and to properly attribute ECC memory. Failure to do so may degrade the performance of your system. For information about running the SCU, see Chapter 3, "Configuring The System."
154 | Chapter 6 Server Resources |