SCSI Hot-docking Backplane
The system may be configured with one or two SCSI
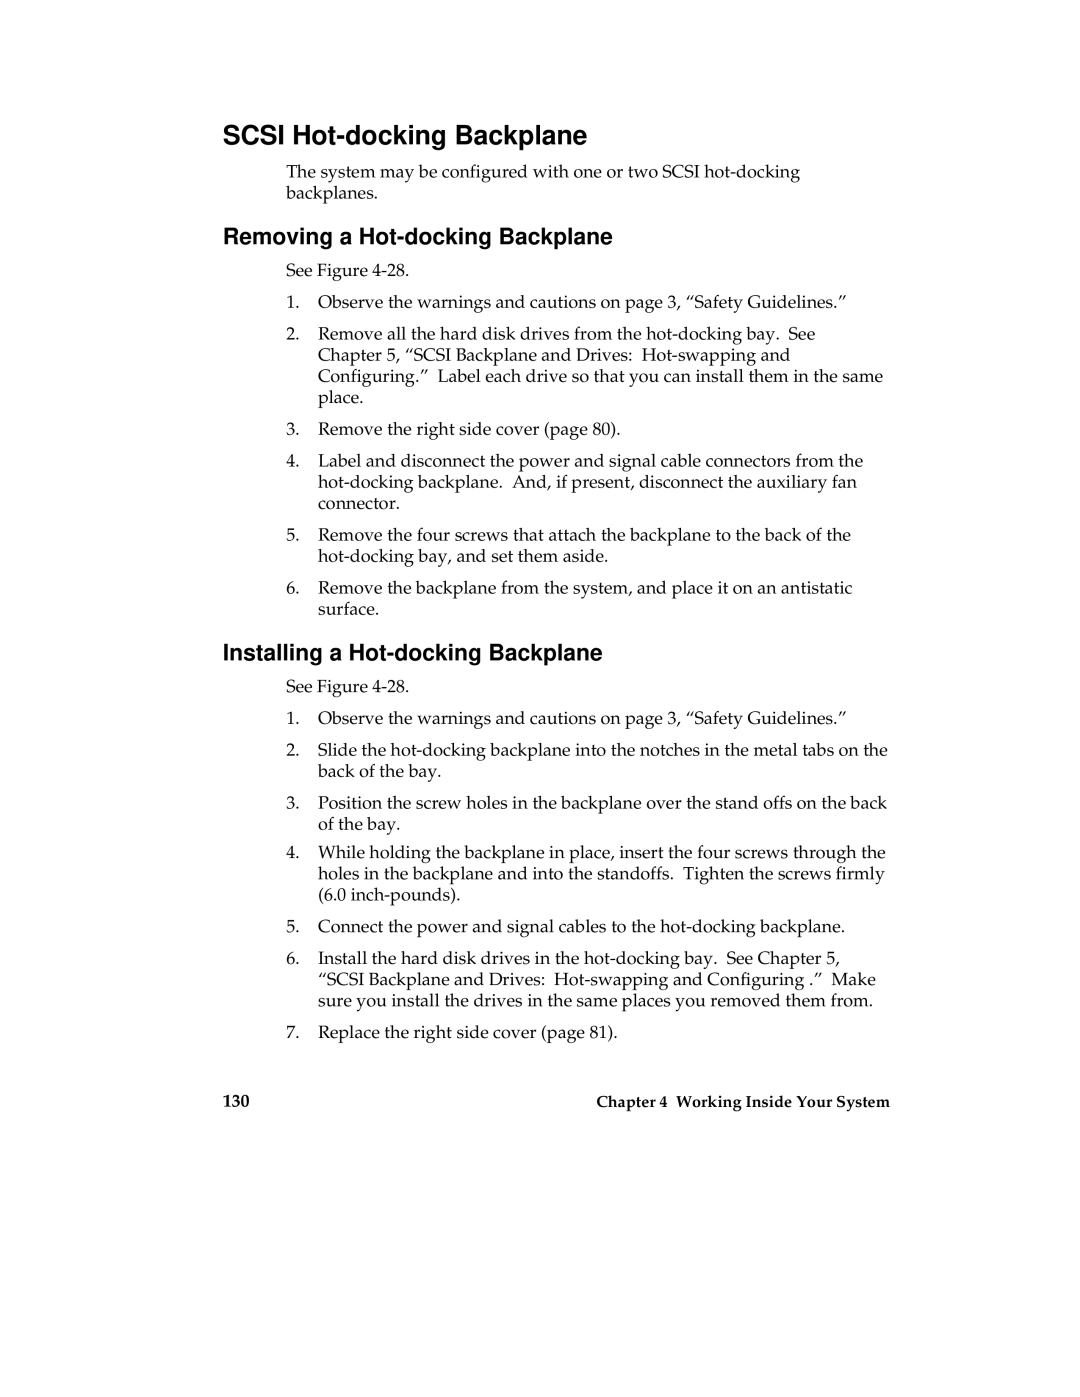
Removing a Hot-docking Backplane
See Figure
1.Observe the warnings and cautions on page 3, “Safety Guidelines.”
2.Remove all the hard disk drives from the
3.Remove the right side cover (page 80).
4.Label and disconnect the power and signal cable connectors from the
5.Remove the four screws that attach the backplane to the back of the
6.Remove the backplane from the system, and place it on an antistatic surface.
Installing a Hot-docking Backplane
See Figure
1.Observe the warnings and cautions on page 3, “Safety Guidelines.”
2.Slide the
3.Position the screw holes in the backplane over the stand offs on the back of the bay.
4.While holding the backplane in place, insert the four screws through the holes in the backplane and into the standoffs. Tighten the screws firmly (6.0
5.Connect the power and signal cables to the
6.Install the hard disk drives in the
7.Replace the right side cover (page 81).
130 | Chapter 4 Working Inside Your System |