Importing Scanned Documents to Computer (continued)
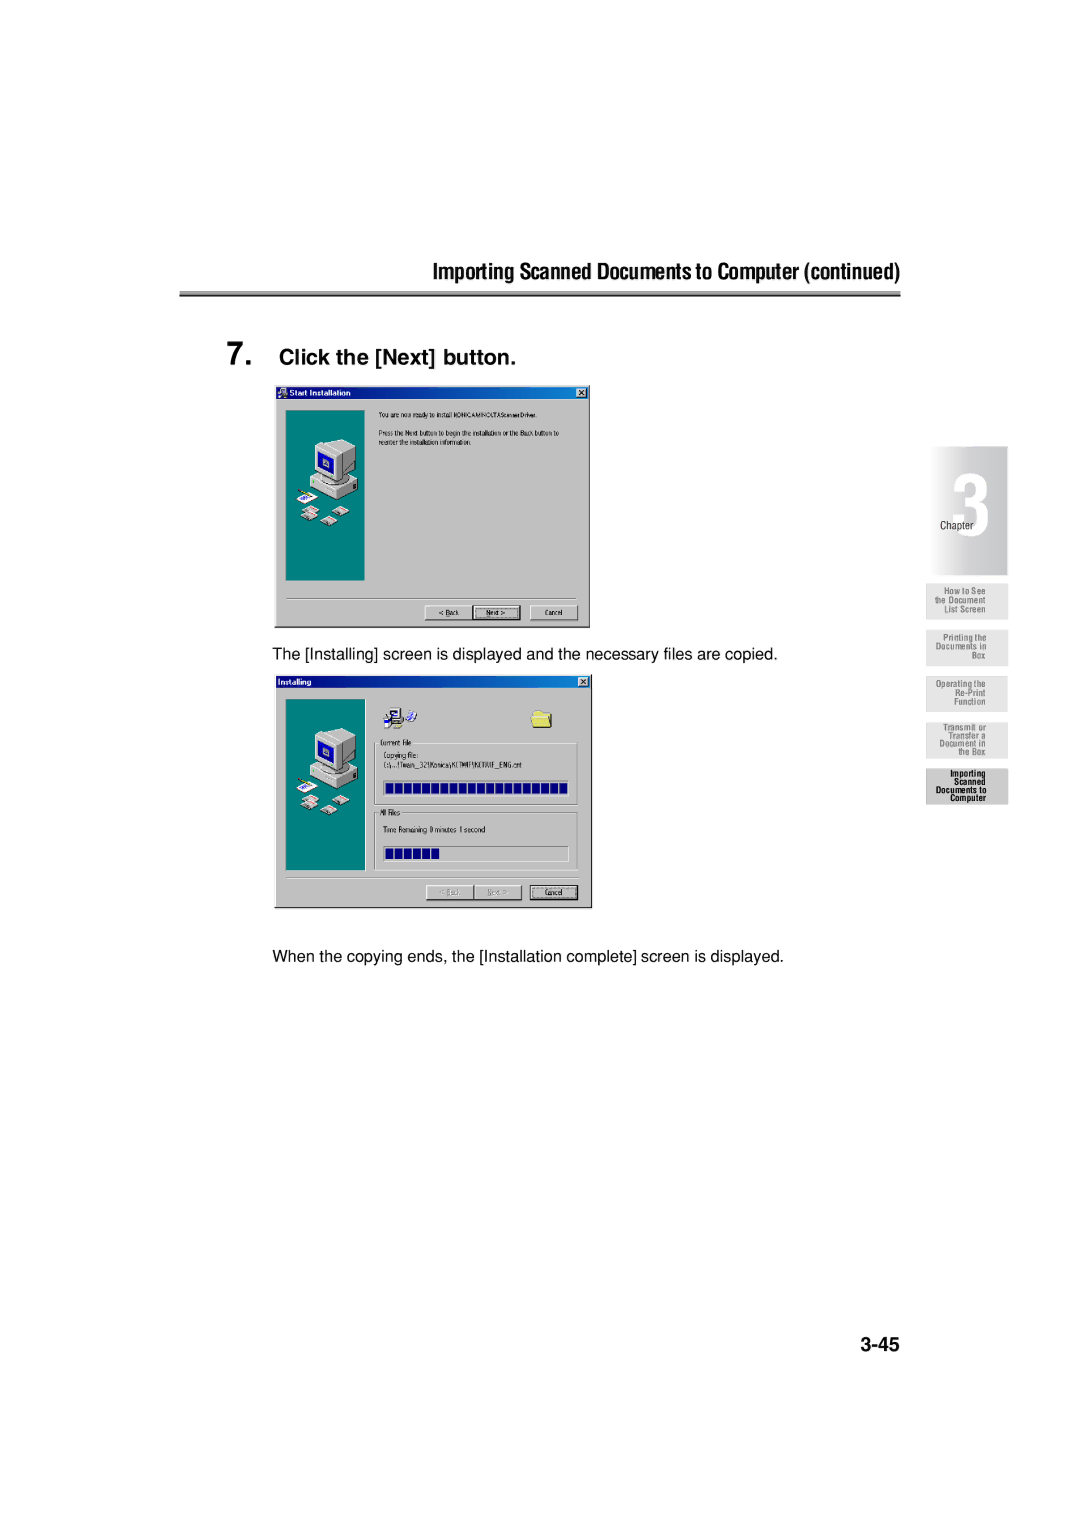
7. Click the [Next] button.
The [Installing] screen is displayed and the necessary files are copied.
When the copying ends, the [Installation complete] screen is displayed.
Chapter3
How to See the Document List Screen
Printing the
Documents in
Box
Operating the
Re-Print
Function
Transmit or Transfer a Document in the Box
Importing
Scanned Documents to Computer