Chapter 3: Server Installation
c. Note that the value entered in the “Fax ID” field (typically the DID phone number and, sometimes, an organizational identifier) will appear in the fax log printed by the sender’s fax machine.
d. Click Update.
e. Open the FaxFinder Server Home screen. Click on Current Status. Watch the Current Status: DID Modem portion of the screen. The “State” of the DID Modem (see Current Status: DID Modem screen) should be “Waiting for Ring.”
f. From an ordinary POTS phone, dial one of the DID phone numbers that is active in the system. Dial the DID phone number as you would from an outside line (it will not work to dial the number as if it were an ordinary 3- or
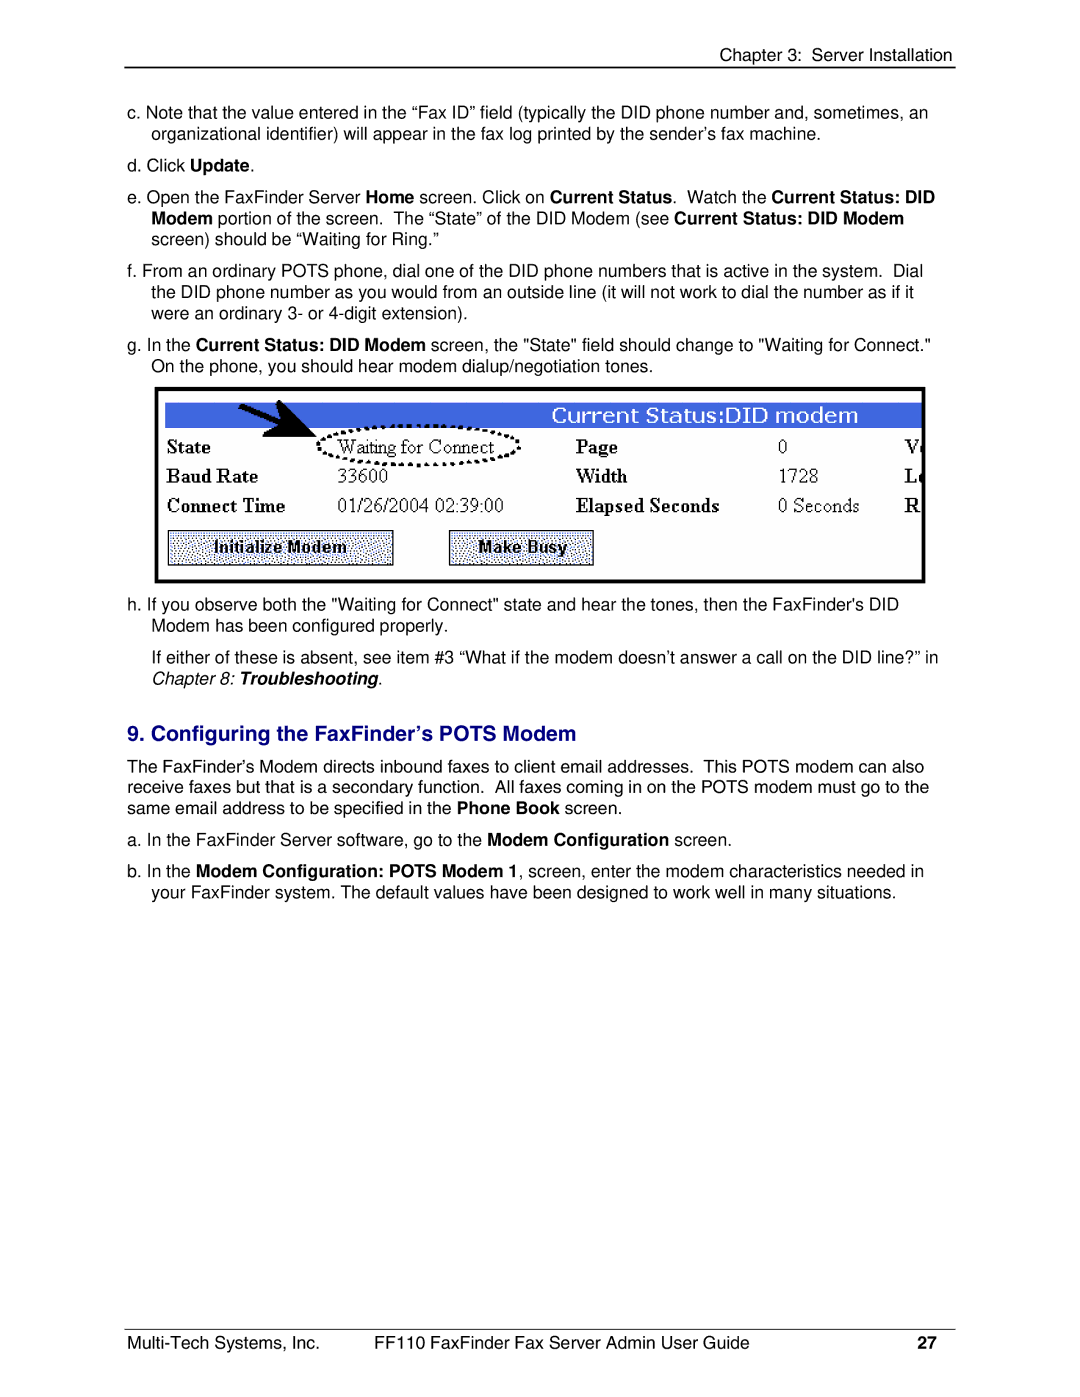
g. In the Current Status: DID Modem screen, the "State" field should change to "Waiting for Connect." On the phone, you should hear modem dialup/negotiation tones.
h. If you observe both the "Waiting for Connect" state and hear the tones, then the FaxFinder's DID Modem has been configured properly.
If either of these is absent, see item #3 “What if the modem doesn’t answer a call on the DID line?” in Chapter 8: Troubleshooting.
9. Configuring the FaxFinder’s POTS Modem
The FaxFinder’s Modem directs inbound faxes to client email addresses. This POTS modem can also receive faxes but that is a secondary function. All faxes coming in on the POTS modem must go to the same email address to be specified in the Phone Book screen.
a. In the FaxFinder Server software, go to the Modem Configuration screen.
b. In the Modem Configuration: POTS Modem 1, screen, enter the modem characteristics needed in your FaxFinder system. The default values have been designed to work well in many situations.
FF110 FaxFinder Fax Server Admin User Guide | 27 |