Chapter 3: Server Installation
4. Resetting Admin PC to Its Regular IP Address
In step #1 above, you recorded the original IP address of the administrator’s PC and then reset it to the IP address required to allow communication with the FaxFinder unit. You must now set the IP address of the administrator’s PC back to its original value.
5. Logging In (II)
Having reset the IP address of the administrator’s PC, you must log into the FaxFinder Server software again. Go to the Login screen, enter admin as User Name and admin as Password.
6. Setting Administrative Functions
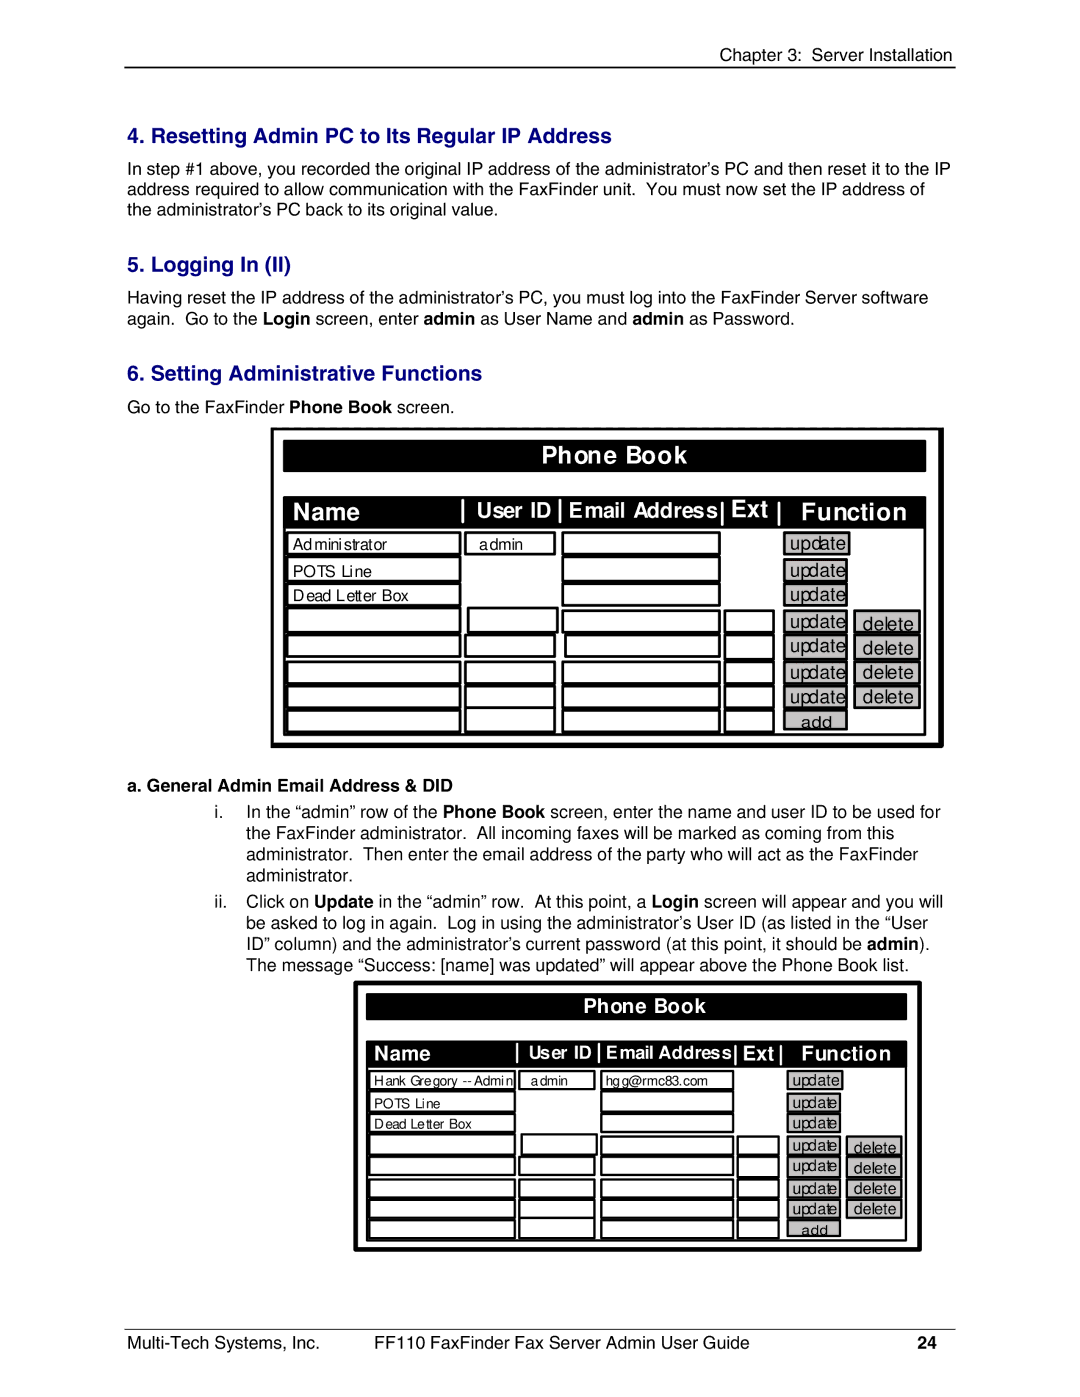
Go to the FaxFinder Phone Book screen.
Phone Book
| Name |
| User ID Email Address Ext |
| Function | |||||||
|
|
|
|
|
|
|
|
|
|
|
|
|
| Ad mini strator |
| a dmin |
|
|
|
|
| update |
|
|
|
| POTS Line |
|
|
|
|
|
|
| update |
|
|
|
|
|
|
|
|
|
|
|
|
|
|
|
|
| Dead Letter Box |
|
|
|
|
|
| update |
|
|
| |
|
|
|
|
|
|
|
|
| update |
| delete |
|
|
|
|
|
|
|
|
|
| update |
| delete |
|
|
|
|
|
|
|
|
|
|
|
|
|
|
|
|
|
|
|
|
|
| update | delete | |||
|
|
|
|
|
|
|
|
|
|
|
|
|
|
|
|
|
|
|
|
| update | delete | |||
|
|
|
|
|
|
|
|
| add |
|
|
|
|
|
|
|
|
|
|
|
|
|
|
|
|
a. General Admin Email Address & DID
i.In the “admin” row of the Phone Book screen, enter the name and user ID to be used for the FaxFinder administrator. All incoming faxes will be marked as coming from this administrator. Then enter the email address of the party who will act as the FaxFinder administrator.
ii.Click on Update in the “admin” row. At this point, a Login screen will appear and you will be asked to log in again. Log in using the administrator’s User ID (as listed in the “User ID” column) and the administrator’s current password (at this point, it should be admin). The message “Success: [name] was updated” will appear above the Phone Book list.
Phone Book
Name |
| User ID |
| Email Address Ext |
| Function | |||||
|
|
|
|
|
|
|
|
|
|
|
|
Hank Gregory |
| admin |
| hgg@rmc83.com |
|
|
| update |
|
|
|
POTS Line |
|
|
|
|
|
|
|
|
|
|
|
|
|
|
|
|
|
| update |
|
|
| |
Dead Letter Box |
|
|
|
|
|
|
| update |
|
|
|
|
|
|
|
|
|
|
| update |
| delete |
|
|
|
|
|
|
|
|
| update |
| delete |
|
|
|
|
|
|
|
|
|
|
|
|
|
|
|
|
|
|
|
|
| update |
| delete | |
|
|
|
|
|
|
|
| update |
| delete |
|
|
|
|
|
|
|
|
| add |
|
|
|
|
|
|
|
|
|
|
|
|
|
|
|
FF110 FaxFinder Fax Server Admin User Guide | 24 |