Chapter 6: FaxFinder Client Software Operation
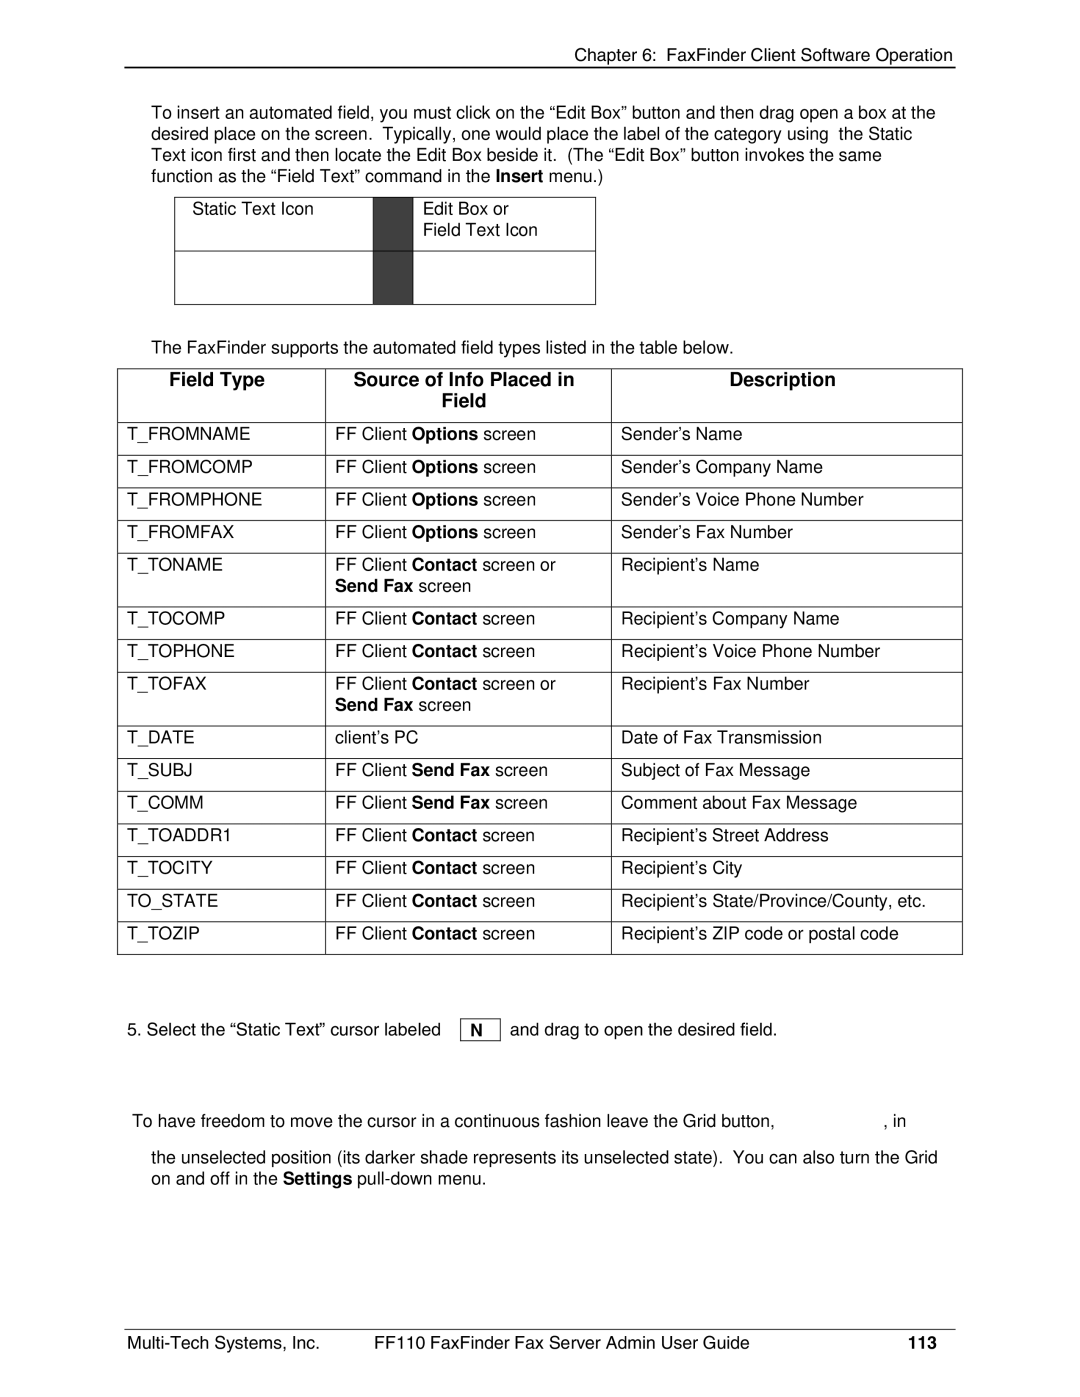
To insert an automated field, you must click on the “Edit Box” button and then drag open a box at the desired place on the screen. Typically, one would place the label of the category using the Static Text icon first and then locate the Edit Box beside it. (The “Edit Box” button invokes the same function as the “Field Text” command in the Insert menu.)
Static Text Icon
Edit Box or Field Text Icon
The FaxFinder supports the automated field types listed in the table below.
Field Type | Source of Info Placed in | Description |
| Field |
|
|
|
|
T_FROMNAME | FF Client Options screen | Sender’s Name |
|
|
|
T_FROMCOMP | FF Client Options screen | Sender’s Company Name |
|
|
|
T_FROMPHONE | FF Client Options screen | Sender’s Voice Phone Number |
|
|
|
T_FROMFAX | FF Client Options screen | Sender’s Fax Number |
|
|
|
T_TONAME | FF Client Contact screen or | Recipient’s Name |
| Send Fax screen |
|
|
|
|
T_TOCOMP | FF Client Contact screen | Recipient’s Company Name |
|
|
|
T_TOPHONE | FF Client Contact screen | Recipient’s Voice Phone Number |
|
|
|
T_TOFAX | FF Client Contact screen or | Recipient’s Fax Number |
| Send Fax screen |
|
|
|
|
T_DATE | client’s PC | Date of Fax Transmission |
|
|
|
T_SUBJ | FF Client Send Fax screen | Subject of Fax Message |
|
|
|
T_COMM | FF Client Send Fax screen | Comment about Fax Message |
|
|
|
T_TOADDR1 | FF Client Contact screen | Recipient’s Street Address |
|
|
|
T_TOCITY | FF Client Contact screen | Recipient’s City |
|
|
|
TO_STATE | FF Client Contact screen | Recipient’s State/Province/County, etc. |
|
|
|
T_TOZIP | FF Client Contact screen | Recipient’s ZIP code or postal code |
|
|
|
5. Select the “Static Text” cursor labeled
N
and drag to open the desired field.
To have freedom to move the cursor in a continuous fashion leave the Grid button, | , in |
the unselected position (its darker shade represents its unselected state). You can also turn the Grid on and off in the Settings
FF110 FaxFinder Fax Server Admin User Guide | 113 |