Chapter 3 Configuring Optivity Switch Manager 49
3In the MaxHops textbox, type the maximum number of hops.
4Use the Layout slider to indicate whether greater speed or better accuracy is more important.
5Select other options in the dialog box to control the appearance of the topology map.
See Table 8 for a description of the options available.
6Click Apply.
7Click OK.
8From the Optivity Switch Manager menu bar, choose Actions > Discover Map.
The topology map is displayed.
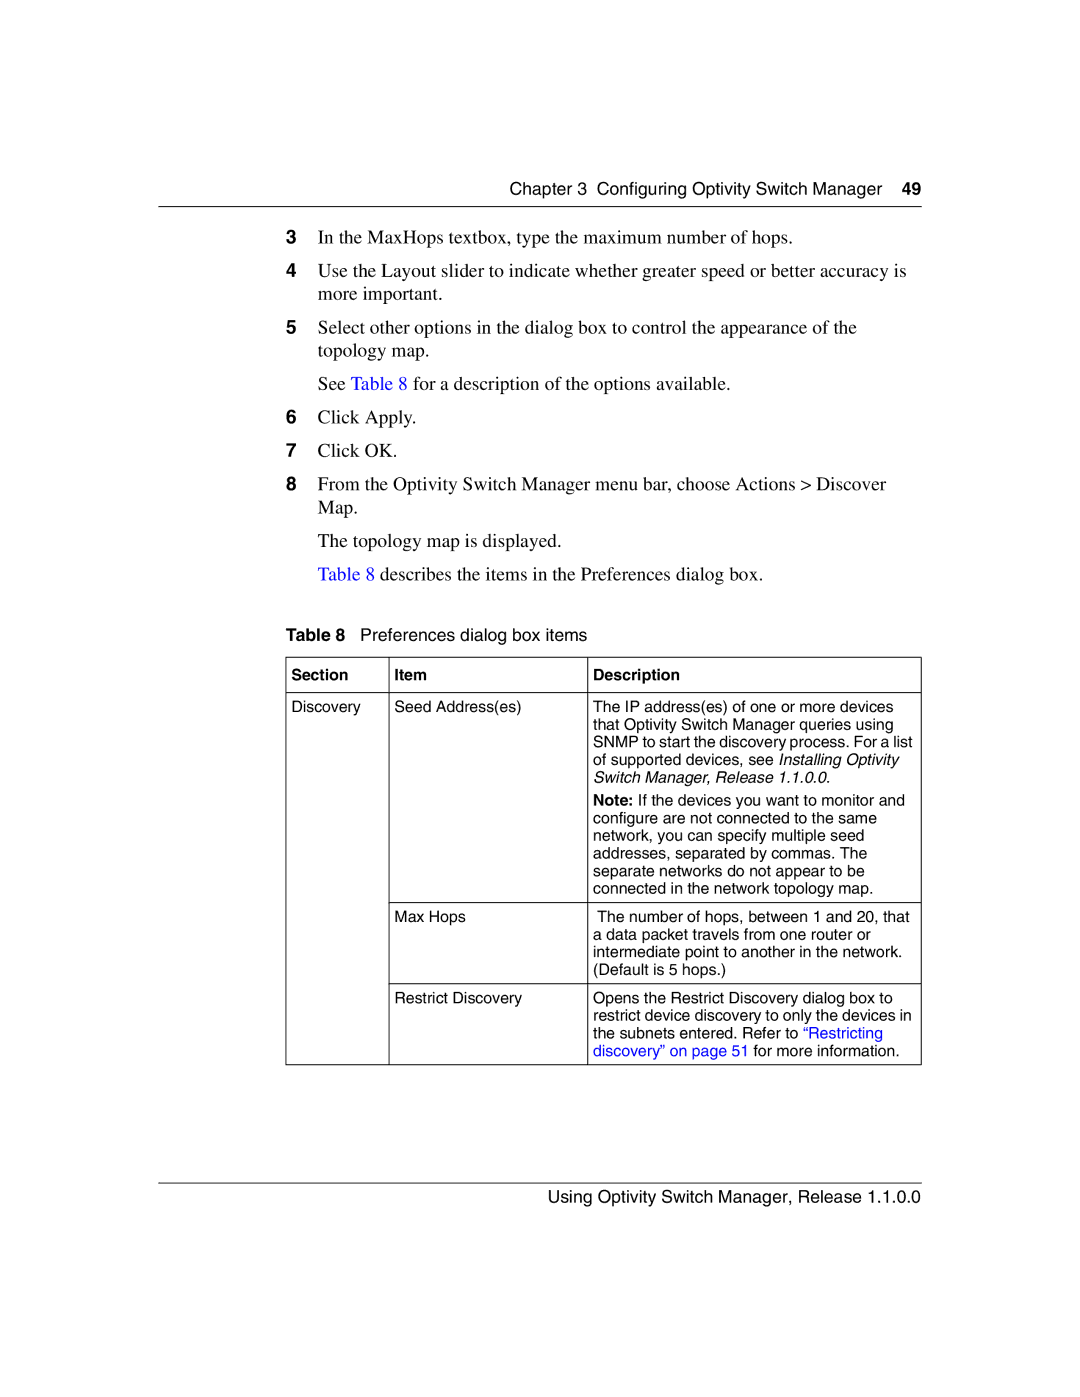
Table 8 describes the items in the Preferences dialog box.
Table 8 Preferences dialog box items
Section | Item | Description |
|
|
|
Discovery | Seed Address(es) | The IP address(es) of one or more devices |
|
| that Optivity Switch Manager queries using |
|
| SNMP to start the discovery process. For a list |
|
| of supported devices, see Installing Optivity |
|
| Switch Manager, Release 1.1.0.0. |
|
| Note: If the devices you want to monitor and |
|
| configure are not connected to the same |
|
| network, you can specify multiple seed |
|
| addresses, separated by commas. The |
|
| separate networks do not appear to be |
|
| connected in the network topology map. |
|
|
|
| Max Hops | The number of hops, between 1 and 20, that |
|
| a data packet travels from one router or |
|
| intermediate point to another in the network. |
|
| (Default is 5 hops.) |
|
|
|
| Restrict Discovery | Opens the Restrict Discovery dialog box to |
|
| restrict device discovery to only the devices in |
|
| the subnets entered. Refer to “Restricting |
|
| discovery” on page 51 for more information. |
|
|
|
Using Optivity Switch Manager, Release 1.1.0.0
