1.4.3 Connecting the Computer
This printer supports either Parallel Interface or RS232C when the interface board is installed in the printer. To install the interface board, refer to Section 1.4.2.2.
1.Check to be sure that the printer’s power is OFF.
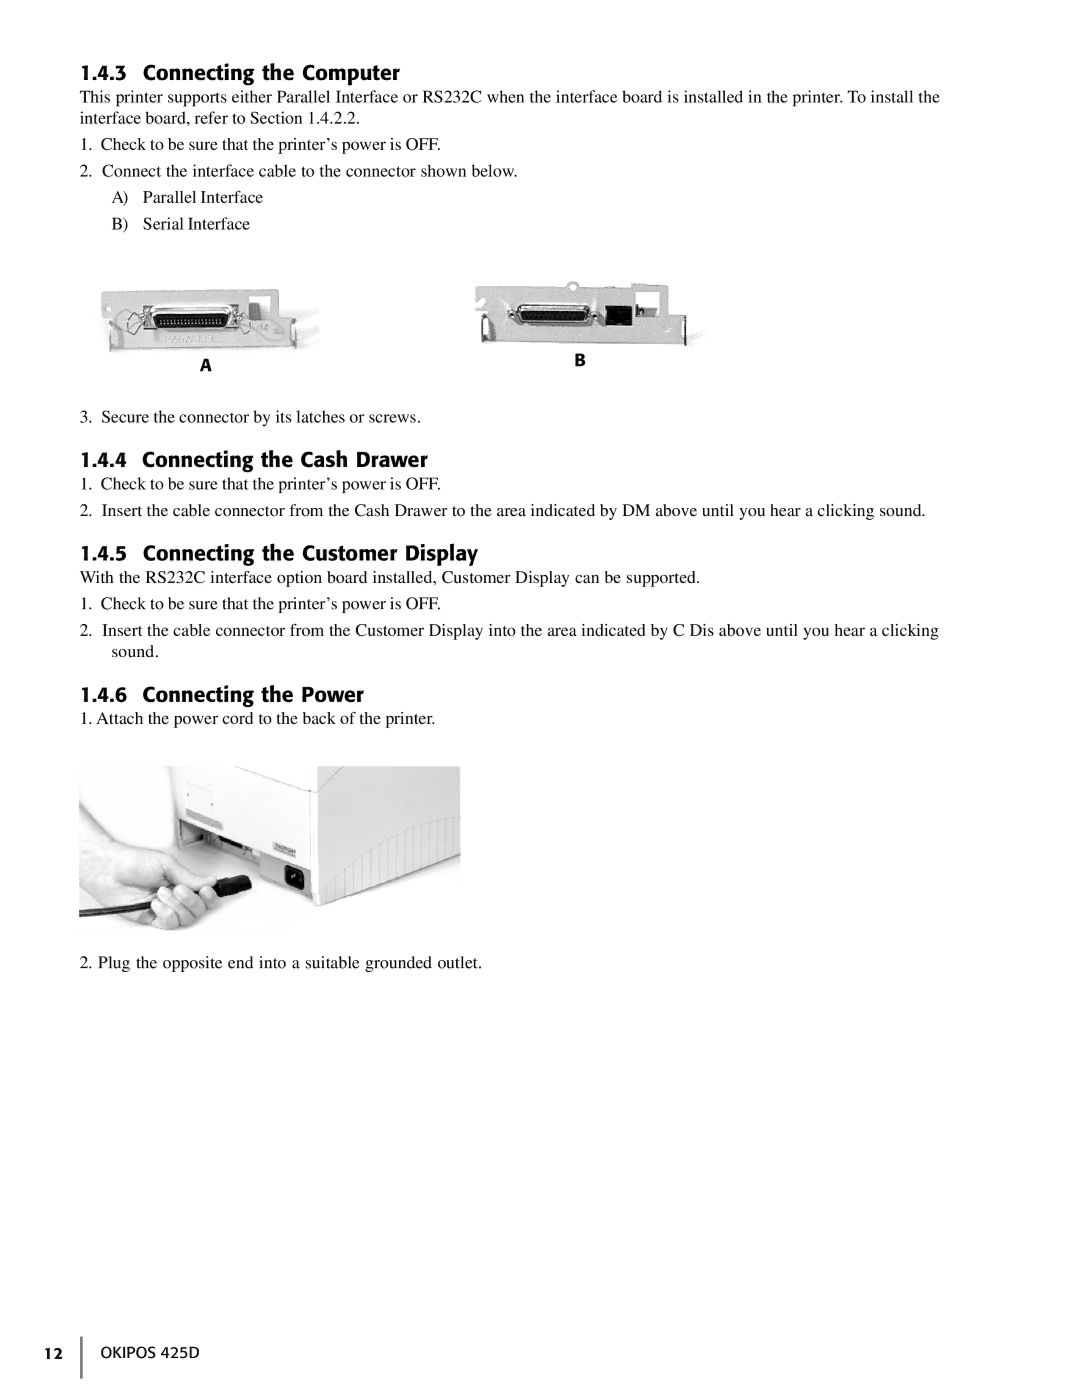
2.Connect the interface cable to the connector shown below.
A)Parallel Interface
B)Serial Interface
AB
3. Secure the connector by its latches or screws.
1.4.4 Connecting the Cash Drawer
1.Check to be sure that the printer’s power is OFF.
2.Insert the cable connector from the Cash Drawer to the area indicated by DM above until you hear a clicking sound.
1.4.5 Connecting the Customer Display
With the RS232C interface option board installed, Customer Display can be supported.
1.Check to be sure that the printer’s power is OFF.
2.Insert the cable connector from the Customer Display into the area indicated by C Dis above until you hear a clicking sound.
1.4.6 Connecting the Power
1. Attach the power cord to the back of the printer.
2. Plug the opposite end into a suitable grounded outlet.
12 OKIPOS 425D